このバージョンは誤った内容を含んでいる可能性があります。最新の承認済みスナップショットに切り替えてください。
必要な工具と部品
-
この手順は未翻訳です。 翻訳を手伝う。
-
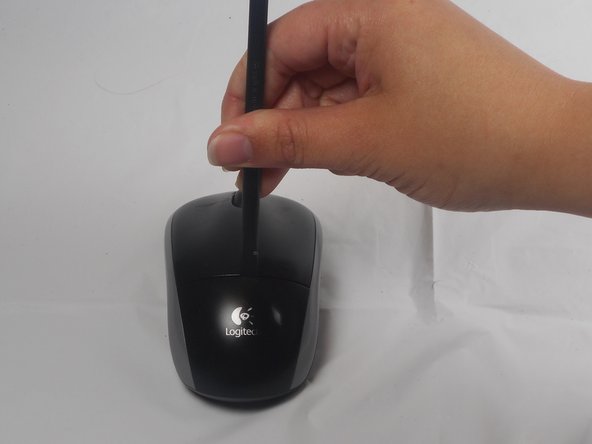
The battery compartment cover is located on the top of the mouse. The seam running horizontally across the mouse is the top of the cover.
-
There is a button to pop off the cover. It is located on the bottom of the mouse. you may need to press hard on this button to pop the cover.
-
If the button does not work, you will need to pry off the cover. You can use your fingernails or a prying tool in order to do this, as seen in the third image.
-
-
28 の人々がこのガイドを完成させました。
10 件のコメント
I disassembled this exactly as stated and now I can't get the cover back on?
I am a electronic technologist and this is a poor design for a mouse. No wonder the later version is different.
Thanks for the information. It worked perfectly for me. Easy removal. Images and instructions were very helpful.
The green battery light went on, although the lazar light did not. What should I do?


