メインコンテンツにスキップ
リペアコミュニティに参加 - アカウントの作成

Logitech Harmony 900 Button Pad Replacement

必要な工具と部品

    1. Logitech Harmony 900 Button Pad Replacement, Battery: 手順 1、 2の画像 1 Logitech Harmony 900 Button Pad Replacement, Battery: 手順 1、 2の画像 2
      • Press the oval shaped button on the lower back of the remote to release the battery cover.

      • While pressing the button, remove the cover.

      FixBotに聞いてみる

      コメントを追加

    2. Logitech Harmony 900 Button Pad Replacement: 手順 2、 2の画像 1 Logitech Harmony 900 Button Pad Replacement: 手順 2、 2の画像 2
      • Push the battery in, pull it up, and slide it out.

      FixBotに聞いてみる

      コメントを追加

    1. Logitech Harmony 900 Button Pad Replacement, Motherboard: 手順 3、 1の画像 1
      この手順で使用する道具:
      Tweezers
      $4.99
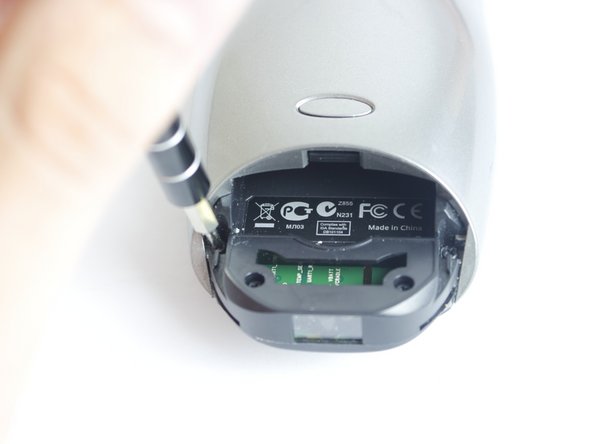
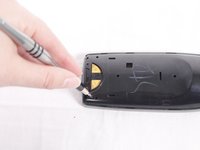
      • Using tweezers, peel off the sticker located under the battery cover to reveal two screws.

      FixBotに聞いてみる

      コメントを追加

    2. Logitech Harmony 900 Button Pad Replacement: 手順 4、 2の画像 1 Logitech Harmony 900 Button Pad Replacement: 手順 4、 2の画像 2
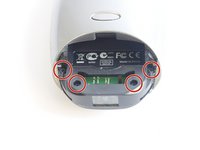
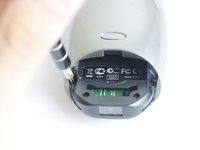
      • Locate and unscrew the four 50mm screws using the Philips #0 screwdriver.

      FixBotに聞いてみる

      コメントを追加

    3. Logitech Harmony 900 Button Pad Replacement: 手順 5、 1の画像 1
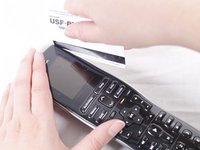
      • Use a credit card to pry the black, plastic, back cover off of the device.

      • You may need to get the process started with a metal prying tool before you start using the credit card.

      FixBotに聞いてみる

      コメントを追加

    4. Logitech Harmony 900 Button Pad Replacement: 手順 6、 2の画像 1 Logitech Harmony 900 Button Pad Replacement: 手順 6、 2の画像 2
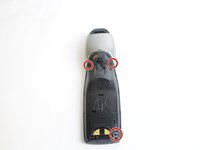
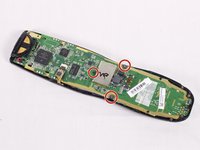
      • Locate the three 50mm screws on the back of the remote and remove them using the Phillips #0 screwdriver.

      FixBotに聞いてみる

      コメントを追加

    5. Logitech Harmony 900 Button Pad Replacement: 手順 7、 2の画像 1 Logitech Harmony 900 Button Pad Replacement: 手順 7、 2の画像 2
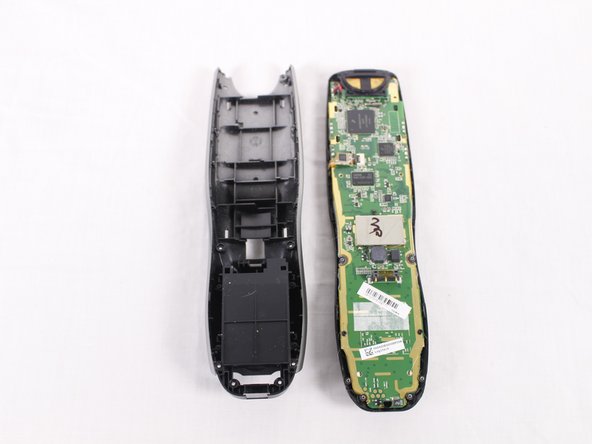
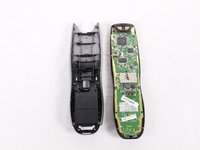
      • Pry the black, front face of the remote from the back silver part by inserting a credit card in between and sliding down.

      • Again, you may need to use a metal prying tool to get the separation started.

      FixBotに聞いてみる

      コメントを追加

    6. Logitech Harmony 900 Button Pad Replacement: 手順 8、 2の画像 1 Logitech Harmony 900 Button Pad Replacement: 手順 8、 2の画像 2
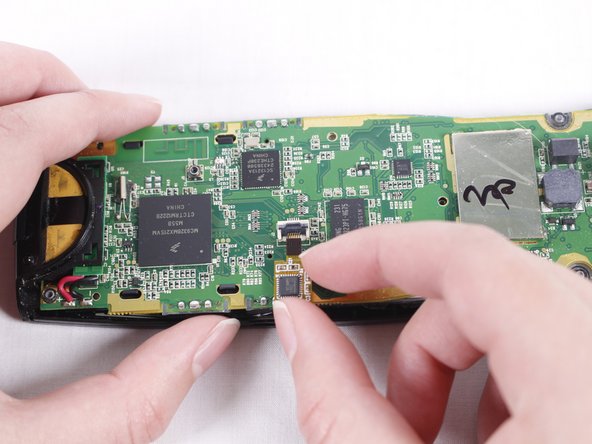
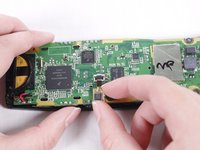
      • When you look at the circuit board, you should see a ribbon attaching the board to the plastic casing.

      • A little lever is holding the ribbon in place. Lift the lever with your nail or a 2.5mm flat-head screwdriver. Move the ribbon away from the circuit board.

      FixBotに聞いてみる

      コメントを追加

    7. Logitech Harmony 900 Button Pad Replacement: 手順 9、 2の画像 1 Logitech Harmony 900 Button Pad Replacement: 手順 9、 2の画像 2
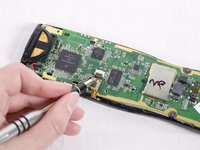
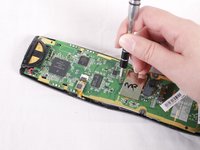
      • Using the Philips #0 screwdriver, remove the three 50mm screws from the circuit board.

      FixBotに聞いてみる

      コメントを追加

    8. Logitech Harmony 900 Button Pad Replacement: 手順 10、 1の画像 1
      • Using your hands, carefully separate the motherboard from the rest of the remote.

      FixBotに聞いてみる

      コメントを追加

    1. Logitech Harmony 900 Button Pad Replacement, Button Pad: 手順 11、 2の画像 1 Logitech Harmony 900 Button Pad Replacement, Button Pad: 手順 11、 2の画像 2
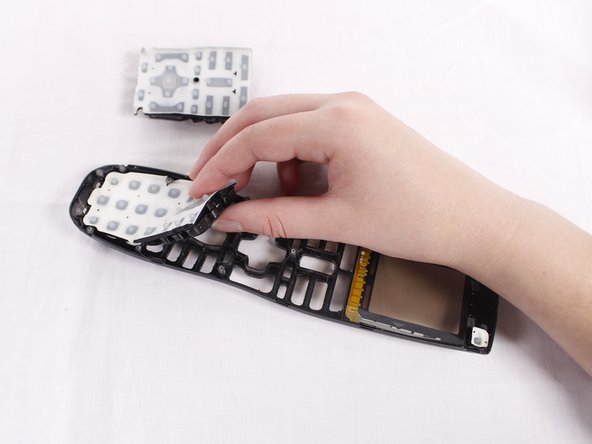
      • Peel off the button pads from the device frame.

      FixBotに聞いてみる

      コメントを追加

終わりに

To reassemble your device, follow these instructions in reverse order.

キャンセル: このガイドを終了できませんでした。

ある他の人がこのガイドを完成しました。

作成者

2人の作成者と共同で作成されました。

Tyler Hanks

メンバー登録日: 09/25/17

442 ポイント

3のガイドは作成済み

チーム

USF Tampa, Team S4-G5, Eyestone Fall 2017 USF Tampa, Team S4-G5, Eyestone Fall 2017人のメンバー

USFT-EYESTONE-F17S4G5

4 メンバー

12のガイドは作成済み

0件のガイドコメント

コメントを追加

統計データ:

過去 24時間: 1

過去 7 日: 8

過去 30 日: 24

今までの合計 1,115