はじめに
If the volume button is stuck or doesn't move when scrolling up or down, use this guide to fix the issue.
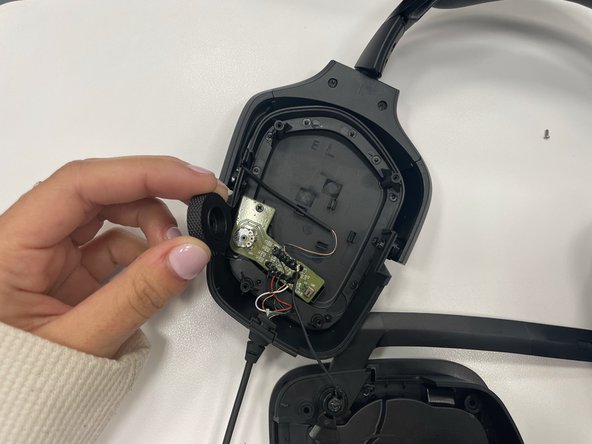
The volume button is essential, as it is located on the side of the Logitech G432 headset, providing an accessible way to control the headset's sound system. If the sound is too loud, scroll down, and if it's too quiet, scroll up to increase the volume.
Listening to high levels of sound for long periods while gaming could cause hearing damage. Therefore, if the volume button is not scrolling down (lowering the volume), it's not a suitable situation to be in.
If your volume control is currently not playing any sound other than the active sound component of the headset stereo system, a great feature of the headset, then proper usage of the headset is not being presented and will need to be fixed.
Before beginning, make sure to turn off the power and unplug the headset.
必要な工具と部品
-
-
Remove the three 1.0 mm screws from the edge of the earpiece using a Phillips #0 screwdriver.
-
Use the pointed end of a spudger to remove the black sticker covering the fourth screw.
-
Remove the single 1.0 mm screw from beneath the sticker using a Phillips #0 screwdriver.
-
-


To reassemble your device, follow these instructions in reverse order.
To reassemble your device, follow these instructions in reverse order.

チーム

Marist, Team 1-2, Chaterdon Spring 2023 Marist, Team 1-2, Chaterdon Spring 2023人のメンバー
MARS-CHATERDON-S23S1G2
3 メンバー
9のガイドは作成済み