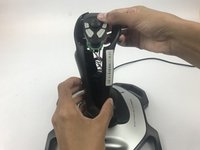
メインコンテンツにスキップ

Logitech Extreme 3D Pro Joystick Trigger Replacement

必要な工具と部品

  1. Logitech Extreme 3D Pro Joystick Trigger  Replacement, Disassembly of the handle: 手順 1、 1の画像 1
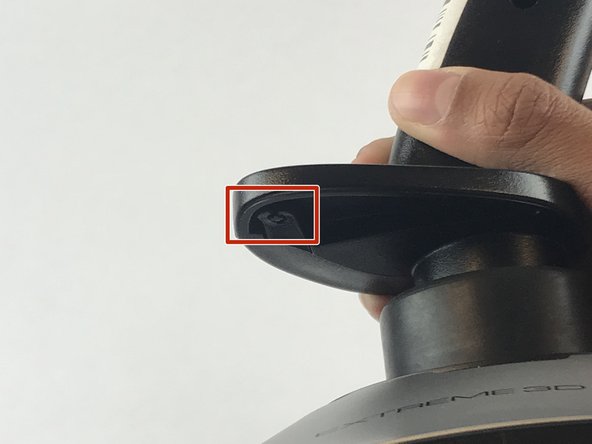
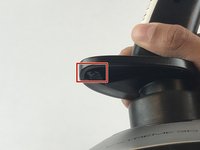
    • Remove these three Phillips #1 screws:

    • Two 10mm screws.

    • One 7mm screw.

  2. Logitech Extreme 3D Pro Joystick Trigger  Replacement: 手順 2、 1の画像 1
    • Using your fingers, lower the rubber boot to reveal two screws underneath the joystick.

    • Remove the two 10mm Phillips #1 screws.

  3. Logitech Extreme 3D Pro Joystick Trigger  Replacement: 手順 3、 2の画像 1 Logitech Extreme 3D Pro Joystick Trigger  Replacement: 手順 3、 2の画像 2
    • Pull apart the joystick chassis by hand.

    • Release this clip located underneath the hand rest

    • The circuit board will be loose and may fall down.

  4. Logitech Extreme 3D Pro Joystick Trigger  Replacement, Joystick Trigger: 手順 4、 1の画像 1
    • Remove the plastic trigger from the joystick.

終わりに

To reassemble your device, follow these instructions in reverse order.

ある他の人がこのガイドを完成しました。

作成者

1人の作成者と共同作成されました。

Emanuel Canela

メンバー登録日: 01/25/18

1,297 ポイント

7のガイドは作成済み

チーム

USF Tampa, Team S7-G1, Passmore Spring 2018 USF Tampa, Team S7-G1, Passmore Spring 2018人のメンバー

USFT-PASSMORE-S18S7G1

4 メンバー

7のガイドは作成済み

0 件のコメント

コメントを追加

統計データ:

過去 24時間: 0

過去 7 日: 1

過去 30 日: 14

今までの合計 1,413