メインコンテンツにスキップ

LifePrint 2x3 Motor-Feeder Replacement

  1. LifePrint 2x3 Motor-Feeder Replacement, Motor-Feeder: 手順 1、 3の画像 1 LifePrint 2x3 Motor-Feeder Replacement, Motor-Feeder: 手順 1、 3の画像 2 LifePrint 2x3 Motor-Feeder Replacement, Motor-Feeder: 手順 1、 3の画像 3
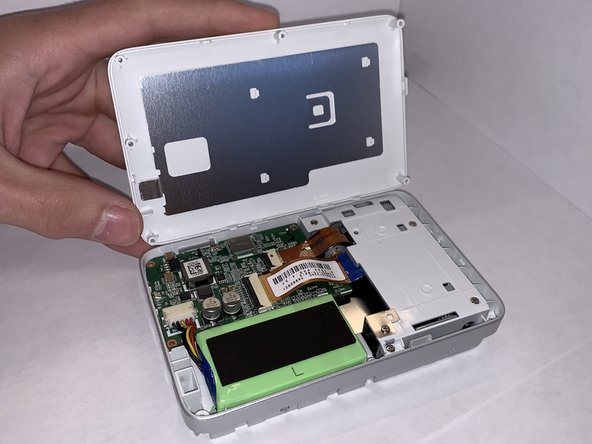
    • Make sure the top of the Lifeprint is facing upwards displaying the Lifeprint logo.

    • Slide open the top cover and remove the top lid.

  2. LifePrint 2x3 Motor-Feeder Replacement: 手順 2、 3の画像 1 LifePrint 2x3 Motor-Feeder Replacement: 手順 2、 3の画像 2 LifePrint 2x3 Motor-Feeder Replacement: 手順 2、 3の画像 3
    • Remove the six screws on the outer sides of the device with the Phillips #00 screwdriver.

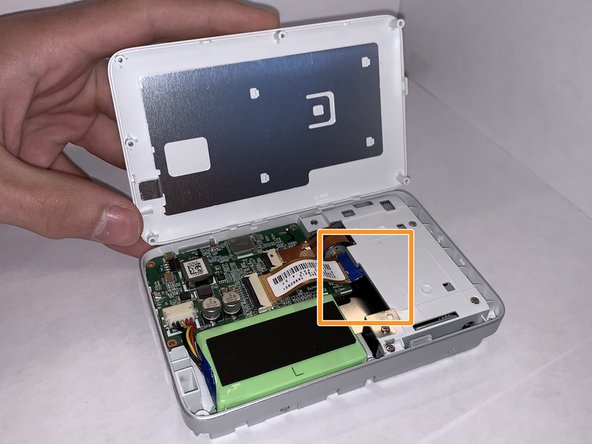
    • The motor is highlighted in orange.

  3. LifePrint 2x3 Motor-Feeder Replacement: 手順 3、 2の画像 1 LifePrint 2x3 Motor-Feeder Replacement: 手順 3、 2の画像 2
    • After removing the six screws, gently flip the device over so the bottom cover is facing you.

    • Remove the bottom cover by using the opening pick.

  4. LifePrint 2x3 Motor-Feeder Replacement: 手順 4、 3の画像 1 LifePrint 2x3 Motor-Feeder Replacement: 手順 4、 3の画像 2 LifePrint 2x3 Motor-Feeder Replacement: 手順 4、 3の画像 3
    • Remove the four screws using the Phillips #00 screwdriver to access the motor and sensor (highlighted in orange).

  5. LifePrint 2x3 Motor-Feeder Replacement: 手順 5、 3の画像 1 LifePrint 2x3 Motor-Feeder Replacement: 手順 5、 3の画像 2 LifePrint 2x3 Motor-Feeder Replacement: 手順 5、 3の画像 3
    • Remove the component holding the motor and feeder.

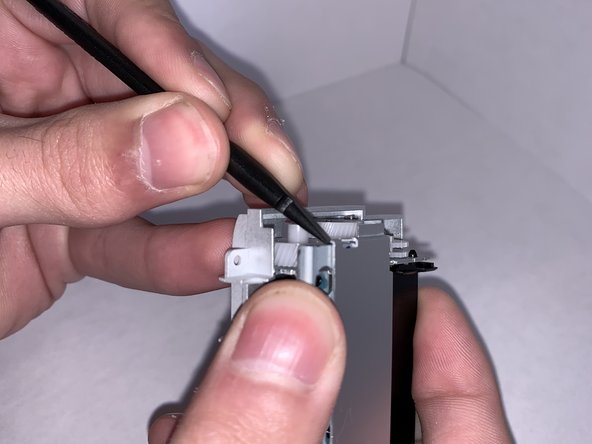
    • Using a spudger remove the top piece of the component to get to the motor and feeder.

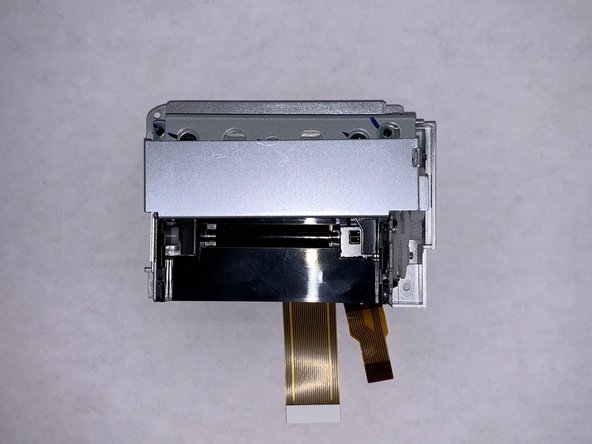
    • Remove the motor and feeder assembly from the device.

終わりに

To reassemble your device, follow these instructions in reverse order.

作成者

1人の作成者と共同作成されました。

Calli Brown

メンバー登録日: 09/24/19

172 ポイント

1ガイドが承認済み

チーム

0 件のコメント

コメントを追加

統計データ:

過去 24時間: 0

過去 7 日: 1

過去 30 日: 2

今までの合計 239