メインコンテンツにスキップ

Lenovo bluetooth mouse N6901A disassembly

必要な工具と部品

  1. Lenovo bluetooth mouse N6901A disassembly, Mouse: 手順 1、 1の画像 1
    • 3 Phillips screws are located under the battery cover, unscrew them

  2. Lenovo bluetooth mouse N6901A disassembly: 手順 2、 2の画像 1 Lenovo bluetooth mouse N6901A disassembly: 手順 2、 2の画像 2
    • The mouse cover at the bottom should move freely but at the top is hold by 2 brackets

    • In order to remove the mouse cover, you will need to rock left/right the cover and slide it down (from scroll wheel toward the Lenovo logo)

  3. Lenovo bluetooth mouse N6901A disassembly: 手順 3、 2の画像 1 Lenovo bluetooth mouse N6901A disassembly: 手順 3、 2の画像 2
    • At this point, you have separated the mouse cover

  4. Lenovo bluetooth mouse N6901A disassembly: 手順 4、 1の画像 1
    • Use the appropriate tool to remove gently the power connector. Don't use your finger, you might brake the cable

  5. Lenovo bluetooth mouse N6901A disassembly: 手順 5、 2の画像 1 Lenovo bluetooth mouse N6901A disassembly: 手順 5、 2の画像 2
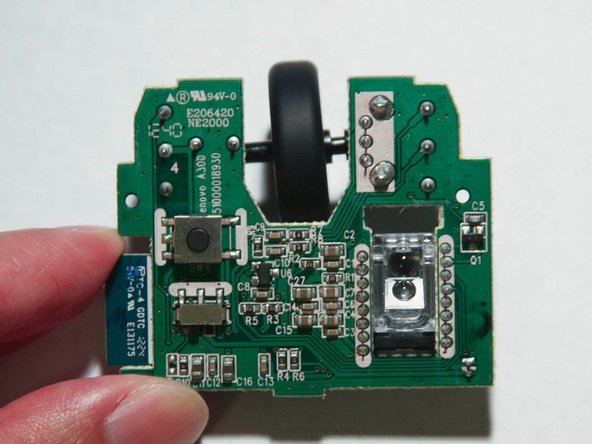
    • The micro switch can be replaced by OMRON D2FC-F-7N but you need to trim the solder terminals with a flush wire cutter

    • When you reassemble the mouse, make sure you don't crush the power cable

終わりに

To reassemble your device, follow these instructions in reverse order.

2 の人々がこのガイドを完成させました。

Shinn Chyang Chen

メンバー登録日: 09/14/11

2,953 ポイント

3のガイドは作成済み

0 件のコメント

コメントを追加

統計データ:

過去 24時間: 4

過去 7 日: 11

過去 30 日: 37

今までの合計 5,539