はじめに
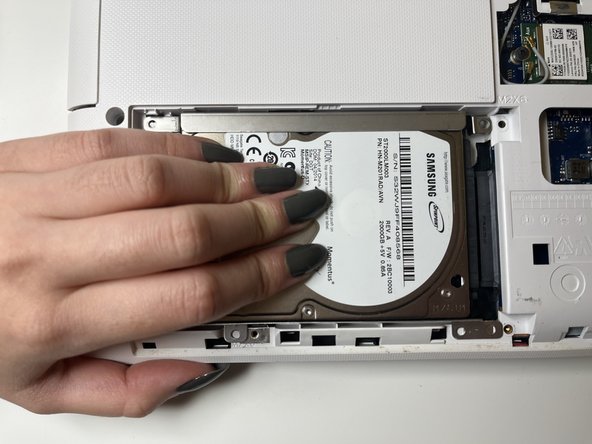
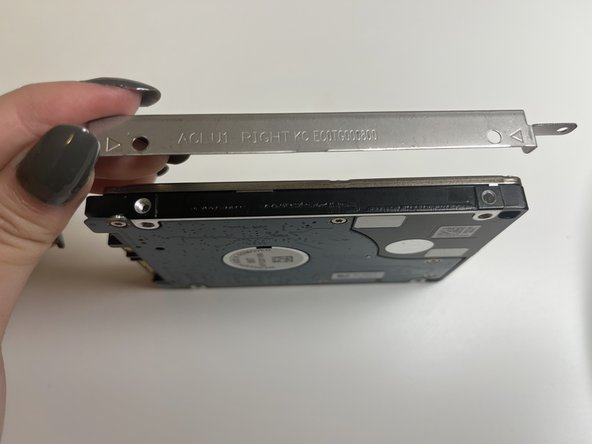
This guide will show how to remove and replace a hard disk or solid-state drive in a Lenovo Z40-70. A hard disk drive will be using for demonstration of the steps, but the process of replacing a solid-state drive will be the same.
Failing secondary storage devices can lead to major problems for a laptop such as corrupt files, sudden crashes, and inability to boot up. You can save time and money by replacing them at home instead of sending the laptop to repair.
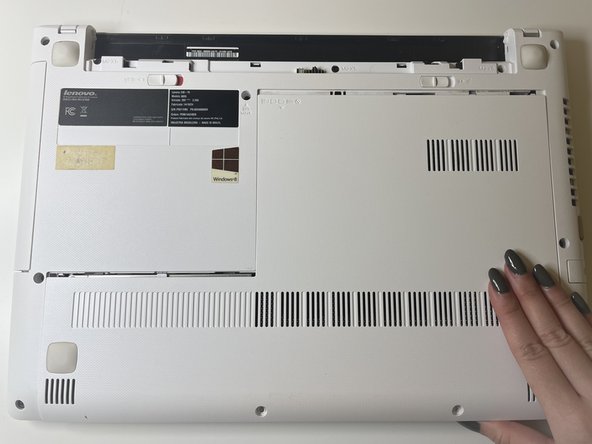
To avoid losing your files, back up your data to an external storage device or a cloud storage service beforehand. In addition, turn off your device, remove the battery and unplug from the charger before you begin the repair.
必要な工具と部品


After completing the replacement, boot up your laptop as it is ready to use.
After completing the replacement, boot up your laptop as it is ready to use.
チーム

York University, Team 2-27, O'Regan Winter 2024 York University, Team 2-27, O'Regan Winter 2024人のメンバー
YORK-O'REGAN-W24S2G27
1 メンバー
1のガイドは作成済み