はじめに
If you are following this guide, that means your battery is dead or causing you issues on your Lenovo Yoga Tab 3 8. If your device is still capable of running, back up your files and make sure the device is powered off before you begin. To make reassembly easier, be sure to avoid misplacing the small screws by keeping track of them as you go.
必要な工具と部品
-
この手順で使用する道具:Tweezers$4.99
-
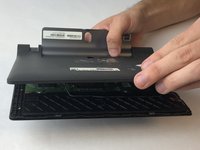
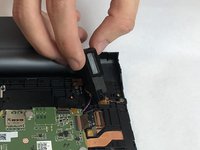
Open the kickstand by pressing the release button in the center.
-
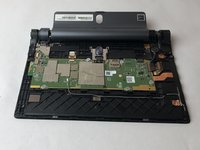
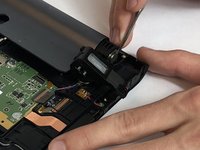
Remove the identification sticker with a pair of tweezers to allow access to the two 2mm screws underneath.
-
-
-
この手順で使用する道具:Tweezers$4.99
-
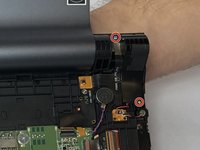
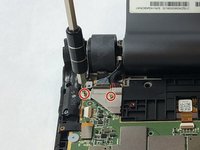
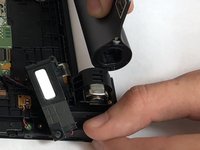
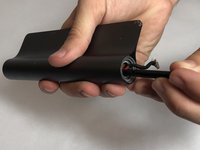
At the opposite end of the hinge, locate the silver metal bracket over the wires coming from the end of the hinge. Remove the two 3mm screws with a PH00 screwdriver. Lift the bracket off with your fingers.
-
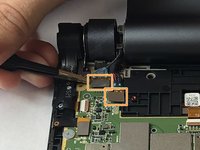
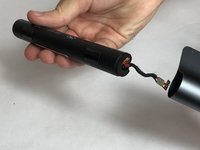
Removing the bracket will expose two silver connectors at the ends of the wires coming from the end of the hinge. Use tweezers to carefully lift off the two silver connectors.
-
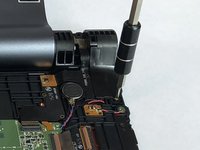
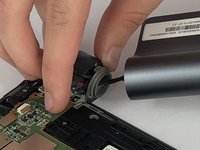
Locate the smaller metal wire bracket guiding the wires coming from the end of the hinge. Remove the single black 2mm screw with a PH00 screwdriver. Lift the bracket off with your fingers.
-
-
この手順で使用する道具:Tweezers$4.99
-
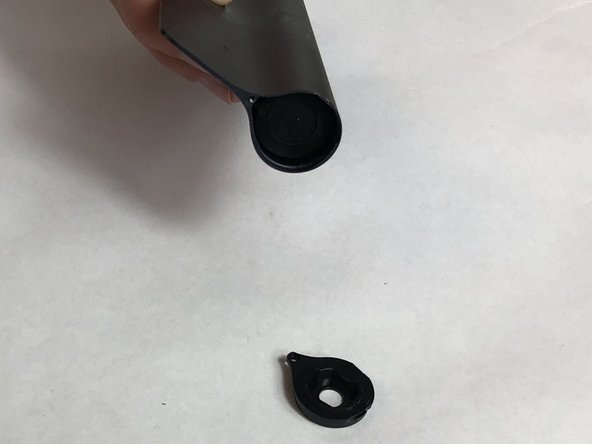
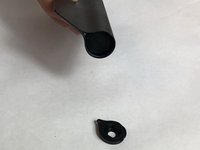
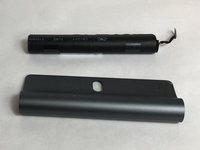
With the hinge removed, locate the end with no wires coming out. Peel back the black screw cover with a pair of tweezers and remove the 3mm screw with a PH00 screwdriver.
-


To reassemble your device, follow these instructions in reverse order.
To reassemble your device, follow these instructions in reverse order.
11 の人々がこのガイドを完成させました。
チーム

USF Tampa, Team S16-G2, Eyestone Fall 2017 USF Tampa, Team S16-G2, Eyestone Fall 2017人のメンバー
USFT-EYESTONE-F17S16G2
4 メンバー
16のガイドは作成済み
4件のガイドコメント
In case please make a vedio and upload in YouTube that I can replaced my lenovo battery easily without any problem.
My yoga tablet battery appears to be dead. Is it ok to leave it in the tab for a few weeks?
Please where i can buy this battery…