この翻訳は、ソースガイドの最新の更新を反映していない可能性があります。 翻訳の更新に協力してください。 または ソースガイドを参照してください。
はじめに
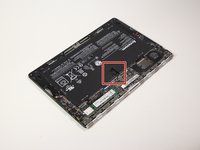
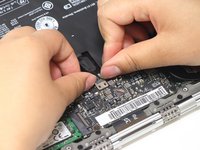
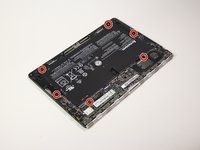
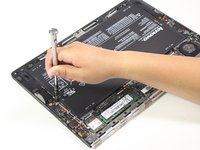
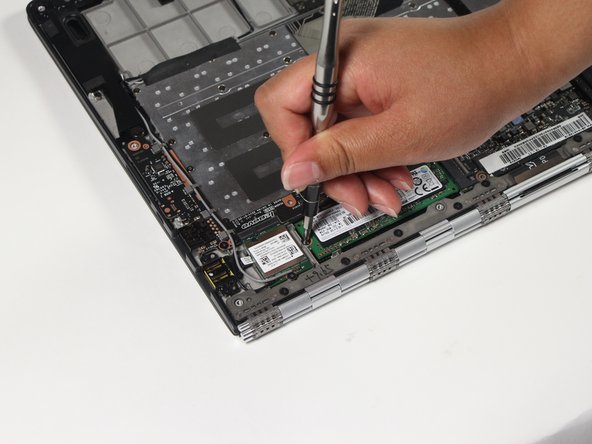
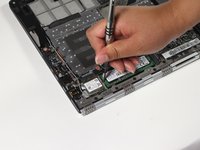
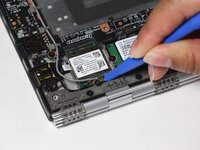
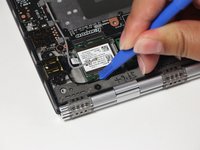
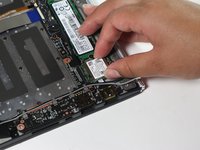
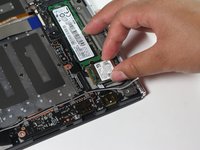
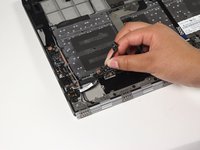
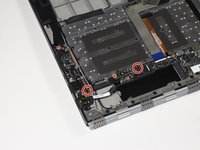
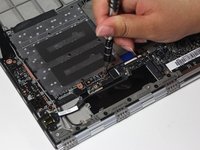
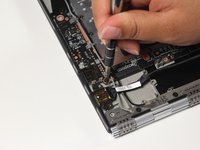
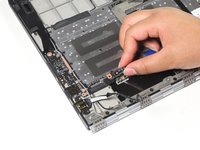
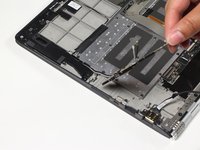
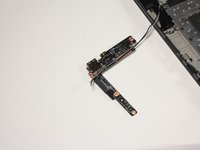
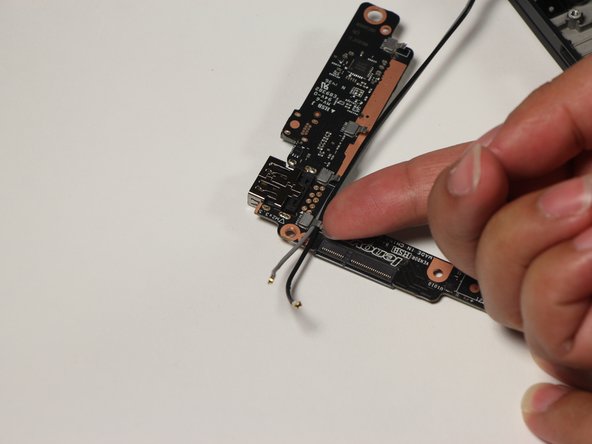
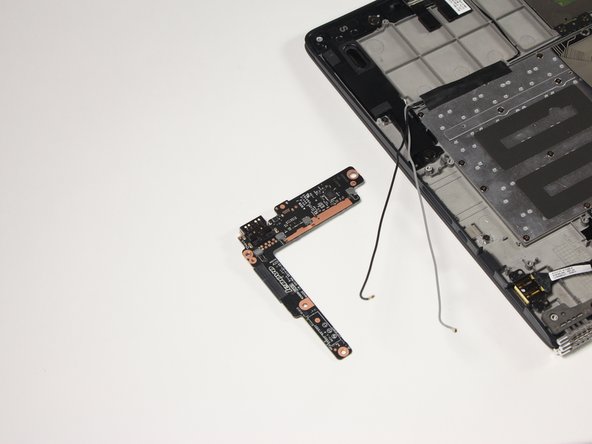
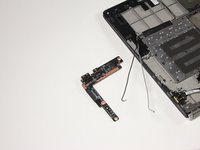
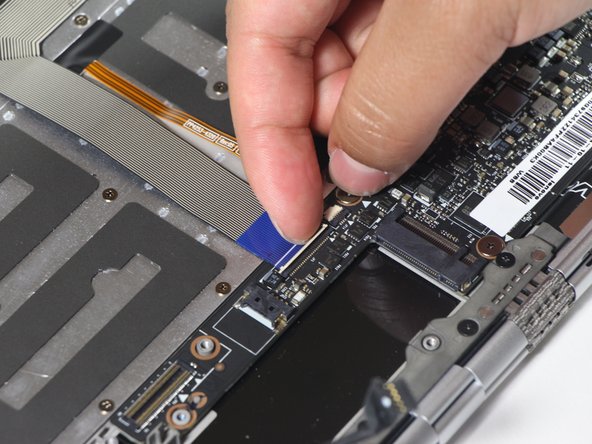
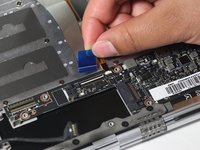
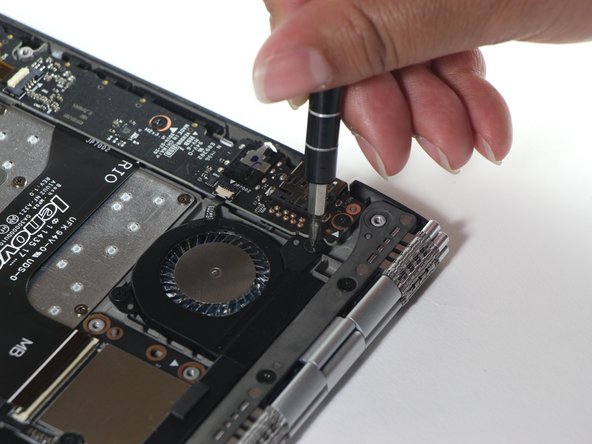
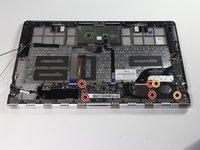
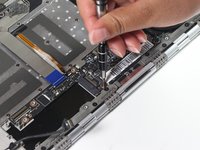
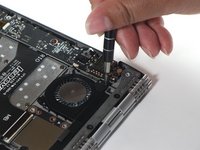
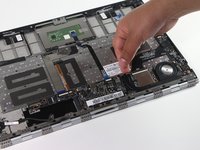
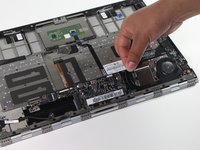
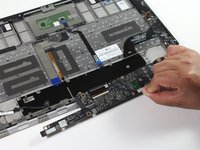
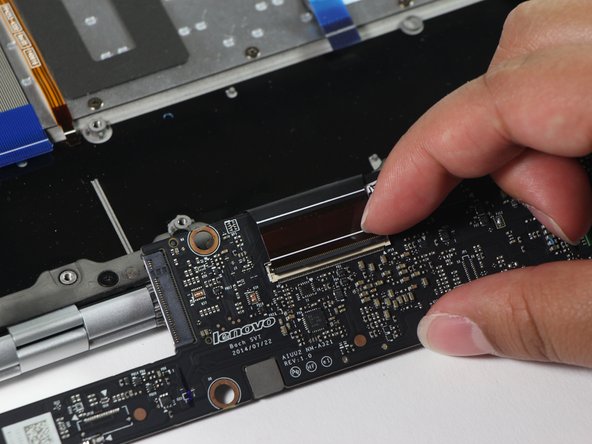
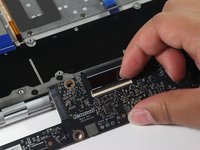
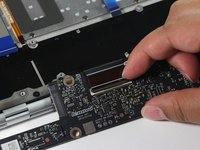
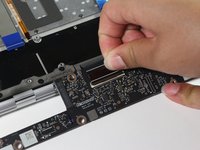
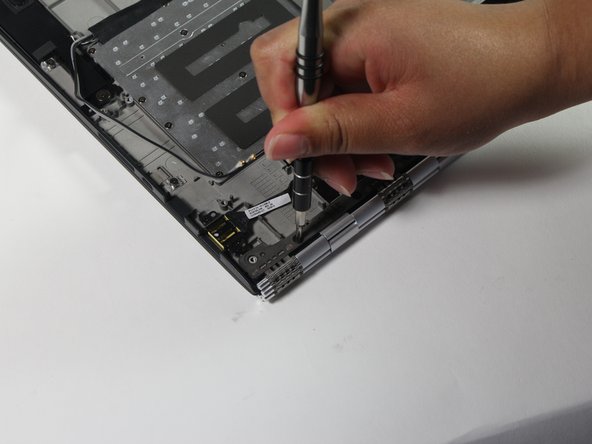
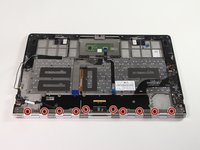
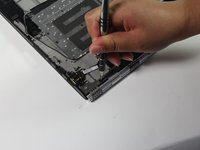
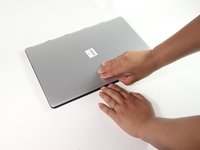
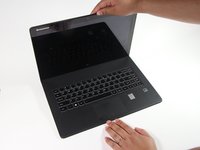
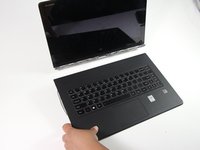
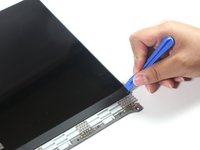
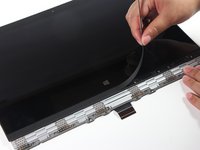
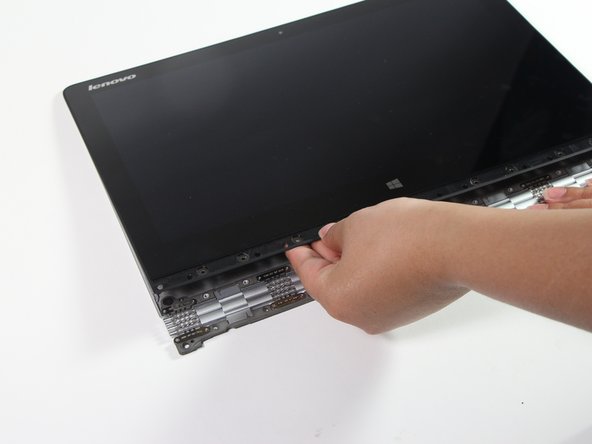
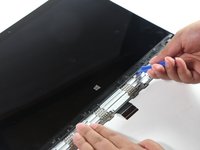
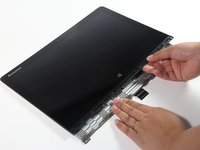
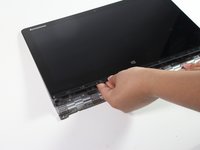
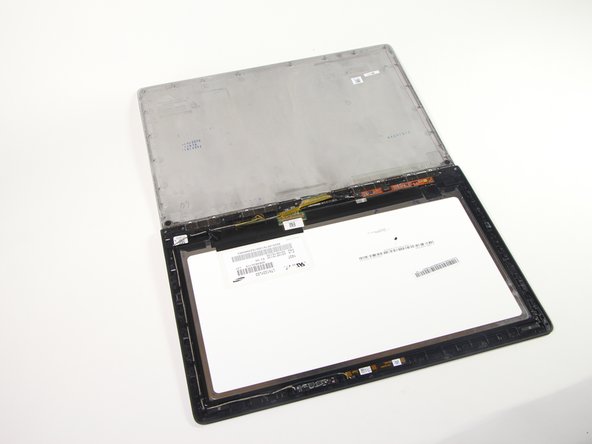
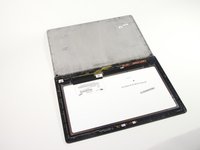
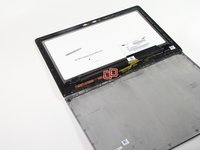
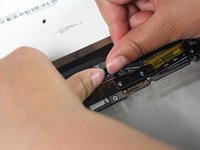
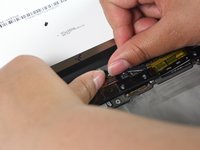
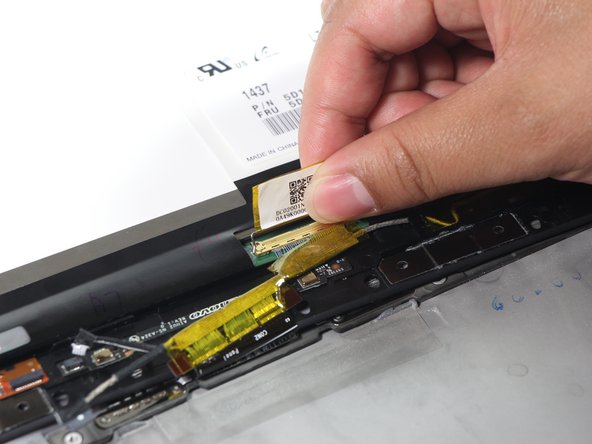
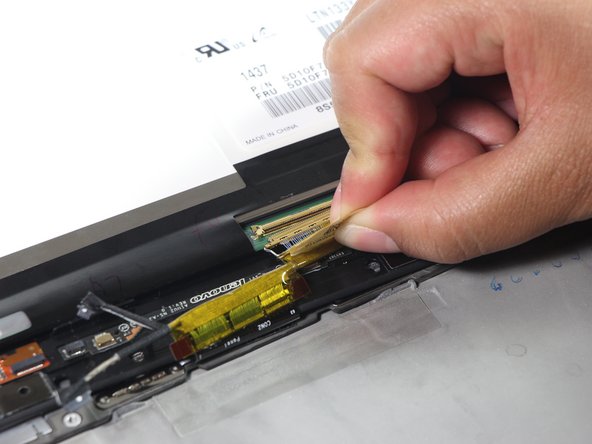
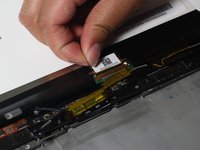
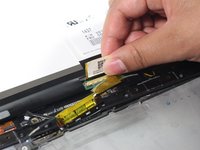
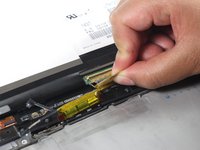
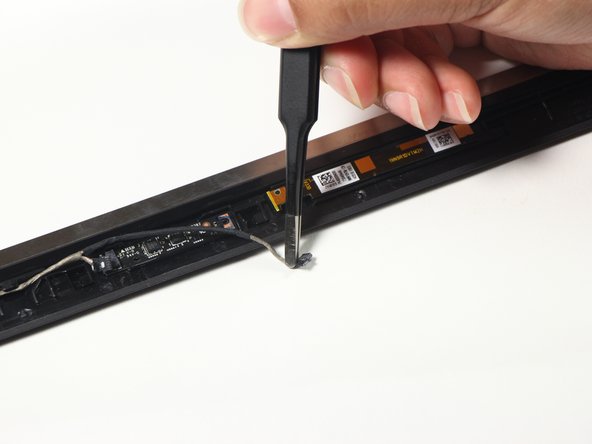
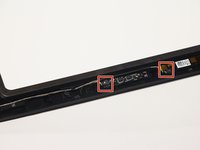
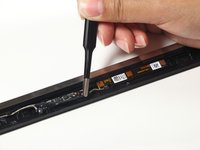
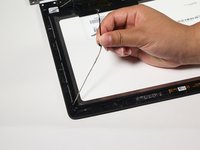
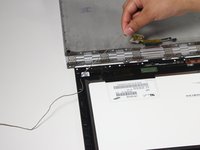
このガイドでは、Lenovo Yoga 3 Proのスクリーンを取り外す方法を説明します。注意事項として、デバイスの残りの部分に進む前に、まずバッテリーを取り外す必要があります。
必要な工具と部品


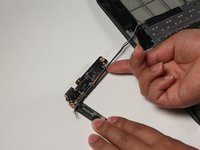
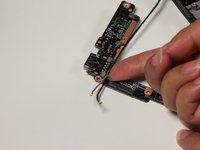


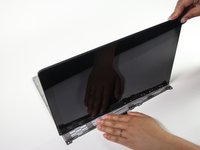


このデバイスを再組み立てするには、インストラクションを逆の順番に従って作業を進めてください。
このデバイスを再組み立てするには、インストラクションを逆の順番に従って作業を進めてください。
11 の人々がこのガイドを完成させました。
以下の翻訳者の皆さんにお礼を申し上げます:
93%

Midori Doiさんは世界中で修理する私たちを助けてくれています! あなたも貢献してみませんか?
翻訳を始める ›
チーム

Cal Poly, Team S13-G6, Forte Spring 2017 Cal Poly, Team S13-G6, Forte Spring 2017人のメンバー
CPSU-FORTE-S17S13G6
4 メンバー
12のガイドは作成済み
5 件のコメント
this is for the 131sk2 not the 131sk ?
i wasn’t aware the was a difference until my screen developed issues. i have read the 131SK is glued to the back panel not clipped in
is there a way to figure this out for sure?
I can confirm that the monitor on my 900 does not have the strip at the bottom of the screen to expose the screws. I have a video on YouTube here. [|https://youtu.be/mBiChrP6MAA] It shows the issue with the video cable, and that the screen is glued all the way around. Thanks for the rest of the info tho
…. and you REALLY don’t have to take apart the entire MOBO and all the DB’s as well, just to replace the screen. All that is handled on the other side of the hinge. So not needed…. in my opinion. Of course, you DO want to disconnect your battery.
https://www.youtube.com/watch?v=SEwizLj_... this shows what to do for the 900-131sk2
Is there any link that can direct the user to access any video on how to fix it?