はじめに
We have to open the back panel to be able to loosen the hinges, and then remove the display to completely remove them.
必要な工具と部品
-
-
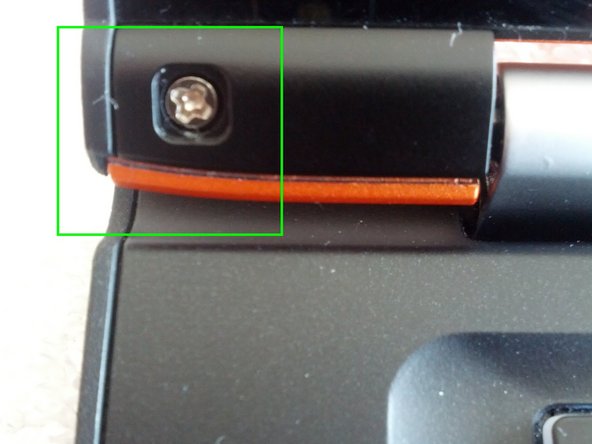
With a T5 Torx screwdriver, remove eleven 6.35 mm screws from the back of the laptop.
-
-
-
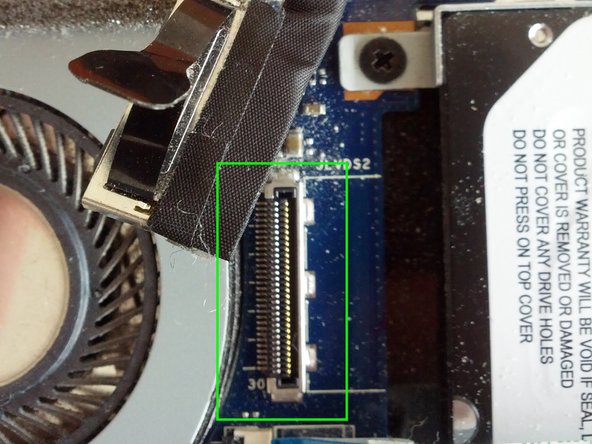
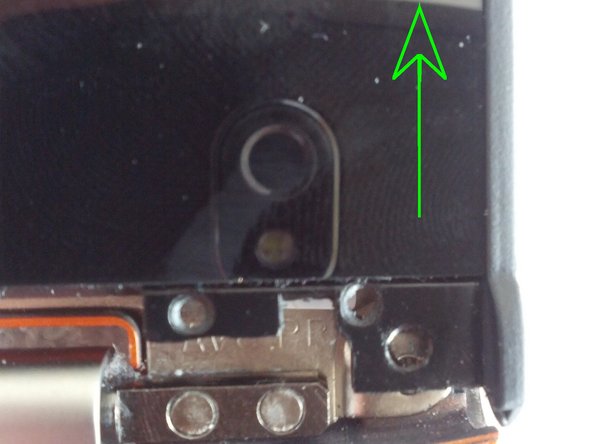
The video connector can be pulled out with the attached noose. Pull gently possibly supported by lifting the connector with a screwdriver.
-
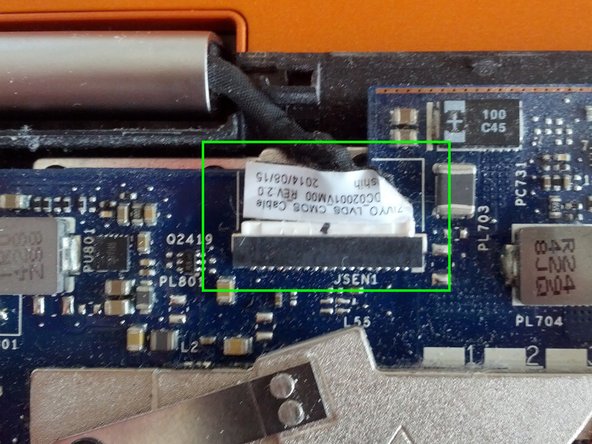
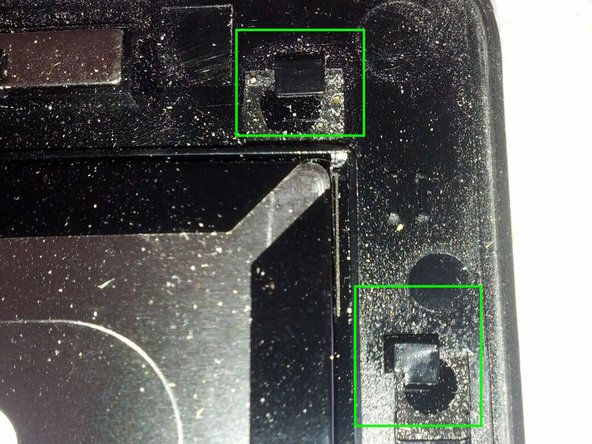
The other connector can be pushed out on the sides with the help of a screwdriver.
-
-
-
-
Peel out a small plastic cover, pull out center cover and unscrew left and right cover below the display.
-
-
-
Once the two screws are loosened, the whole display can be shifted up - don't just pull it away.
-
On reassembly, put the display and cover together slightly shifted, and then gently slide the display back into position.
-
-
-
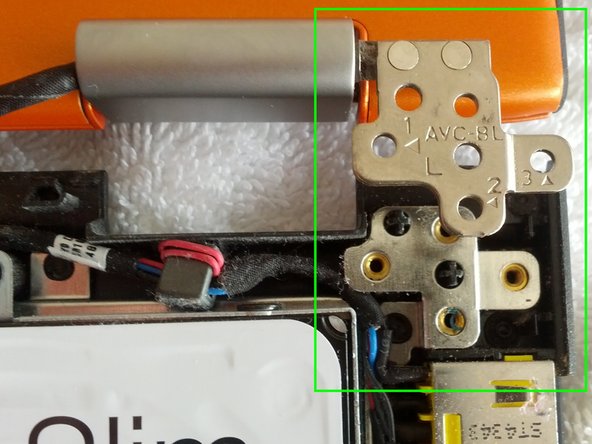
The hinge is attached to the lid with four screws.
-
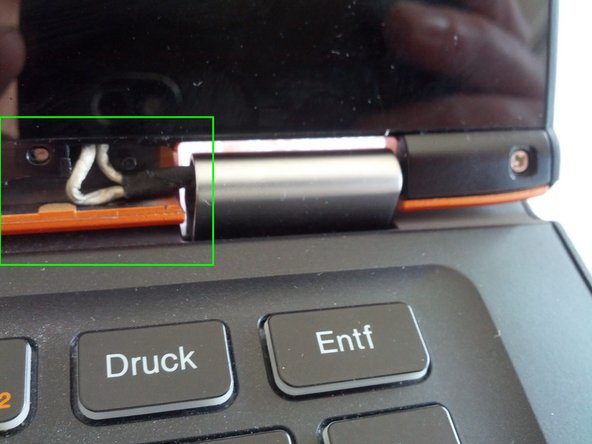
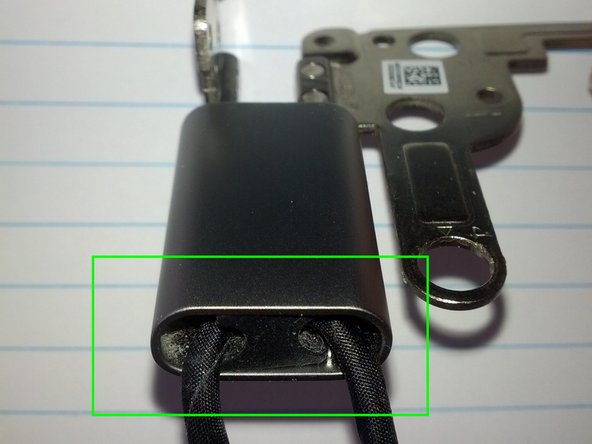
A cable runs through each hinge, you can just pull out the small rubbery holder.
-
Loosen the screw below it to open the hinge.
-
-
-
The stiffness of the hinge can be adjusted by loosening the small nuts. One eighth of a turn might be enough - you will have to repeat adjusting them until the hinge has the right stiffness.
-


To reassemble your device, follow these instructions in reverse order.
To reassemble your device, follow these instructions in reverse order.
9 の人々がこのガイドを完成させました。

16 件のコメント
Hi,
Thanks you for your guide. It is amazing but i worry that remove Display guide is not too clear and user may broken the LCD before he stiffness the hinges.
Kim Son
Kim Son Vu - 返信
Can you post the fix for how to tighten hinges for Lenovo IdeaPad Yoga 13 ?
Just followed this howto on my Yoga 2 13: the size of the bolts is 4.5. I know because I only have 4 and 5 sized tools, and they didn't fit. I used pliers too, it works.