はじめに
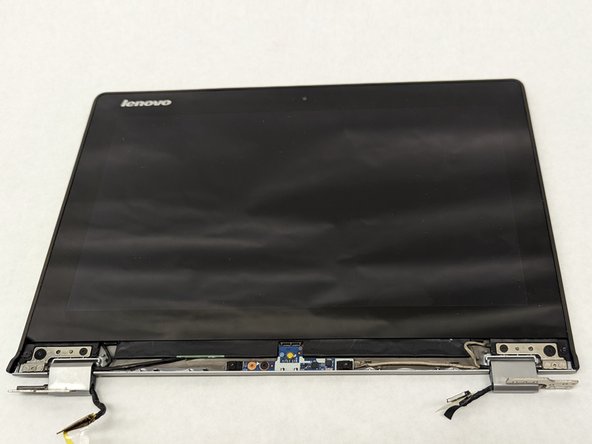
A display replacement may be required if your Lenovo Yoga 2 11" 20428 has a cracked or faulty screen. If your display has screen burn in, or any other forms of discoloration, replacing the display is a good fix.
Before beginning, turn off your device and disconnect it from any external power source.
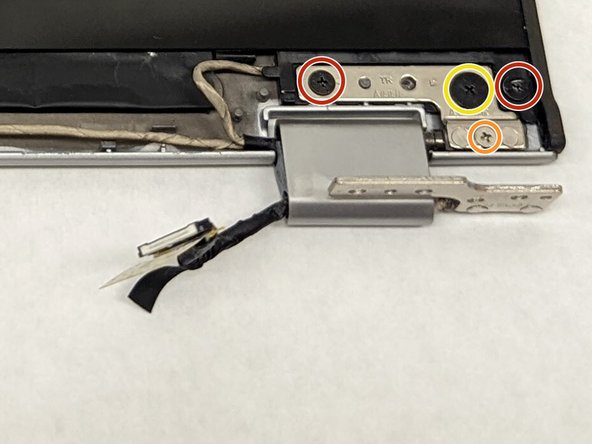
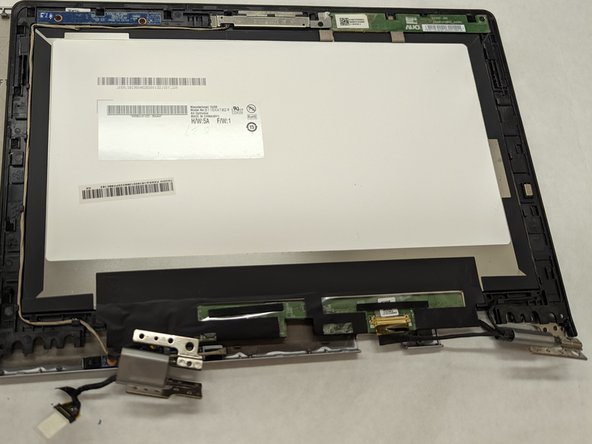
It is important to lightly remove screws since not doing so may result in the threads being worn down. Remove all circuit boards carefully and keep away from water.
Step 6 requires you to unplug from the circuit board. Do so carefully as damaging the teeth may result in extra repair or replacement of the part
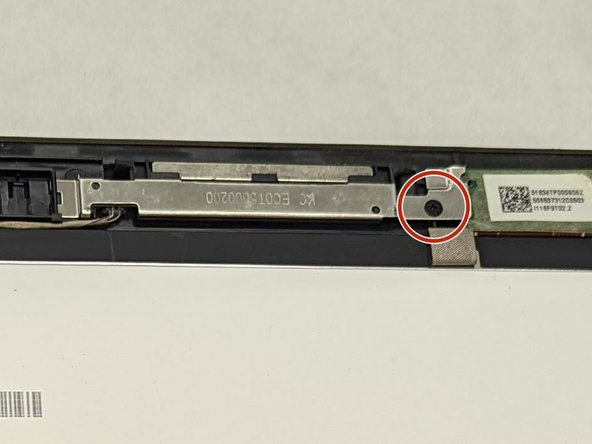
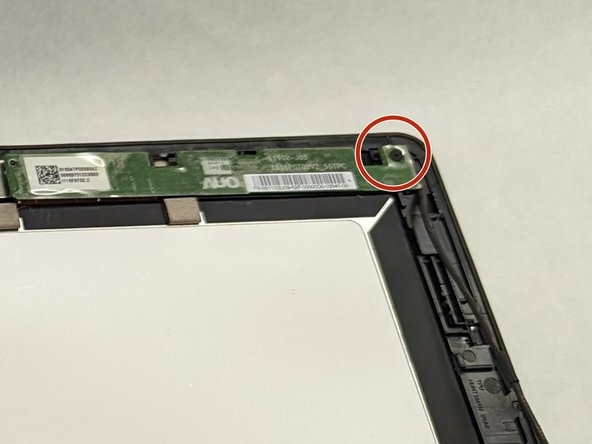
Step 7 requires you to pry the circuit board from the display cover. Do so carefully as damaging the teeth may result in extra repair or replacement of the part.
必要な工具と部品


To reassemble your device, follow these instructions in reverse order.
To reassemble your device, follow these instructions in reverse order.
ある他の人がこのガイドを完成しました。
チーム

IUPUI, Team 1-3, Harley Spring 2022 IUPUI, Team 1-3, Harley Spring 2022人のメンバー
IUPUI-HARLEY-S22S1G3
3 メンバー
3のガイドは作成済み