はじめに
If your Lenovo Thinkpad X1 Carbon 4th Generation is giving a blue screen, restarting randomly, has a burning smell coming from the motherboard use this guide to replace the motherboard (also known as a Logic board).
The motherboard is the main part of the computer and if it fails may cause other parts to fail.
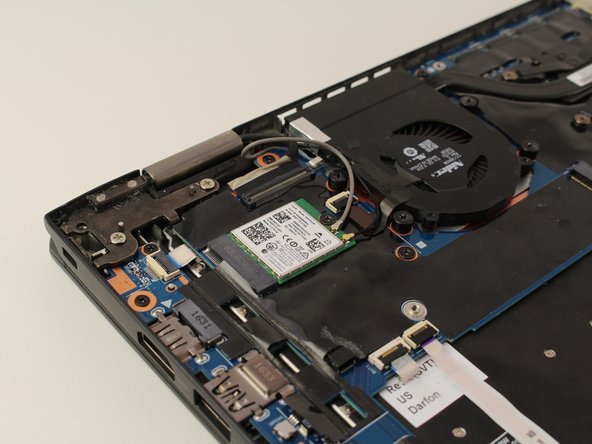
Before using this guide, inspect the ribbon cable connections for everything attached to the motherboard.
Before beginning, make sure to power off your computer completely and disconnect from any external power source.
必要な工具と部品
-
-
Unscrew the nine captive screws on the bottom cover of the laptop using a Phillips #1 screwdriver.
-
There are a few small clips around the edge that you may need to pry at to free them. An opening pick may be helpful for this process.
-
-
-
Carefully lift the far end of the battery connector with an opening tool facing towards you.
-
Remove the connector by pushing it forward and lifting.
-
-
-
Peel back the plastic protective cover above the main battery section to expose the coin-cell's red and black wires.
-
-
-
-
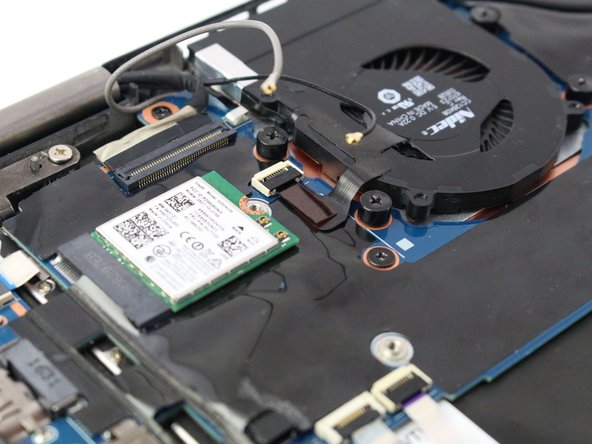
Using a Phillips #0 screwdriver, remove the two 5 mm screws securing the USB ports on the righthand side of the motherboard.
-


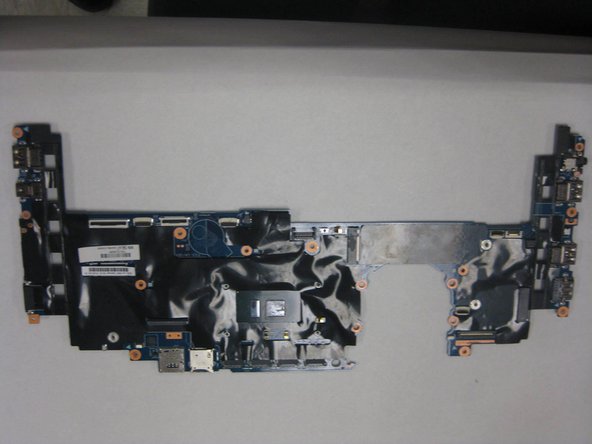
To reassemble your device, follow these instructions in reverse order.
To reassemble your device, follow these instructions in reverse order.
4 の人々がこのガイドを完成させました。
チーム

The Citadel Military College of South Carolina, Team S2-G12, Eggleston Fall 2020 The Citadel Military College of South Carolina, Team S2-G12, Eggleston Fall 2020人のメンバー
CMCSC-EGGLESTON-F20S2G12
3 メンバー
3のガイドは作成済み
2 件のコメント
good work, thank you
Step 9 (speakers) needs to be done before you can do Step 5 (main battery) as the battery is attached by tabs under the speaker screws. If you don't do this then you'll break off those battery tabs like I did!