必要な工具と部品
-
-
Docking via 3 pcs. connectors sliding sideways into the laptop.
-
Power connector used is the square type.
-
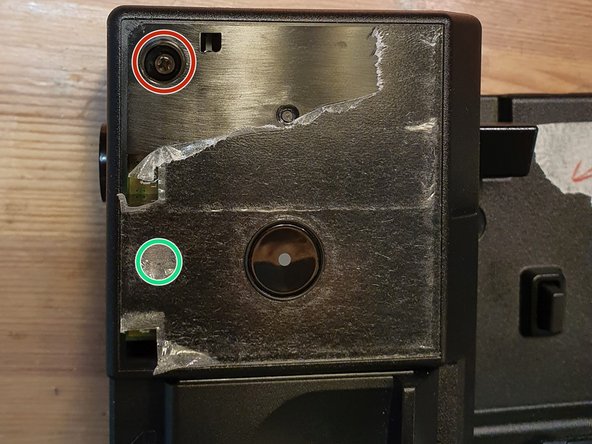
Keep track of where the screws are located, because there are many.
-
Be careful on disassembly. The dock is partly mechanical, and it relies on springs and flexing of mechanical parts to function.
-
-
-
Check if the firmware is updated. In this case, the repair may not be needed. The dock needs to be powered and laptop docked when running the update tool.
-
-
-
-
Use plastic picks or a metal spudger to pry off the top left corner of the shown cover. Remove the hidden screw.
-
Lock engaged (LED on). The switch is located inside the button assembly.(when the slider is moved right).
-
Laptop connected/detected: LED on.
-
Screw for removing the key-lock. No need for removal if the whole button assembly is to be removed together.
-
-
-
Use plastic picks or a metal spudger to pry off the top covers of the two screws on the top side.
-
-
-
PCB top side
-
Red boxes : Dual Synchronous, Step-Down Controller with 5-V and 3.3-V LDOs. Texas instruments: TPS51225
-
Left step down produce 5V
-
Right step down: produce 3V3 and 5V
-
There are three Eeprom on board : winbond: 25x10CLNIG , 8 pin, U4 and U10 (1M-bit SPI)
-
VLI marked IC: Via labs Usb port controllers VL820. https://www.via-labs.com/product_show.ph...
-
Synaptics VMM5322.Have features for HDMI and 2xDisplay port out.
-
-
-
PCB bottom side
-
Red boxes : usb-c controller ICs. Via Labs inc, : VP225 - USB Type-C DFP CC Controller
-
Blue box: 2 pcs. cypress CYP3123 USB type C port controller. https://www.cypress.com/part/cypd3123-40...
-
Red arows: 20V path to the laptop usb-c charge power.
-


To reassemble your device, follow these instructions in reverse order.
To reassemble your device, follow these instructions in reverse order.
4 の人々がこのガイドを完成させました。
