はじめに
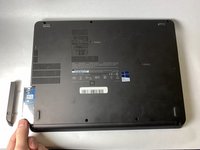
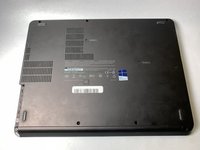
This guide will help you remove the hard drive from your Lenovo Thinkpad Twist s230u. Hard drives are used to store data, so you can replace your computer’s hard drive with a new one for more storage space. For this device, the hard drive must be removed in order to replace most other parts. Whether you want to replace your hard drive or you need to remove it for another replacement, this guide is for you.
必要な工具と部品
-
-
Flip the laptop over.
-
Using a Phillips #1 Screwdriver, unscrew the screw on the bottom left corner.
-
-
To reassemble your device, follow these instructions in reverse order.
To reassemble your device, follow these instructions in reverse order.
4 の人々がこのガイドを完成させました。


