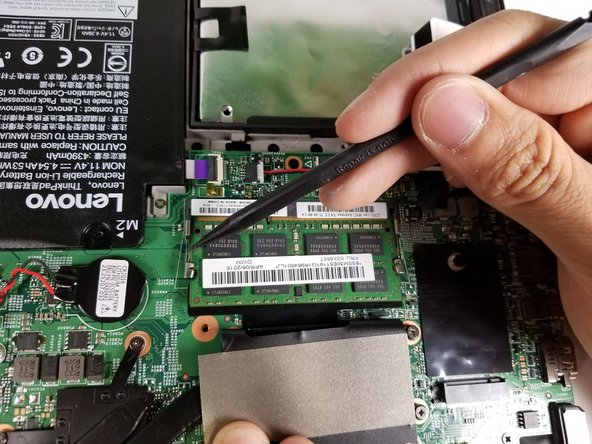
メインコンテンツにスキップ

Lenovo ThinkPad Yoga 14 20FY RAM Replacement

必要な工具と部品

  1. Lenovo ThinkPad Yoga 14 20FY RAM Replacement, Back Cover: 手順 1、 2の画像 1 Lenovo ThinkPad Yoga 14 20FY RAM Replacement, Back Cover: 手順 1、 2の画像 2
    • Remove the indicated nine M2 x 6 mm nylon-coated screws using a Phillips head screwdriver.

    • The screws do not come all the way out. Do not force them out.

  2. Lenovo ThinkPad Yoga 14 20FY RAM Replacement: 手順 2、 2の画像 1 Lenovo ThinkPad Yoga 14 20FY RAM Replacement: 手順 2、 2の画像 2
    • After removing all of the screws, gently lift up on all covers to remove the back plate and reveal the interior of the device.

  3. Lenovo ThinkPad Yoga 14 20FY RAM Replacement, RAM: 手順 3、 2の画像 1 Lenovo ThinkPad Yoga 14 20FY RAM Replacement, RAM: 手順 3、 2の画像 2
    • The RAM is hidden behind the black piece of plastic. Pull the plastic back.

  4. Lenovo ThinkPad Yoga 14 20FY RAM Replacement: 手順 4、 3の画像 1 Lenovo ThinkPad Yoga 14 20FY RAM Replacement: 手順 4、 3の画像 2 Lenovo ThinkPad Yoga 14 20FY RAM Replacement: 手順 4、 3の画像 3
    • The RAM is held in place by two metal pieces on both sides.

    • Use the spudger to push off both metal pieces to release the RAM.

  5. Lenovo ThinkPad Yoga 14 20FY RAM Replacement: 手順 5、 1の画像 1
    • Take the ram card out of its slot.

終わりに

To reassemble your device, follow these instructions in reverse order.

3 の人々がこのガイドを完成させました。

作成者

3人の作成者と共同で作成されました。

jose aguirre

メンバー登録日: 04/19/17

264 ポイント

2のガイドは作成済み

チーム

Cal Poly, Team S14-G2, Banghart Spring 2017 Cal Poly, Team S14-G2, Banghart Spring 2017人のメンバー

CPSU-BANGHART-S17S14G2

5 メンバー

6のガイドは作成済み

0 件のコメント

コメントを追加

統計データ:

過去 24時間: 1

過去 7 日: 6

過去 30 日: 17

今までの合計 2,332