メインコンテンツにスキップ

Lenovo ThinkPad Yoga 14 20FY Hard Drive Replacement

必要な工具と部品

  1. Lenovo ThinkPad Yoga 14 20FY Hard Drive  Replacement, Back Cover: 手順 1、 2の画像 1 Lenovo ThinkPad Yoga 14 20FY Hard Drive  Replacement, Back Cover: 手順 1、 2の画像 2
    • Remove the indicated nine M2 x 6 mm nylon-coated screws using a Phillips head screwdriver.

    • The screws do not come all the way out. Do not force them out.

  2. Lenovo ThinkPad Yoga 14 20FY Hard Drive  Replacement: 手順 2、 2の画像 1 Lenovo ThinkPad Yoga 14 20FY Hard Drive  Replacement: 手順 2、 2の画像 2
    • After removing all of the screws, gently lift up on all covers to remove the back plate and reveal the interior of the device.

  3. Lenovo ThinkPad Yoga 14 20FY Hard Drive  Replacement, Hard Drive: 手順 3、 2の画像 1 Lenovo ThinkPad Yoga 14 20FY Hard Drive  Replacement, Hard Drive: 手順 3、 2の画像 2
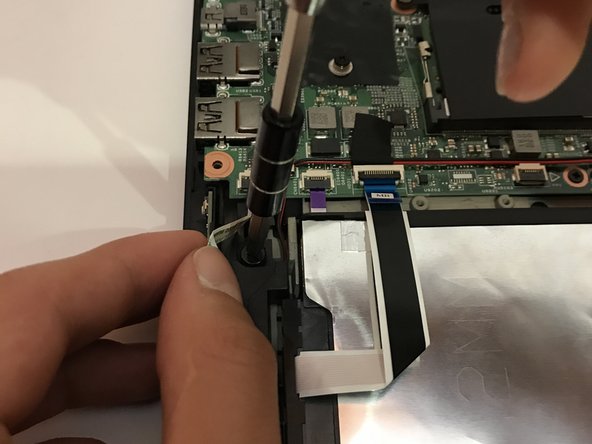
    • Once the back cover is exposed, remove the two screws holding the hard drive in place.

  4. Lenovo ThinkPad Yoga 14 20FY Hard Drive  Replacement: 手順 4、 1の画像 1
    • Remove the plastic encasing holding down the hard drive after screws are removed.

    • This is the plastic encasing covering the SATA connection on the hard drive. There will be another plastic encasing that will be required to remove in a later step.

  5. Lenovo ThinkPad Yoga 14 20FY Hard Drive  Replacement: 手順 5、 2の画像 1 Lenovo ThinkPad Yoga 14 20FY Hard Drive  Replacement: 手順 5、 2の画像 2
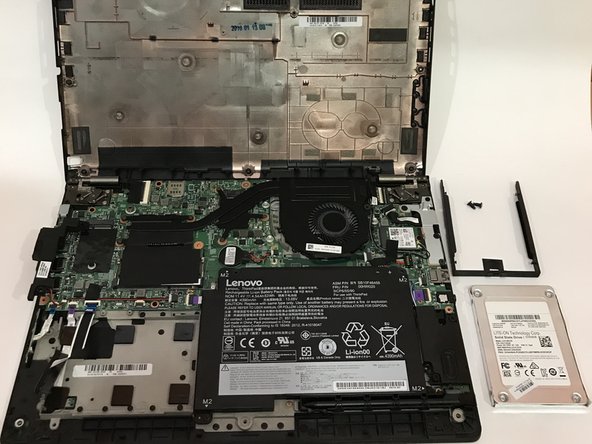
    • Using two fingers, carefully remove the hard drive.

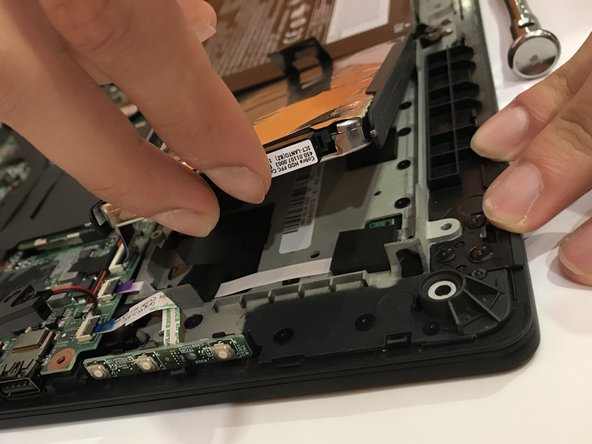
  6. Lenovo ThinkPad Yoga 14 20FY Hard Drive  Replacement: 手順 6、 2の画像 1 Lenovo ThinkPad Yoga 14 20FY Hard Drive  Replacement: 手順 6、 2の画像 2
    • Carefully remove the plastic encasing surrounding the perimeter of the hard drive.

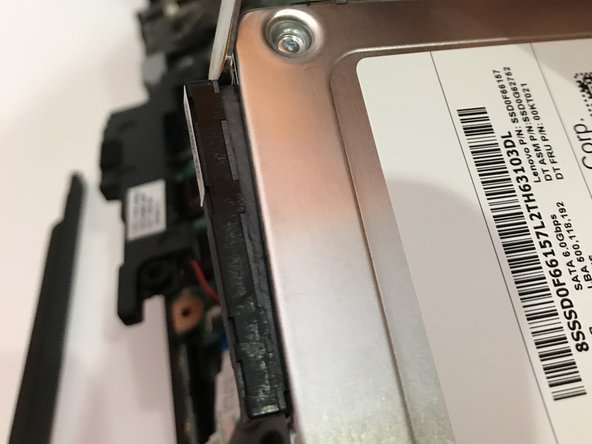
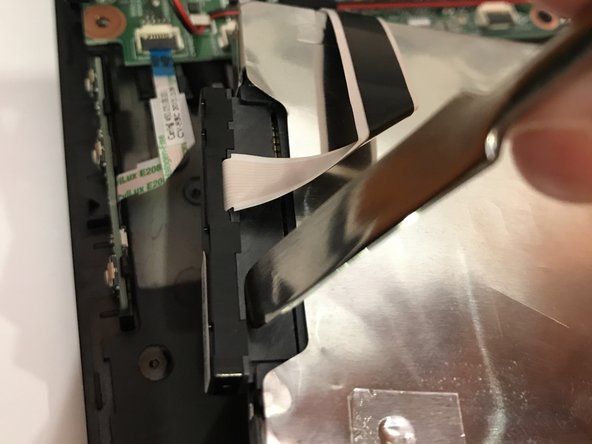
  7. Lenovo ThinkPad Yoga 14 20FY Hard Drive  Replacement: 手順 7、 3の画像 1 Lenovo ThinkPad Yoga 14 20FY Hard Drive  Replacement: 手順 7、 3の画像 2 Lenovo ThinkPad Yoga 14 20FY Hard Drive  Replacement: 手順 7、 3の画像 3
    • This step requires the most precision. Forcefully using the prying tool to remove the SATA connector may damage the hard drive and the connection. Remove the connection slowly to a point where you can safely finish removing the connection with your fingers.

    • Use a nylon spudger to remove the SATA connector from the hard drive.

  8. Lenovo ThinkPad Yoga 14 20FY Hard Drive  Replacement: 手順 8、 2の画像 1 Lenovo ThinkPad Yoga 14 20FY Hard Drive  Replacement: 手順 8、 2の画像 2
    • After the SATA connection is removed, gently pop off the hard drive from its socket.

終わりに

To reassemble your device, follow these instructions in reverse order.

5 の人々がこのガイドを完成させました。

作成者

4人の作成者と共同で作成されました。

Richard Terre

メンバー登録日: 04/19/17

243 ポイント

1ガイドが承認済み

チーム

Cal Poly, Team S14-G2, Banghart Spring 2017 Cal Poly, Team S14-G2, Banghart Spring 2017人のメンバー

CPSU-BANGHART-S17S14G2

5 メンバー

6のガイドは作成済み

コメント 1 件

After the SATA connection is removed, gently pop off the hard drive from its socket.

jhonson - 返信

コメントを追加

統計データ:

過去 24時間: 2

過去 7 日: 5

過去 30 日: 17

今までの合計 5,241