はじめに
The speaker is essential feature for the laptop as it connects users to the sound of the videos overtime quality might go down and eventually the speaker of the computer will completely go out, it must be repaired quick. Since that is the case, following this guide will go into a great detail about how to replace the speaker,
This will be a low cost and efficient way to do an replacement on the speaker. For this guide, we will be using the iFixit Precision Bit Driver, T5 Torx Screwdriver Bit(1.4 mm), Anti-Static Wrist Strap, and an opening pick.
必要な工具と部品
-
-
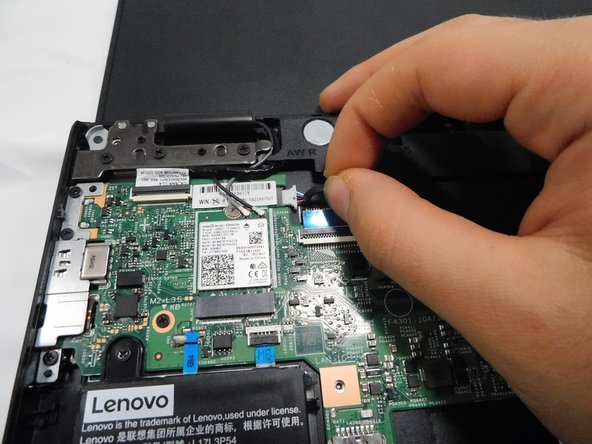
Start by putting on your anti static wrist strap and connecting it to a stationary and stable object, like a desk.
-
-


To reassemble your device, follow these instructions in reverse order.
To reassemble your device, follow these instructions in reverse order.

チーム

Gateway, Team 11-11, Gonzalez Spring 2024 Gateway, Team 11-11, Gonzalez Spring 2024人のメンバー
GCC-GONZALEZ-S24S11G11
4 メンバー
4のガイドは作成済み