メインコンテンツにスキップ

Lenovo ThinkPad X280 Display Assembly

必要な工具と部品

  1. Lenovo ThinkPad X280 Display Assembly, Display Assembly: 手順 1、 1の画像 1
    • Lay the computer flat on the back of the screen.

  2. Lenovo ThinkPad X280 Display Assembly: 手順 2、 1の画像 1
    • Use the metal spudger to pry the screen away from the assembly.

  3. Lenovo ThinkPad X280 Display Assembly: 手順 3、 1の画像 1
    • The screen will fold down over the keyboard, exposing the connections.

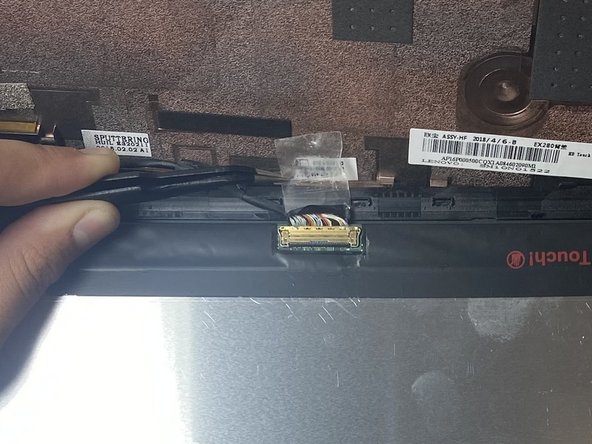
  4. Lenovo ThinkPad X280 Display Assembly: 手順 4、 2の画像 1 Lenovo ThinkPad X280 Display Assembly: 手順 4、 2の画像 2
    • Use tweezers to gently remove the tape that secures the connector.

    • Lift the bracket on the bottom of the connector, and gently remove the bundled cable.

  5. Lenovo ThinkPad X280 Display Assembly: 手順 5、 1の画像 1
    • Remove the screen.

終わりに

To reassemble your device, follow these instructions in reverse order.

ある他の人がこのガイドを完成しました。

作成者

5人の作成者と共同で作成されました。

Hannah Bryn Cullen

メンバー登録日: 10/03/22

415 ポイント

3のガイドは作成済み

コメント 1 件

Anyone tried modding the screen with a 13.3" screen? I heard the screen part number is N133HCE-GP1, but you need to cut the bezels, and rewire the camera module and stuff.

Azrael - 返信

コメントを追加

統計データ:

過去 24時間: 4

過去 7 日: 12

過去 30 日: 57

今までの合計 1,164