はじめに
The keyboard is an essential component of the device so that a user can properly type a command into the device. If the keyboard isn’t properly recording your strokes, you may need to replace it.
必要な工具と部品
-
-
Flip the computer over so the bottom is facing up.
-
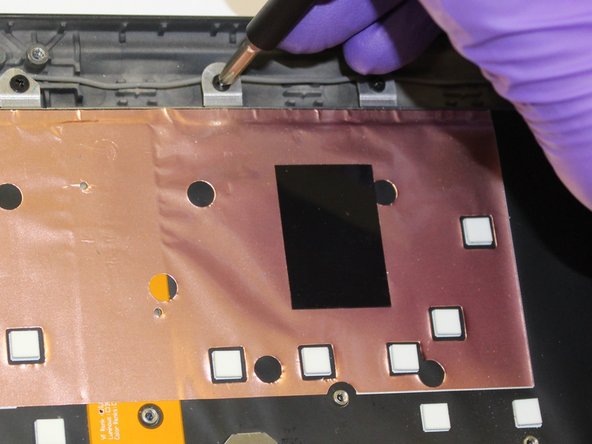
Remove nine 4mm Phillips #1 screws from the bottom of the computer.
-
Use an iFixit opening tool to pry the back cover off of the laptop.
-
-
-
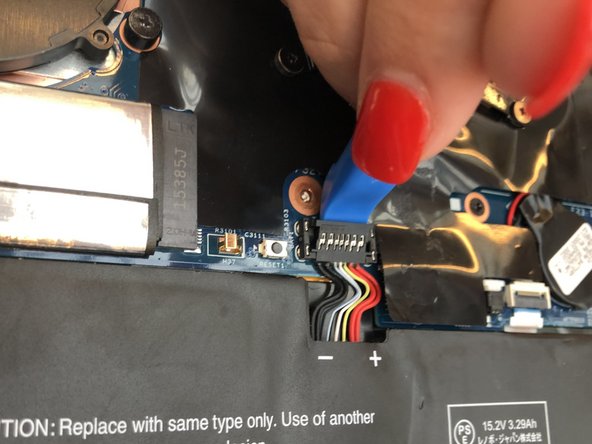
Lift the plastic black strip cover that's laying over the battery connector.
-
Use the iFixit opening tool to flip up and disconnect the black battery connector from its motherboard socket.
-
Gently pull the connector away from the battery to pull it out of the slot.
-
-
-
-
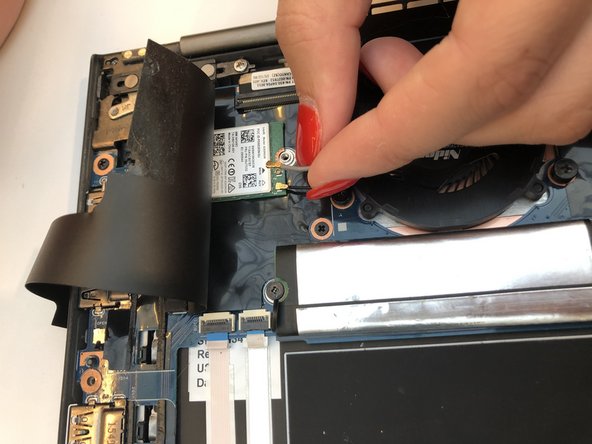
Gently peel back the black plastic covering.
-
Remove the single Phillips #1 screw securing the wireless chip in place.
-
-
-
Gently peel back the black plastic covering.
-
Remove the single 2mm Phillips #1 screw from the hard drive's silver casing.
-
-
-
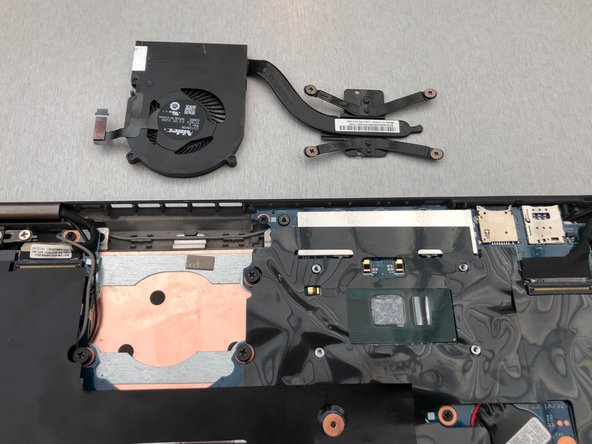
Using the iFixit opening tool, flip up the eight small covers from the cable connectors.
-
Gently pull the cables out of the slots.
-


To reassemble your device, follow these instructions in reverse order.
To reassemble your device, follow these instructions in reverse order.
9 の人々がこのガイドを完成させました。

チーム

The Citadel Military College of South Carolina, Team S3-G16, Eggleston Spring 2020 The Citadel Military College of South Carolina, Team S3-G16, Eggleston Spring 2020人のメンバー
CMCSC-EGGLESTON-S20S3G16
3 メンバー
9のガイドは作成済み