はじめに
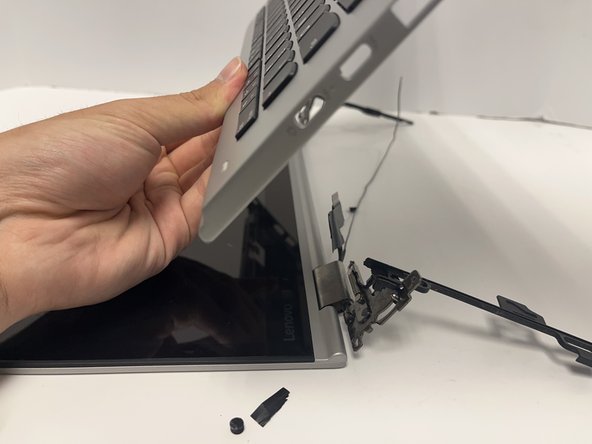
The process to replace the keyboard on the Lenovo X1 ThinkPad Yoga 2nd Generation is a relatively complicated task. Through the next steps, the guide will explain the process to fully remove the keyboard.
必要な工具と部品
-
-
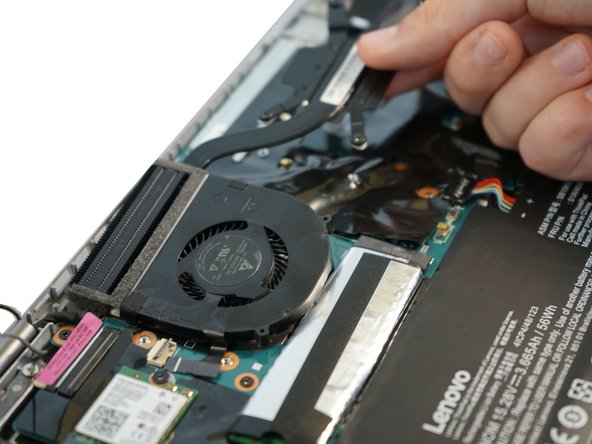
Follow the ribbon cable that runs from the left speaker to the motherboard.
-
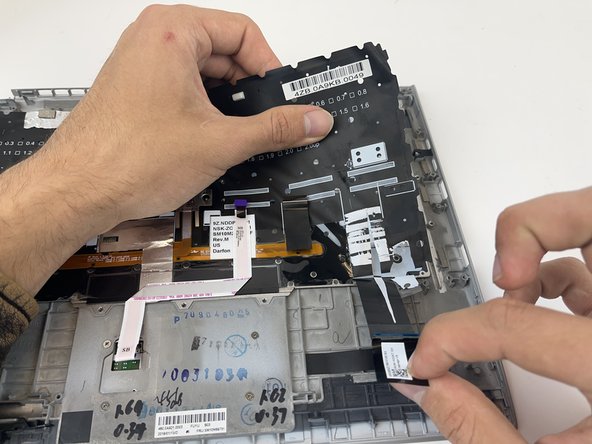
Pull the black connector up and release the cable wire by hand.
-
-
-
Use a spudger to pop the ribbon cable that runs from the upper-middle portion of the battery to the motherboard out of the motherboard.
-
-
-
-
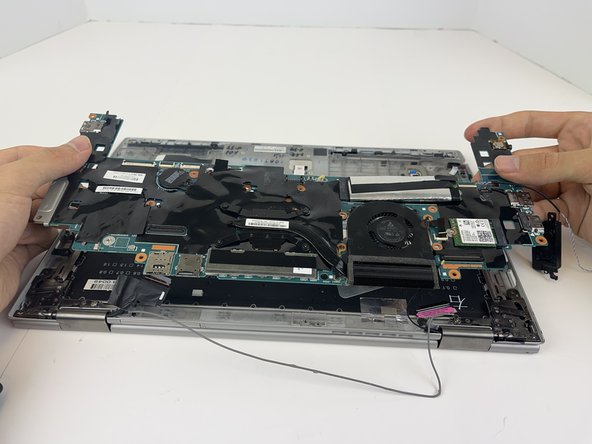
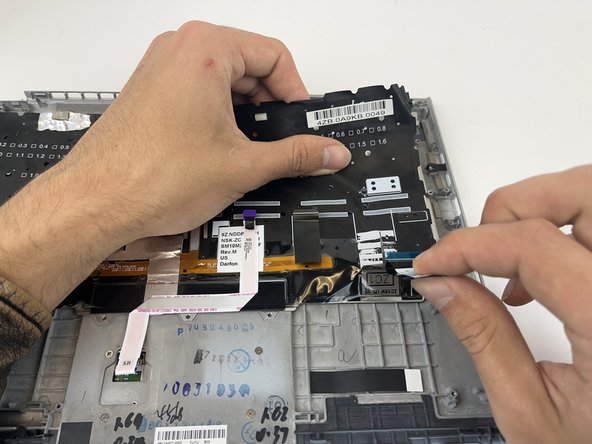
Using a Phillips #0 screwdriver, remove all 16 of the 6 mm screws connecting the motherboard to the computer.
-
-
-
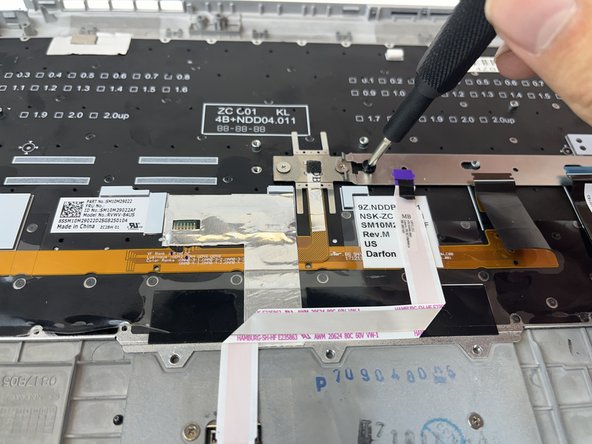
Lift the black flap with the plastic spudger.
-
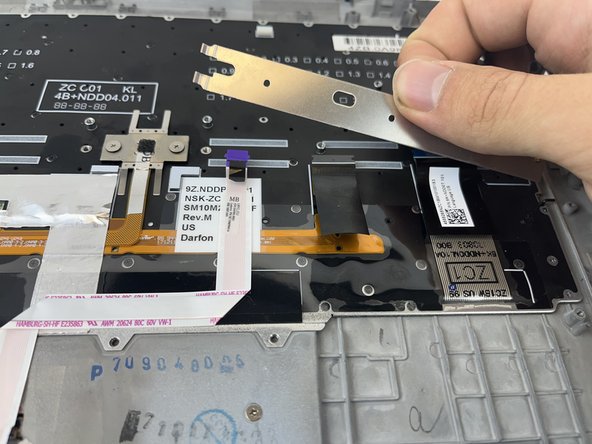
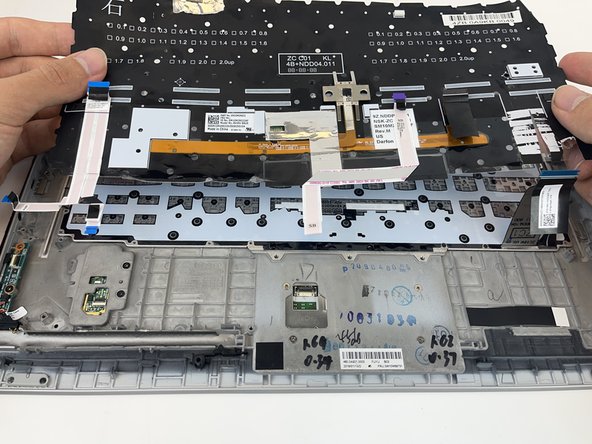
Pull out the ribbon cable with the black tab.
-


To reassemble your device, follow these instructions in reverse order.
To reassemble your device, follow these instructions in reverse order.
3 の人々がこのガイドを完成させました。
チーム

Embry-Riddle Aeronautical University, Team 2-1, Rauch Spring 2022 Embry-Riddle Aeronautical University, Team 2-1, Rauch Spring 2022人のメンバー
ERAU-RAUCH-S22S2G1
3 メンバー
2のガイドは作成済み