メインコンテンツにスキップ

Lenovo ThinkPad T530 Memory Module: Bottom Slot Replacement

必要な工具と部品

  1. Lenovo ThinkPad T530 Memory Module: Bottom Slot Replacement, Place your laptop upside down: 手順 1、 2の画像 1 Lenovo ThinkPad T530 Memory Module: Bottom Slot Replacement, Place your laptop upside down: 手順 1、 2の画像 2
    • Ensure that the laptop is disconnected from the wall charger, and that the laptop is entirely powered off before following any of the steps below.

    • Flip your laptop upside down, so that the keyboard is facing down.

  2. Lenovo ThinkPad T530 Memory Module: Bottom Slot Replacement, Unlock Battery: 手順 2、 2の画像 1 Lenovo ThinkPad T530 Memory Module: Bottom Slot Replacement, Unlock Battery: 手順 2、 2の画像 2
    • Locate the latch located on the battery near the top of the laptop.

    • Using your finger, slide the latch to the right-most (Unlocked) position.

    • None of this should require an exhuberant amount of force.

  3. Lenovo ThinkPad T530 Memory Module: Bottom Slot Replacement, Remove the Battery: 手順 3、 2の画像 1 Lenovo ThinkPad T530 Memory Module: Bottom Slot Replacement, Remove the Battery: 手順 3、 2の画像 2
    • You can now pull the battery away from the laptop. When pulling the battery out, ensure to pull it out straight.

  4. Lenovo ThinkPad T530 Memory Module: Bottom Slot Replacement, Unscrew Rear Memory Cover: 手順 4、 2の画像 1 Lenovo ThinkPad T530 Memory Module: Bottom Slot Replacement, Unscrew Rear Memory Cover: 手順 4、 2の画像 2
    • Ensure you have followed the prerequisite guide, the laptop should still be keyboard facing down.

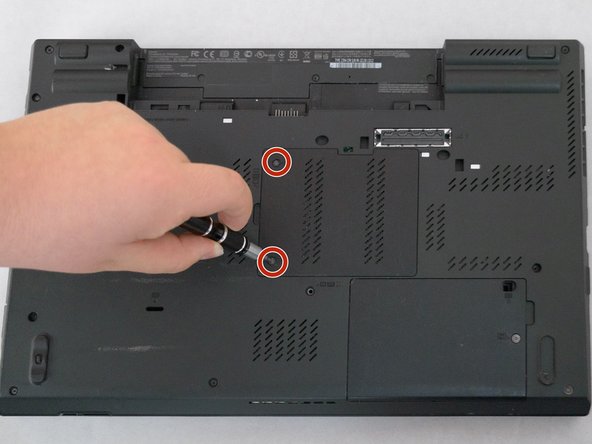
    • Using a Phillips #00 Screwdriver, loosen the screws enough to loosen the cover- but do not remove them from the cover.

  5. Lenovo ThinkPad T530 Memory Module: Bottom Slot Replacement, Remove Rear Memory Cover: 手順 5、 3の画像 1 Lenovo ThinkPad T530 Memory Module: Bottom Slot Replacement, Remove Rear Memory Cover: 手順 5、 3の画像 2 Lenovo ThinkPad T530 Memory Module: Bottom Slot Replacement, Remove Rear Memory Cover: 手順 5、 3の画像 3
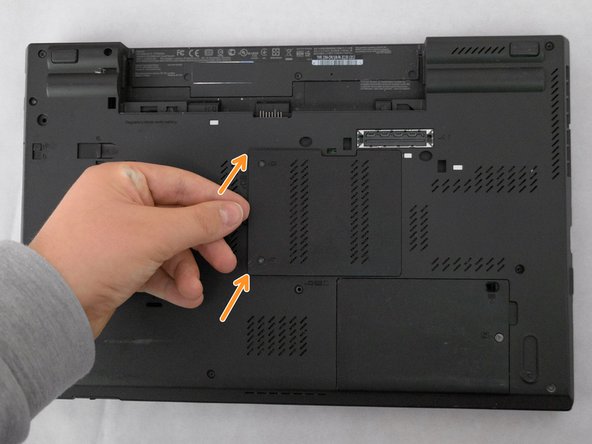
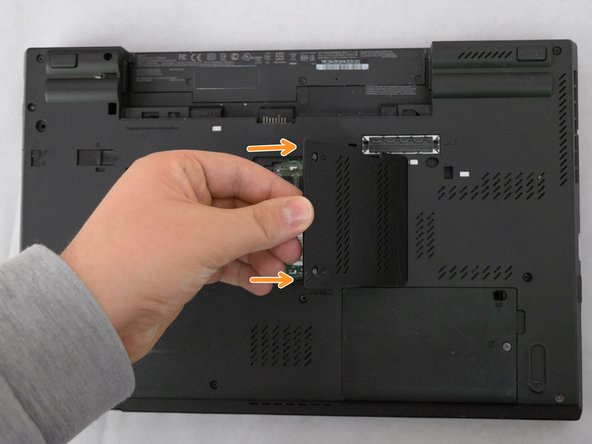
    • Placing your finger below the indicated orange divot, pull the cover up and towards the CD/DVD tray.

    • Keep the rear memory slot in a safe place.

  6. Lenovo ThinkPad T530 Memory Module: Bottom Slot Replacement, Removing Existing Memory Module: 手順 6、 2の画像 1 Lenovo ThinkPad T530 Memory Module: Bottom Slot Replacement, Removing Existing Memory Module: 手順 6、 2の画像 2
    • None of the following instructions should require an exuberant amount of force, using an excessive amount of force may result in damaging your device.

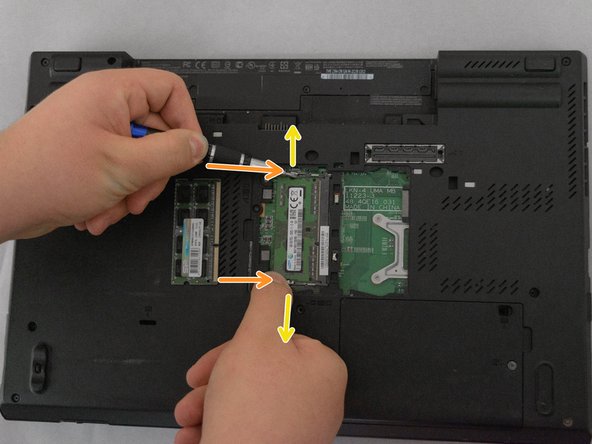
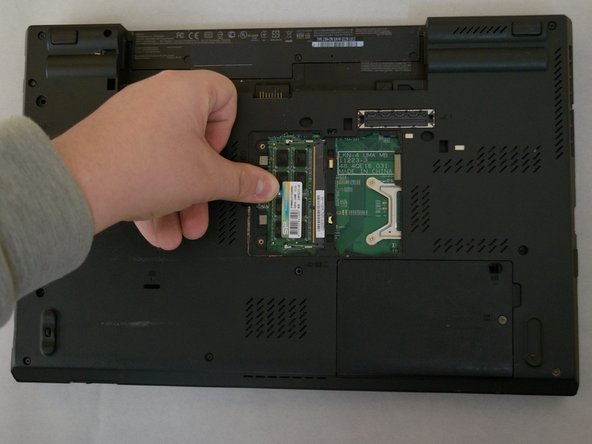
    • The memory module is visible, but we first need to unlock the module from it's clips.

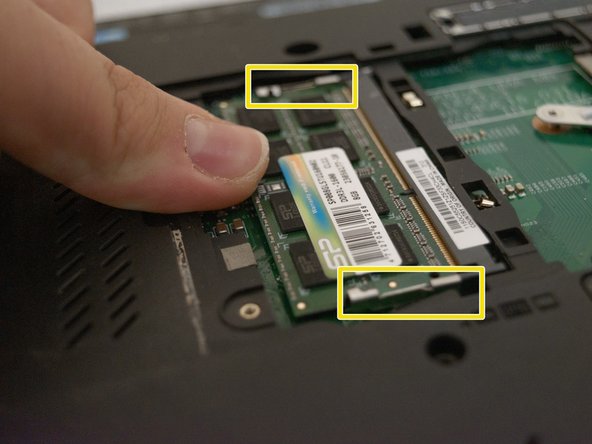
    • On the top and bottom end of the memory module, there are two latches. Put your fingers on the inside of the two latches, then push the latches away (towards the battery, and the trackpad, respectively).

    • Lift the module to a 45° angle, and then pull it out of the slot.

    • Be cautious, the memory module may eject from the slot.

  7. Lenovo ThinkPad T530 Memory Module: Bottom Slot Replacement, Installing the memory module: 手順 7、 3の画像 1 Lenovo ThinkPad T530 Memory Module: Bottom Slot Replacement, Installing the memory module: 手順 7、 3の画像 2 Lenovo ThinkPad T530 Memory Module: Bottom Slot Replacement, Installing the memory module: 手順 7、 3の画像 3
    • Insert the memory module at a 45° angle with the shorter notched end into the shorter connector.

    • Push the back of the memory module down until the two metal retention arms (highlighted in yellow) lock into place.

終わりに

To reassemble your device, follow these instructions in reverse order.

作成者

1人の作成者と共同作成されました。

Albert Stoynov

メンバー登録日: 09/11/23

1,198 ポイント

10のガイドは作成済み

0 件のコメント

コメントを追加

統計データ:

過去 24時間: 0

過去 7 日: 1

過去 30 日: 9

今までの合計 79