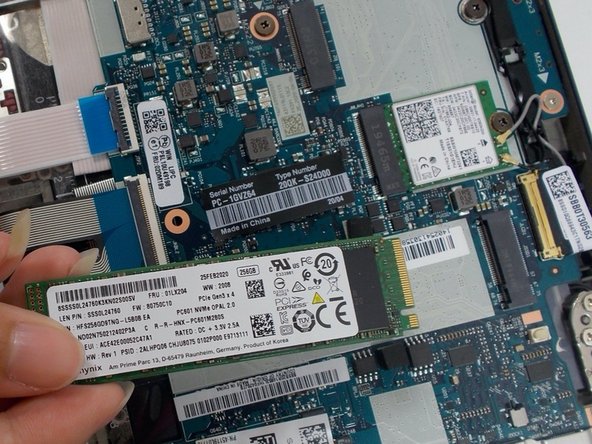
メインコンテンツにスキップ

Lenovo ThinkPad T495s SSD Replacement

必要な工具と部品

  1. Lenovo ThinkPad T495s SSD Replacement, Back Panel: 手順 1、 1の画像 1
    • Do not begin until the laptop is unplugged and completely powered off.

    • Flip the laptop over to reveal the back panel of the laptop.

  2. Lenovo ThinkPad T495s SSD Replacement: 手順 2、 3の画像 1 Lenovo ThinkPad T495s SSD Replacement: 手順 2、 3の画像 2 Lenovo ThinkPad T495s SSD Replacement: 手順 2、 3の画像 3
    • Loosen the five 4.0 mm captive screws with a Phillips #1 screwdriver.

    • The screws will stay attached to the back cover as you lift it off.

  3. Lenovo ThinkPad T495s SSD Replacement, SSD: 手順 3、 3の画像 1 Lenovo ThinkPad T495s SSD Replacement, SSD: 手順 3、 3の画像 2 Lenovo ThinkPad T495s SSD Replacement, SSD: 手順 3、 3の画像 3
    • Use a Phillips #1 screwdriver to unscrew one 2.2 mm screw at the bottom of the SSD.

    • Use your hands to pull the SSD toward yourself, removing the SSD.

終わりに

To reassemble your device, follow these instructions in reverse order.

作成者

4人の作成者と共同で作成されました。

Ijhanne Holder

メンバー登録日: 03/28/22

422 ポイント

4のガイドは作成済み

チーム

UMass Dartmouth, Team 1-7, Petersen Spring 2022 UMass Dartmouth, Team 1-7, Petersen Spring 2022人のメンバー

UMASSD-PETERSEN-S22S1G7

3 メンバー

7のガイドは作成済み

0 件のコメント

コメントを追加

統計データ:

過去 24時間: 2

過去 7 日: 13

過去 30 日: 63

今までの合計 1,013