はじめに
If you're noticing that your Lenovo ThinkPad T495s is running noticeably hotter than it used to, or you're experiencing seemingly random shutdowns while running hardware-intensive applications, there's a good chance that your fan is either too dirty to disperse heat efficiently, or has died altogether.
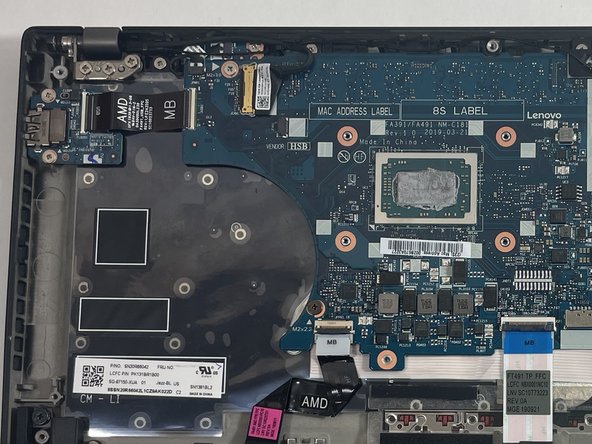
Before replacing your fan, take a look at the blades. If you can see a noticeable build-up of gunk, try thoroughly cleaning the blades with a combination of an ESD-safe brush and compressed air. If cleaning the blades doesn't help your fan's performance, or if the blades aren't spinning whatsoever while the computer is on, it's probably time to replace the fan.
必要な工具と部品


To reassemble your device, follow these instructions in reverse order.
To reassemble your device, follow these instructions in reverse order.

