はじめに
This guide will show you the steps to safely remove the damaged integrated camera from your laptop. The integrated camera is located above the screen of your laptop, which is usually used to take pictures, create videos, and chat with others.
必要な工具と部品
-
-
-
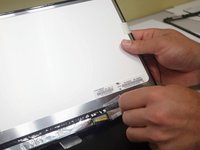
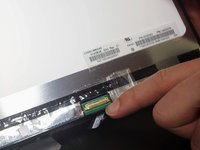
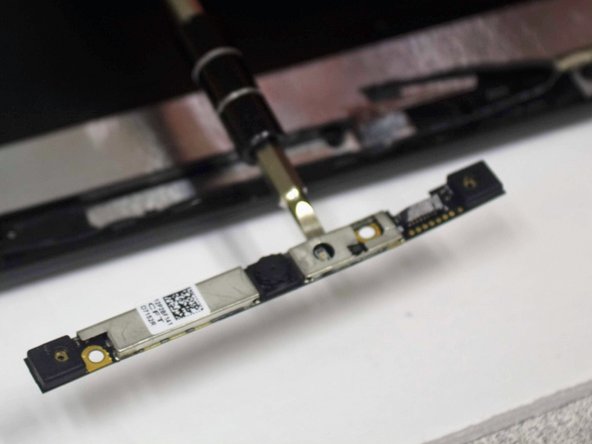
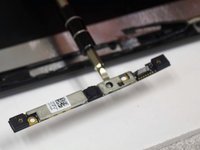
Unplug the connector. It is located on the top of the screen attached to the camera assembly.
-
-
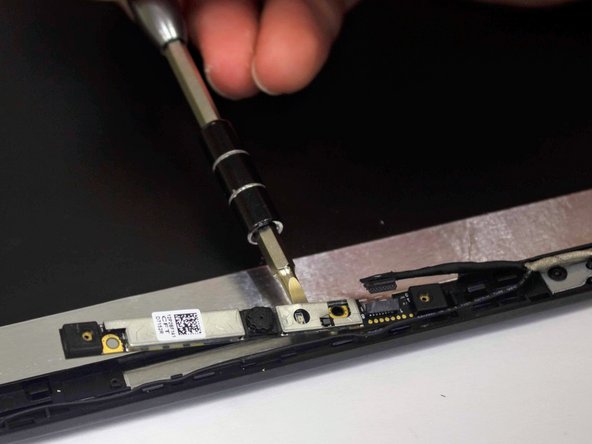
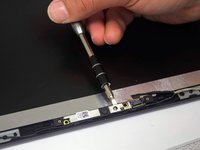
この手順で使用する道具:Flathead 3/32" or 2.5 mm Screwdriver$5.49
-
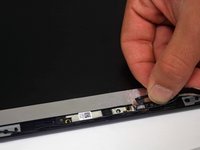
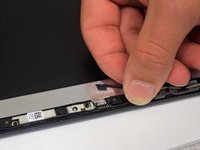
Use the 3.0 flathead to lift up the silver camera strip.
-


To reassemble your device, follow these instructions in reverse order.
To reassemble your device, follow these instructions in reverse order.
2 の人々がこのガイドを完成させました。

チーム

Linn Benton Community College, Team S2-G2, Johnson Spring 2018 Linn Benton Community College, Team S2-G2, Johnson Spring 2018人のメンバー
LBCC-JOHNSON-S18S2G2
4 メンバー
7のガイドは作成済み