はじめに
Use this guide to replace a faulty motherboard in the Lenovo Thinkpad L440.
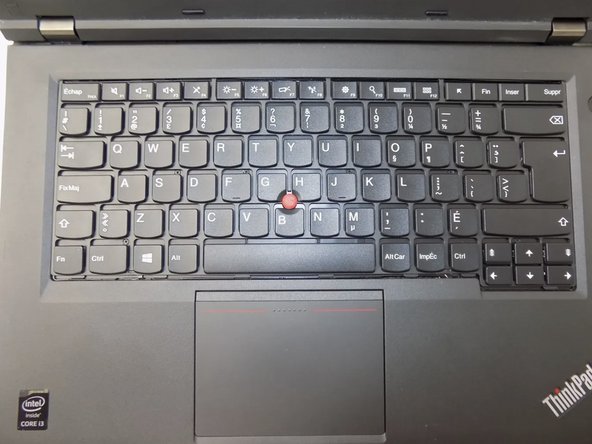
The motherboard is responsible for total functionality of the laptop, connecting all parts (screen, keyboard, trackpad, etc.), together, allowing the user to effectively use the device.
Before using this guide, check our troubleshooting page. In some cases, sings of a faulty motherboard can be caused by outdated software or too many background applications. In this case, the motherboard will not have to be replaced.
Signs of a faulty motherboard include a scratching noise or hum, error messages, unexpected restarts, the blue screen, freezes, glitches, or a slow down in performance.
必要な工具と部品
-
-
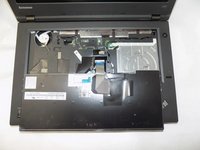
Open the laptop to access the power button.
-
Hold the power button in the top right until the computer powers off.
-
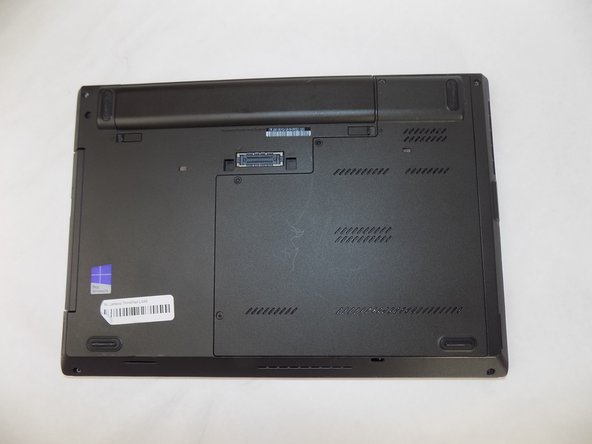
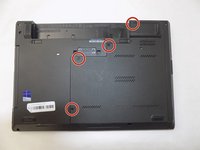
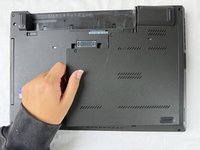
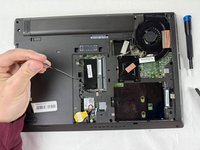
Turn the computer over so that the bottom of the computer is facing up
-
-
-
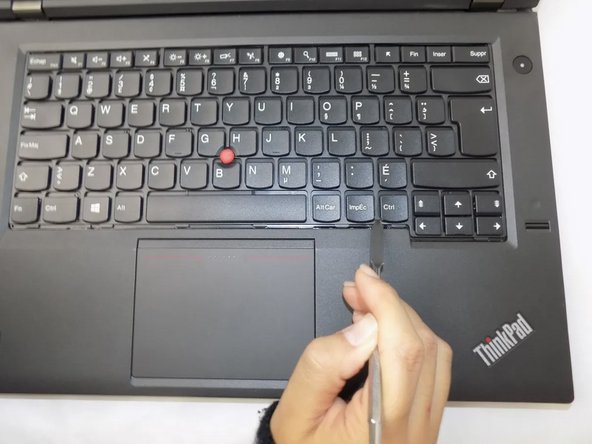
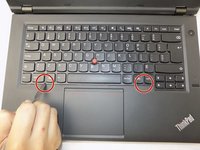
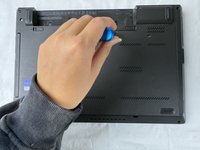
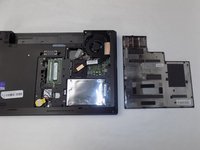
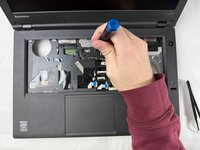
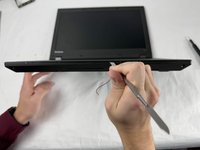
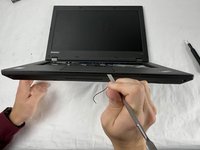
Insert the pointed end of a spudger into the notch on the left side first, and apply gentle pressure upwards until the frame around the keyboard moves up. Repeat for the other side.
-
-
-
-
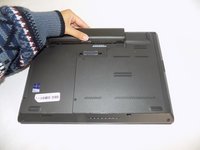
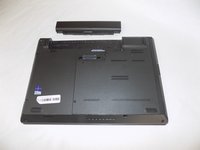
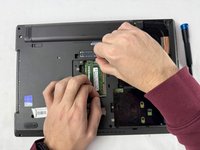
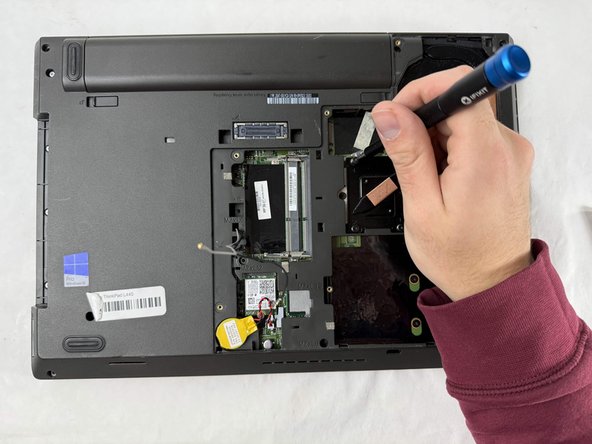
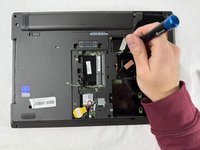
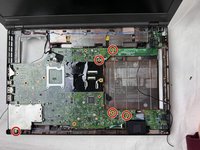
Loosen the four retainer screws on the bottom of the laptop using a Phillips #0 screwdriver.
-
-
-
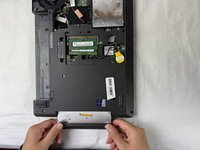
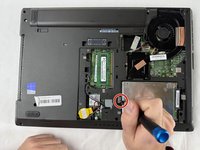
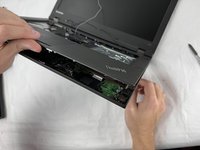
Remove the single 3.5 mm screw next to the hard drive using a Phillips #00 screwdriver.
-
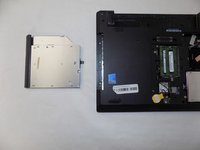
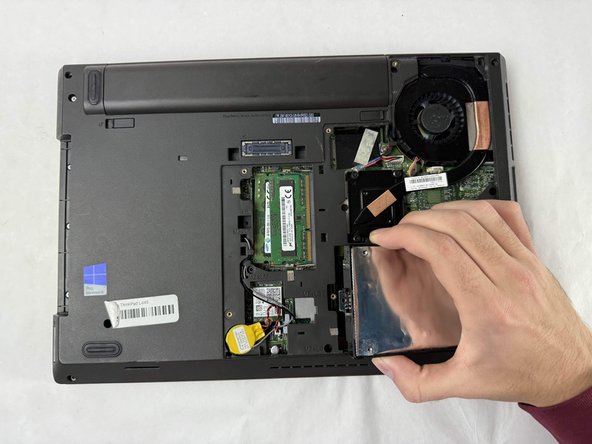
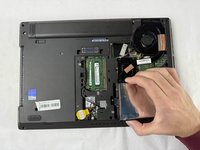
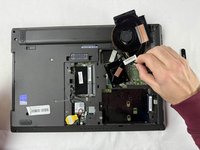
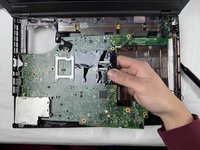
Remove the hard drive from the laptop.
-
-
-
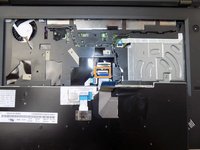
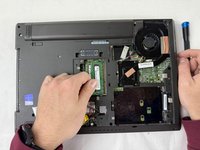
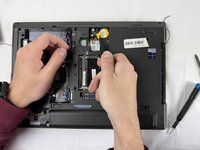
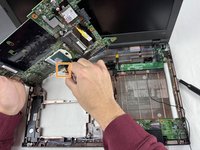
Use a pair of tweezers to detach the black and grey internet cables from the back of the computer and remove them from the coaxial connectors.
-
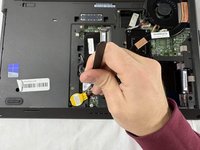
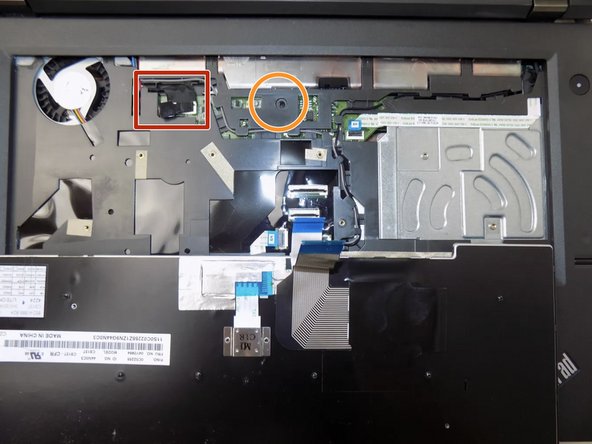
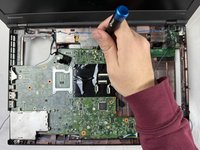
Remove the yellow CMOS battery from the computer.
-
-
-
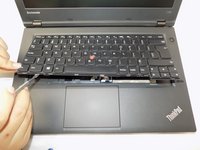
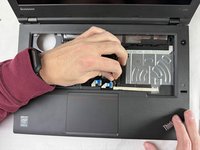
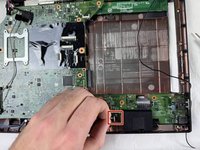
Pull up the tab on each keyboard ribbon cable to disconnect them from the motherboard.
-
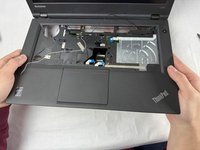
Lift the computer up and bring the internet cables from the back to the top of the computer.
-
Keep pulling on the wires following the path of the wires until they are loose from the cover for the motherboard.
-


To reassemble your device, follow these instructions in reverse order.
To reassemble your device, follow these instructions in reverse order.

チーム

UMass Dartmouth, Team 2-6, Konn Fall 2024 UMass Dartmouth, Team 2-6, Konn Fall 2024人のメンバー
UMASSD-KONN-F24S2G6
4 メンバー
5のガイドは作成済み