はじめに
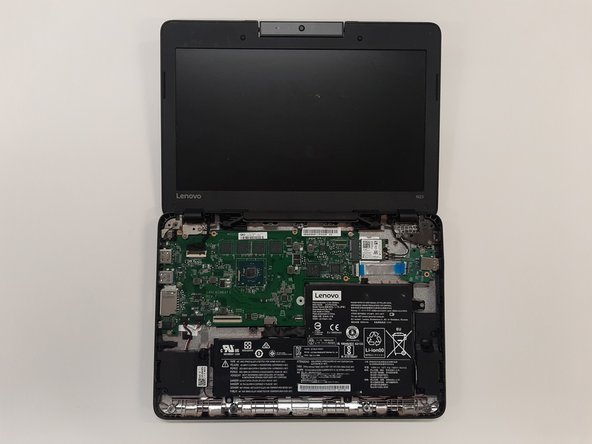
If your Lenovo N23 Chromebook wont connect to wifi, follow this guide to replace the wifi card.
The wifi card allows the laptop to connect to the internet. A faulty wifi card will not allow the laptop to connect to the internet or will allow intermittent or unreliable connection.
Before using this guide, try following an internet connectivity issues troubleshooting guide. If the laptop still does not connect to the internet, that indicates that there may be a problem with the wifi card.
No special skills are required to follow this guide.
必要な工具と部品
-
-
Remove the eight 6.0 mm screws holding the back into place using a Phillips #0 screwdriver.
-
-
-
Flip the device over.
-
Slide a plastic opening tool between the back cover and keyboard.
-
Carefully pry upwards until you hear a click.
-
Following the seam, slide the opening tool all the way around the front cover, prying upwards occasionally until the keyboard and trackpad are loose from the back cover.
-
Lift the keyboard panel up to reveal the internals.
-
-
-
Disconnect the two ribbon cables that connect from the motherboard to the front cover.
-
Using the iFixit opening tool, flip up the black tab holding keyboard ribbon cable and then pull the cable out.
-
Using the opening tool, flip the white tab holding the mouse ribbon cable and then pull the cable out.
-
-
-
-
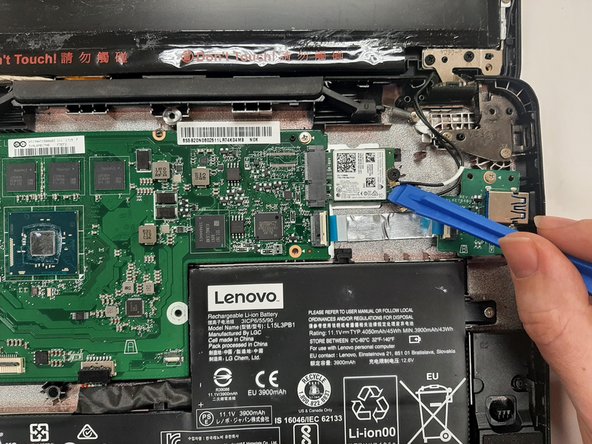
Use a plastic opening tool to disconnect the two coaxial cables from the Wi-Fi card.
-
Tuck the two wires out of the way.
-


To reassemble your device, follow these instructions in reverse order.
To reassemble your device, follow these instructions in reverse order.

チーム

University of Alabama, Team S3-G1, Bedsole Spring 2021 University of Alabama, Team S3-G1, Bedsole Spring 2021人のメンバー
UA-BEDSOLE-S21S3G1
3 メンバー
4のガイドは作成済み