メインコンテンツにスキップ

Lenovo Miix 2 Speakers Replacement

必要な工具と部品

  1. Lenovo Miix 2 Speakers Replacement, Battery: 手順 1、 2の画像 1 Lenovo Miix 2 Speakers Replacement, Battery: 手順 1、 2の画像 2
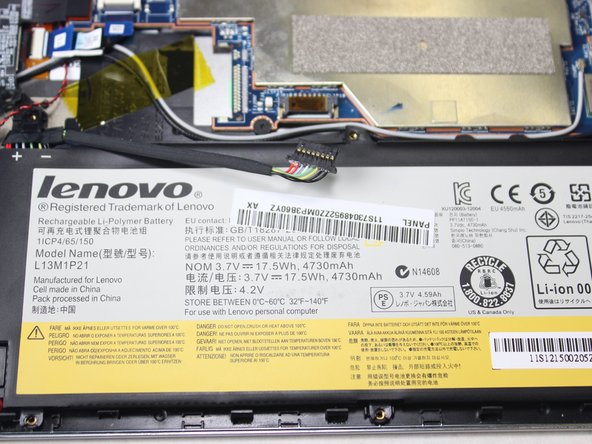
    • Remove the back cover of the tablet by inserting a nylon or metal spudger in the small hole between the screen and rear cover near the volume button. Slide the tool along the edge of the tablet to release the internal clasps.

    • You should have to apply a good amount of force, but pry carefully in order to avoid damaging the clasps or the internals.

  2. Lenovo Miix 2 Speakers Replacement: 手順 2、 2の画像 1 Lenovo Miix 2 Speakers Replacement: 手順 2、 2の画像 2
    • Unscrew the six 3mm screws surrounding the battery dock using a Phillips #0 screwdriver.

  3. Lenovo Miix 2 Speakers Replacement: 手順 3、 2の画像 1 Lenovo Miix 2 Speakers Replacement: 手順 3、 2の画像 2
    • Using a plastic spudger, slowly push each side of the battery connector (back and forward a couple of times) out of its socket on the motherboard.

  4. Lenovo Miix 2 Speakers Replacement: 手順 4、 2の画像 1 Lenovo Miix 2 Speakers Replacement: 手順 4、 2の画像 2
    • Remove the battery by prying up with your fingers or a plastic opening tool.

  5. Lenovo Miix 2 Speakers Replacement, Speakers: 手順 5、 2の画像 1 Lenovo Miix 2 Speakers Replacement, Speakers: 手順 5、 2の画像 2
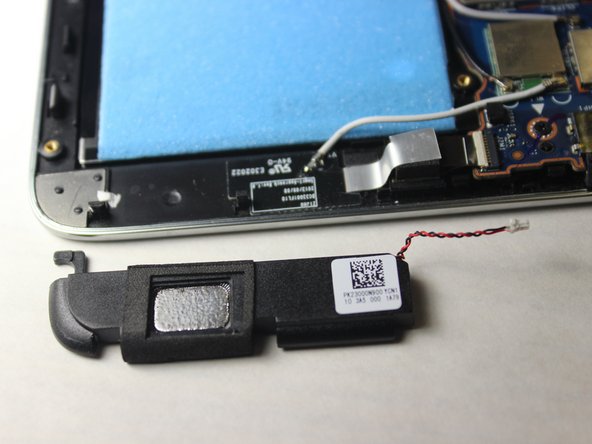
    • Remove the red and black connector cable linking the speakers to the motherboard with tweezers by pulling the connector to the left with a light degree of force.

    • To properly remove the speakers from the casing, push gently left until it shifts, then pull directly up.

終わりに

To reassemble your device, follow these instructions in reverse order.

作成者

4人の作成者と共同で作成されました。

Diana Chiu

メンバー登録日: 07/14/14

654 ポイント

4のガイドは作成済み

チーム

Kid fixers Kid fixers人のメンバー

Community

154 メンバー

291のガイドは作成済み

0 件のコメント

コメントを追加

統計データ:

過去 24時間: 0

過去 7 日: 1

過去 30 日: 2

今までの合計 946