はじめに
This guide will show how to replace the screen for a Lenovo Ideapad 320-15IAP. The screen is usually the primary way that users and computers use to communicate. If there are any problems with the screen, the user is not able to use the computer properly. You can use this guide to change the screen if it is scratched, broken, or has LCD damage. Typically, a physical impact on the screen will cause damage to it that will result in different issues. However, you can keep using the computer after replacing the damaged screen.
必要な工具と部品
-
-
Unscrew thirteen 6.5mm screws from the back panel with the Phillips #0 screwdriver.
-
Pull the CD tray out from the computer with a plastic opening tool once all screws are removed.
-
Use the opening tool to pull the case off the laptop by prying up the back panel along the edges of the computer.
-
-
-
Remove the back protector by gently pulling up. There might be some scary sounds but it is normal.
-
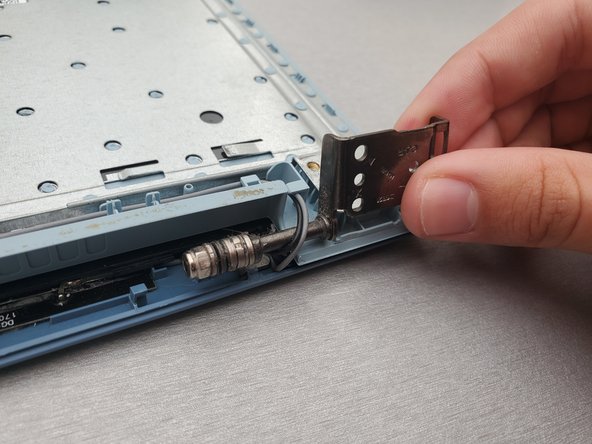
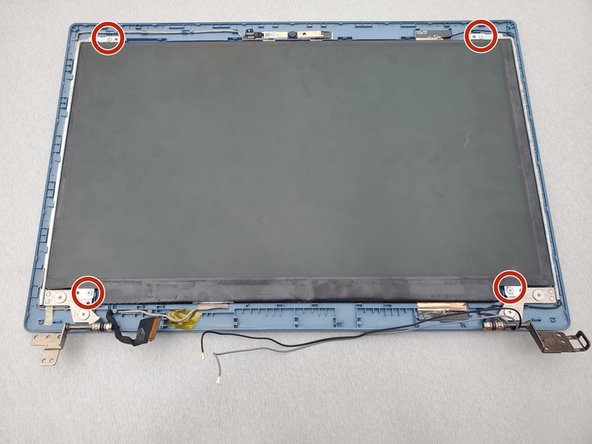
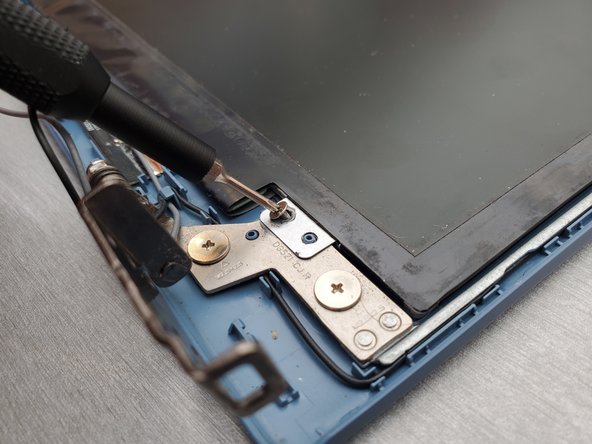
Unscrew four 4.5mm screws from the display hinges using a Phillips #0 screwdriver.
-
Disconnect the display cable by gently pushing up on the black tab of the ZIF connector and pulling the cable out.
-
-


To reassemble your device, follow these instructions in reverse order.
To reassemble your device, follow these instructions in reverse order.
ある他の人がこのガイドを完成しました。
チーム

Embry-Riddle Aeronautical University, Team S17-G11, Lamothe Spring 2020 Embry-Riddle Aeronautical University, Team S17-G11, Lamothe Spring 2020人のメンバー
ERAU-LAMOTHE-S20S17G11
4 メンバー
10のガイドは作成済み