はじめに
Use this guide to replace the battery.
必要な工具と部品
-
-
Look at the back of the tablet and locate the speakers on top of the rear cover.
-
There is a smaller indentation in the plastic cover that runs across the top of the device.
-
Wedge the plastic opening tool, under the middle of the cover as shown, then push up and the cover will pop off.
-
-
-
-
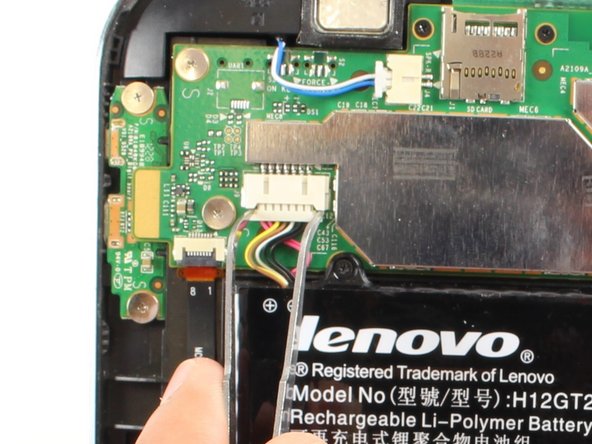
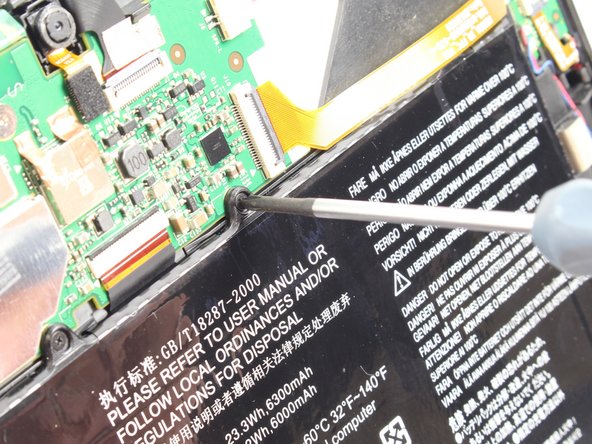
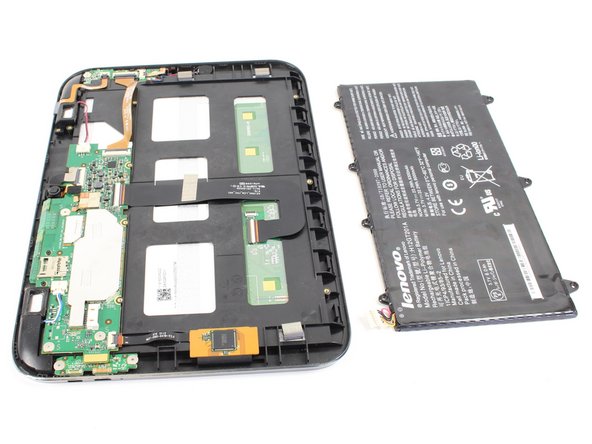
Now you can take the battery out in order to either replace it or continue disassembling the device.
Fantastic advice. After being told by Lenovo I needed to shell out £110 for a new mobo when it just had a charging socket issue I took it upon myself to see if I could fix it. This website helped take it apart and I found that the charging socket is just a micro daughter-board.
If you have a problem with charging then go to http://www.replacebase.co.uk and search for Lenovo A2109A. They have all the parts.
I replaced the daughter board and battery for about £10 incl del. Parts arrived yesterday and I have fitted. Works a treat. Not sure what amazes me the most, the low cost of the parts and excellent service by replacebase or the fact Lenovo tried to rip me off.
These instructions are spot on.
Well done
Goon'
Andy Blunn - 返信
-


To reassemble your device, follow these instructions in reverse order.
To reassemble your device, follow these instructions in reverse order.
9 の人々がこのガイドを完成させました。
チーム

Cal Poly, Team 7-19, Regan Spring 2014 Cal Poly, Team 7-19, Regan Spring 2014人のメンバー
CPSU-REGAN-S14S7G19
4 メンバー
15のガイドは作成済み
コメント 1 件
If there is an SD Micro memory card installed, REMOVE IT!, before the back cover. Otherwise, the card reader/writer will be damaged.
I just want to find out if my sd card is stuck inside how do I remove it without damaging the tablet.
Tom Mukotora - 返信