メインコンテンツにスキップ

Lenovo IdeaPad Flex 5-1470 Display Replacement

必要な工具と部品

  1. Lenovo IdeaPad Flex 5-1470 Display Replacement, Back Panel: 手順 1、 1の画像 1
    • Remove all ten 6.6 mm screws with a Phillips #00 screwdriver.

  2. Lenovo IdeaPad Flex 5-1470 Display Replacement: 手順 2、 2の画像 1 Lenovo IdeaPad Flex 5-1470 Display Replacement: 手順 2、 2の画像 2
    • Use the plastic opening tool to lift up and remove the casing.

  3. Lenovo IdeaPad Flex 5-1470 Display Replacement, Motherboard: 手順 3、 3の画像 1 Lenovo IdeaPad Flex 5-1470 Display Replacement, Motherboard: 手順 3、 3の画像 2 Lenovo IdeaPad Flex 5-1470 Display Replacement, Motherboard: 手順 3、 3の画像 3
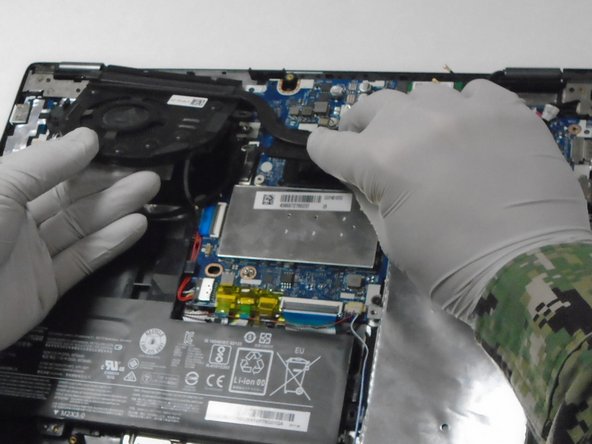
    • Use a Phillips #00 screwdriver to remove the three screws securing the fan.

    • Lift the fan up and out.

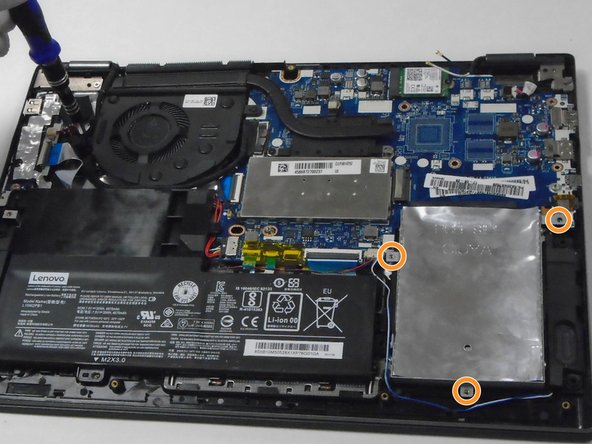
    • Use a Phillips #00 screwdriver to remove the three screws securing the hard drive.

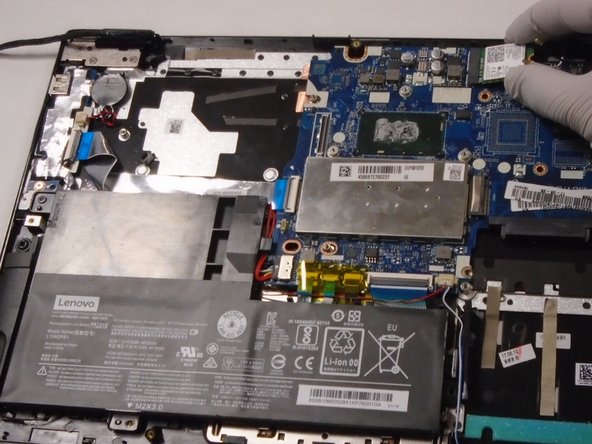
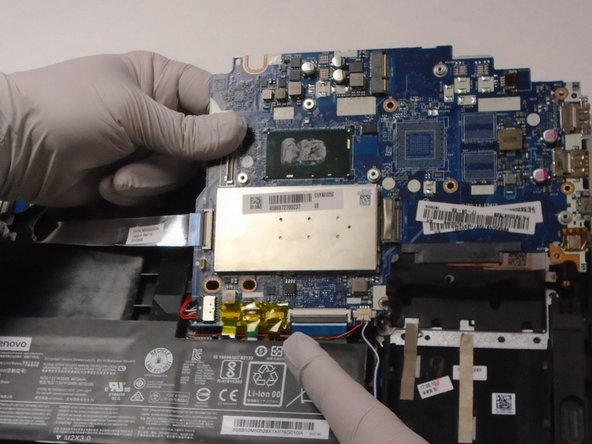
    • Lift the hard drive up and out.

  4. Lenovo IdeaPad Flex 5-1470 Display Replacement: 手順 4、 2の画像 1 Lenovo IdeaPad Flex 5-1470 Display Replacement: 手順 4、 2の画像 2
    • Use a Phillips #00 screwdriver to remove the single screw securing the Wi-Fi card.

    • The Wi-Fi card will slightly lift away from the motherboard.

    • Pull the Wi-Fi card directly out of its port.

  5. Lenovo IdeaPad Flex 5-1470 Display Replacement: 手順 5、 2の画像 1 Lenovo IdeaPad Flex 5-1470 Display Replacement: 手順 5、 2の画像 2
    • Use a Phillips #00 screwdriver to remove the three screws securing the motherboard.

    • Gently disconnect the cables and ribbon cables connected to the motherboard.

  6. Lenovo IdeaPad Flex 5-1470 Display Replacement, Display: 手順 6、 1の画像 1
    • Use a Phillips #00 screwdriver to remove the four 5 mm screws from the left and right hinges (two screws on each hinge).

  7. Lenovo IdeaPad Flex 5-1470 Display Replacement: 手順 7、 3の画像 1 Lenovo IdeaPad Flex 5-1470 Display Replacement: 手順 7、 3の画像 2 Lenovo IdeaPad Flex 5-1470 Display Replacement: 手順 7、 3の画像 3
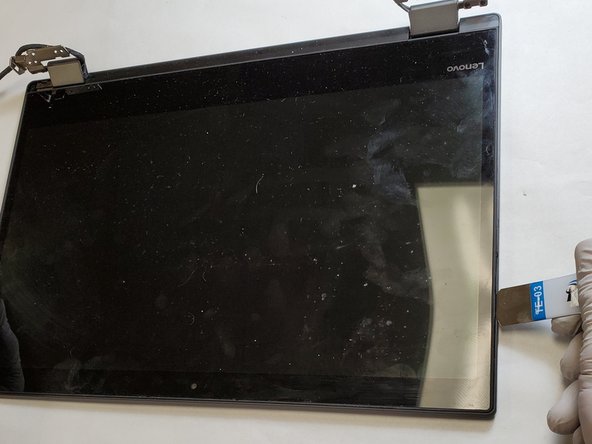
    • Disconnect the display assembly from the rest of the device by separating the hinges of the display from the body of the laptop.

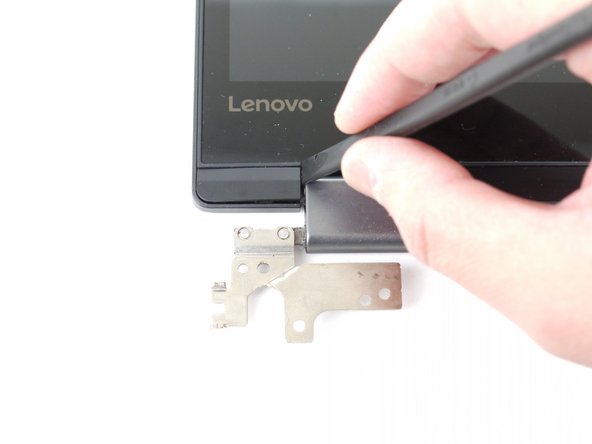
    • Use a spudger to carefully pry loose the two screw covers (one on each hinge).

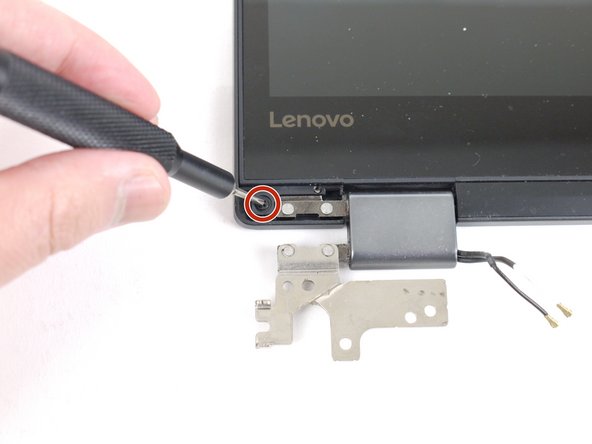
    • Use a Phillips #00 screwdriver to remove the two 3 mm screws from the display (one on each side).

  8. Lenovo IdeaPad Flex 5-1470 Display Replacement: 手順 8、 2の画像 1 Lenovo IdeaPad Flex 5-1470 Display Replacement: 手順 8、 2の画像 2
    • Use a heat gun or an iOpener to lightly heat the outer edges of the display, loosening the adhesive strips.

    • Wedge a Jimmy or opening picks between the display and display housing, then carefully pry around the entire perimeter until the display separates from the housing.

  9. Lenovo IdeaPad Flex 5-1470 Display Replacement: 手順 9、 1の画像 1
    • Disconnect the display ribbon cable.

終わりに

To reassemble your device, follow these instructions in reverse order.

ある他の人がこのガイドを完成しました。

作成者

2人の作成者と共同で作成されました。

Randall Welton

メンバー登録日: 02/11/22

229 ポイント

2のガイドは作成済み

0 件のコメント

コメントを追加

統計データ:

過去 24時間: 0

過去 7 日: 7

過去 30 日: 52

今までの合計 1,587