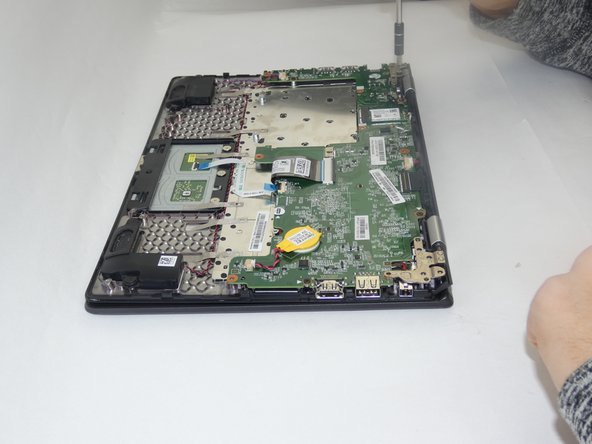
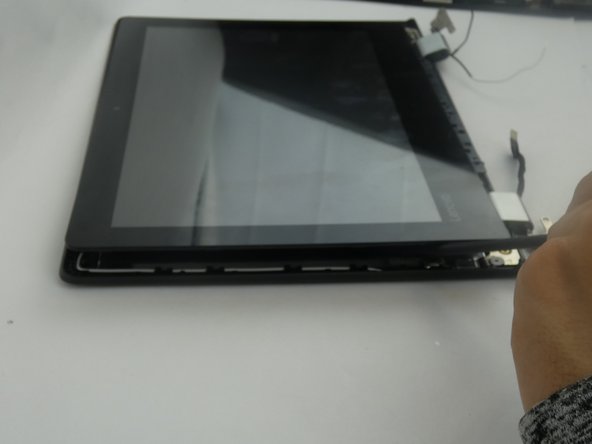
メインコンテンツにスキップ

Lenovo IdeaPad Flex 4-1130 Screen Replacement

必要な工具と部品

  1. Lenovo IdeaPad Flex 4-1130 Screen Replacement, Battery: 手順 1、 1の画像 1
    • Power off your Lenovo Ideapad Flex4-1130 before beginning disassembly.

    • Remove the ten 4mm screws from the back panel.

  2. Lenovo IdeaPad Flex 4-1130 Screen Replacement: 手順 2、 1の画像 1
    • Insert the spudger into the groove work your way around the laptop to separate the bottom from the case.

    • Do not insert the spudger too deep! This could potentially damage a device part.

  3. Lenovo IdeaPad Flex 4-1130 Screen Replacement: 手順 3、 1の画像 1
    • Remove the connector attaching the battery to the motherboard.

  4. Lenovo IdeaPad Flex 4-1130 Screen Replacement: 手順 4、 1の画像 1
    • Remove the four 4mm screws on the battery.

  5. Lenovo IdeaPad Flex 4-1130 Screen Replacement: 手順 5、 1の画像 1
    • Lift the battery with a spudger and remove.

  6. Lenovo IdeaPad Flex 4-1130 Screen Replacement, Screen: 手順 6、 2の画像 1 Lenovo IdeaPad Flex 4-1130 Screen Replacement, Screen: 手順 6、 2の画像 2
    • Remove six 7mm screws.

  7. Lenovo IdeaPad Flex 4-1130 Screen Replacement: 手順 7、 2の画像 1 Lenovo IdeaPad Flex 4-1130 Screen Replacement: 手順 7、 2の画像 2
    • Remove two connector cables.

    • Separate the two unhinged parts.

  8. Lenovo IdeaPad Flex 4-1130 Screen Replacement: 手順 8、 1の画像 1
    • Use the spudger to remove the plastic caps, uncovering the screws underneath.

    • Remove the two 6mm screws.

  9. Lenovo IdeaPad Flex 4-1130 Screen Replacement: 手順 9、 2の画像 1 Lenovo IdeaPad Flex 4-1130 Screen Replacement: 手順 9、 2の画像 2
    • Use the black nylon spudger to remove the long plastic covering underneath the screen.

    • Remove three 6mm screws.

  10. Lenovo IdeaPad Flex 4-1130 Screen Replacement: 手順 10、 2の画像 1 Lenovo IdeaPad Flex 4-1130 Screen Replacement: 手順 10、 2の画像 2
    • Use the black nylon spudger to lift and separate the screen from the plastic back cover.

  11. Lenovo IdeaPad Flex 4-1130 Screen Replacement: 手順 11、 2の画像 1 Lenovo IdeaPad Flex 4-1130 Screen Replacement: 手順 11、 2の画像 2
    • Peel off tape and remove the cable.

  12. Lenovo IdeaPad Flex 4-1130 Screen Replacement: 手順 12、 2の画像 1 Lenovo IdeaPad Flex 4-1130 Screen Replacement: 手順 12、 2の画像 2
    • Remove the connector chip.

  13. Lenovo IdeaPad Flex 4-1130 Screen Replacement: 手順 13、 2の画像 1 Lenovo IdeaPad Flex 4-1130 Screen Replacement: 手順 13、 2の画像 2
    • Peel tape and remove cable underneath.

終わりに

To reassemble your device, follow these instructions in reverse order.

作成者

1人の作成者と共同作成されました。

Adrian Miranda

メンバー登録日: 02/15/18

677 ポイント

5のガイドは作成済み

チーム

USF Tampa, Team S17-G5, Boczar Spring 2018 USF Tampa, Team S17-G5, Boczar Spring 2018人のメンバー

USFT-BOCZAR-S18S17G5

3 メンバー

5のガイドは作成済み

0 件のコメント

コメントを追加

統計データ:

過去 24時間: 0

過去 7 日: 0

過去 30 日: 2

今までの合計 1,688