はじめに
If the keyboard has stopped working, or it's missing keys, follow the steps in this guide to replace it.
The battery for this device is not easily accessible and cannot be easily removed. Before you begin your replacement, be sure to disconnect the laptop from any power source. Additionally, we recommend that you drain the battery completely before you begin this replacement.
必要な工具と部品
-
-
-
Place the opening tool's head under any edge of the keyboard.
-
Pull upwards to unsnap the keyboard.
-
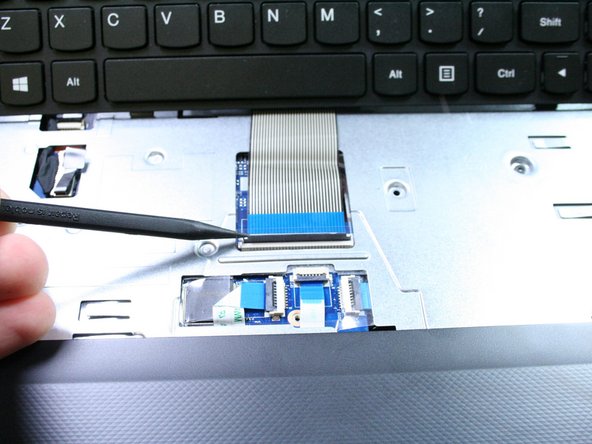
Use your fingers and the opening tool to pop the keyboard out of its place.
-


To reassemble your device, follow these instructions in reverse order.
To reassemble your device, follow these instructions in reverse order.
3 の人々がこのガイドを完成させました。
チーム

UC Davis, Team 1-3, Rodger Winter 2017 UC Davis, Team 1-3, Rodger Winter 2017人のメンバー
UCD-RODGER-W17S1G3
4 メンバー
6のガイドは作成済み