はじめに
If your laptop does not load past the Lenovo loading screen, the wheel spins endlessly, or your laptop displays a blue screen with an error message similar to 'Your PC ran into a problem and needs to restart' the Hard Drive could be damaged. This guide will walk you through how to replace the damaged or malfunctioning Hard Drive.
必要な工具と部品
-
-
Flip the IdeaPad bottom side up.
-
Using a Phillips #1 screwdriver, remove the two 6.0mm screws on the back panel, that hold the keyboard.
-
Flip the computer back to top facing.
-
-
-
-
Using a Phillips #1 screwdriver, unscrew the one 5.0mm screw on the back panel.
-
-
-
Place the laptop bottom facing up.
-
Using a Phillips #1 screwdriver, remove the remaining eight 6.0mm screws on the back panel.
-
Flip the computer back to top facing.
-
-
-
Using a Phillips #1 screwdriver, remove the four 4.0mm corner screws securing the hard drive assembly to the body.
-
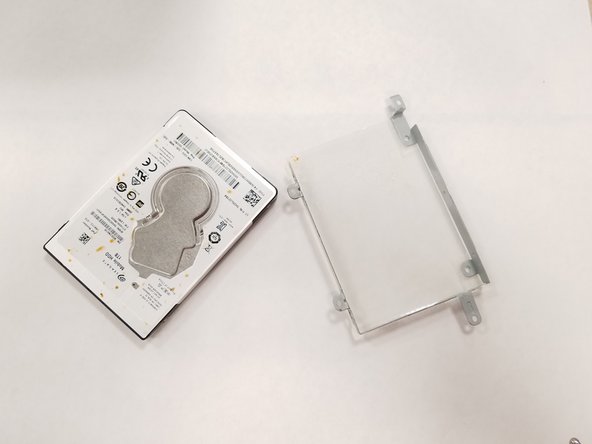
Disconnect the hard drive from the back panel by sliding it to the left until loosened.
-
Remove it completely by lifting the hard drive out of the back panel.
-


To reassemble your device, follow these instructions in reverse order.
To reassemble your device, follow these instructions in reverse order.
6 の人々がこのガイドを完成させました。

チーム

UW Tacoma, Team S1-G5, Rose Fall 2018 UW Tacoma, Team S1-G5, Rose Fall 2018人のメンバー
UWT-ROSE-F18S1G5
4 メンバー
39のガイドは作成済み
4 件のコメント
I found that two of the screws on the bottom hold down the keyboard, so they need to be unscrewed before the keyboard will come up. Also, there are two “shallow” screws (that become visible after the DVD drive is removed) which need to be removed, and the battery doesn’t really need to be removed to replace the hard drive.
I’ve posted these comments on their associated steps, but it doesn’t hurt to repeat them here: There are 3 screws on the bottom of the laptop holding certain parts in place (keyboard & optical drive). These will need to be removed before doing anything else in this guide, so it’s best to just remove all 11 screws (yes, there are 11, not 10 as stated) from the bottom of the laptop. After removing the optical drive, there will be 2 more screws to remove. The screw underneath the keyboard holds the fan assembly in place, not the optical drive, as they are on opposite sides of the laptop.
Cannot remove optical hard drive following instructions. Does not appear to be removable on my Lenovo Ideapad 110.