はじめに
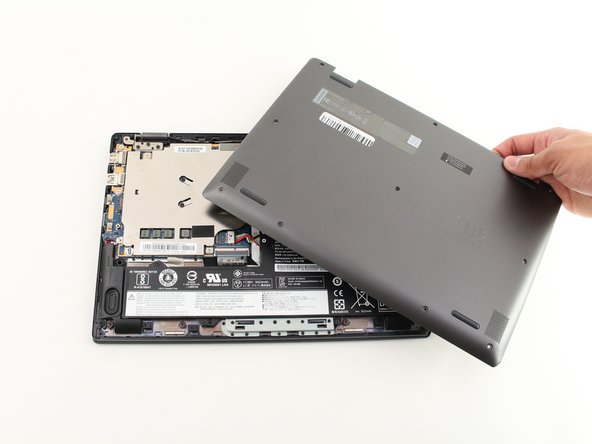
If your Lenovo Flex 6-11IGM (model #: 81A70005US) has a back panel that is cracked or dented, use this guide to replace the back panel (bottom panel).
The back panel keeps the inner components of the laptop from foreign liquids and hard surfaces the laptop may encounter that could cause damage to the device. A damaged back panel could compromise the protection and safety of the inner components, therefore making it easier for the device to break.
Before beginning, make sure you power off the device, and make sure the laptop is closed for an easier and safer replacement.
必要な工具と部品


To reassemble your device, follow these instructions in reverse order.
To reassemble your device, follow these instructions in reverse order.
ある他の人がこのガイドを完成しました。

チーム

Cal Poly, Team S2-G4, White Winter 2020 Cal Poly, Team S2-G4, White Winter 2020人のメンバー
CPSU-WHITE-W20S2G4
3 メンバー
4のガイドは作成済み