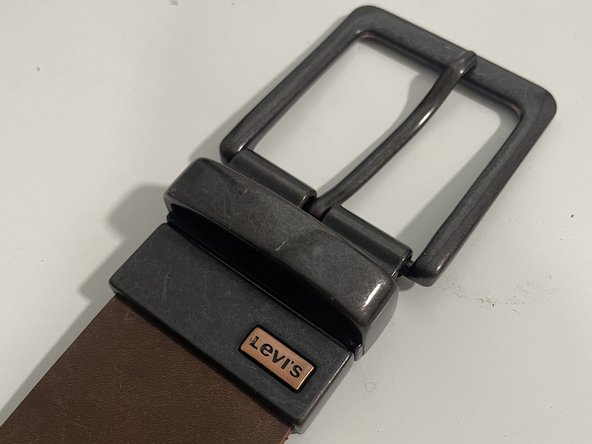
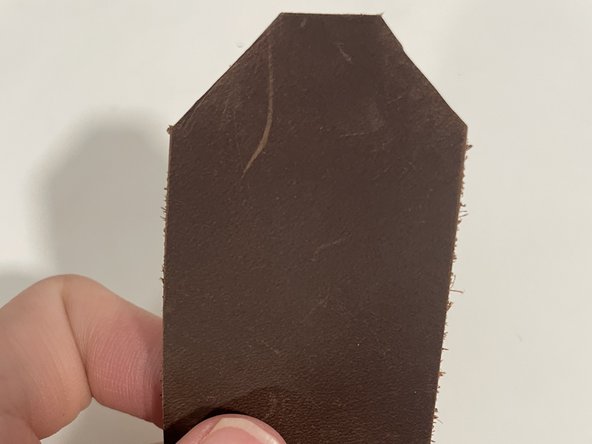
メインコンテンツにスキップ

Leather Belt Strap Replacement

必要な工具と部品

  1. Leather Belt Strap Replacement, Belt Strap: 手順 1、 2の画像 1 Leather Belt Strap Replacement, Belt Strap: 手順 1、 2の画像 2
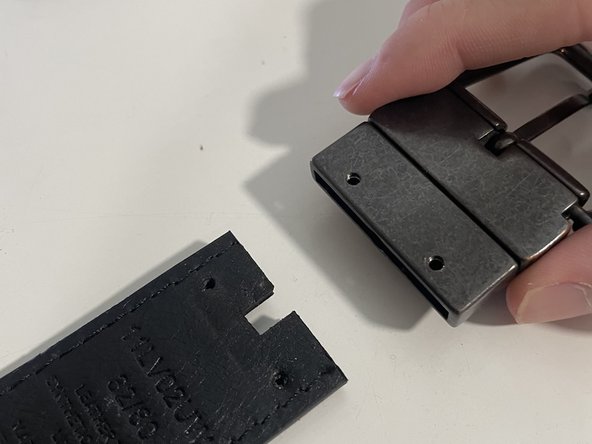
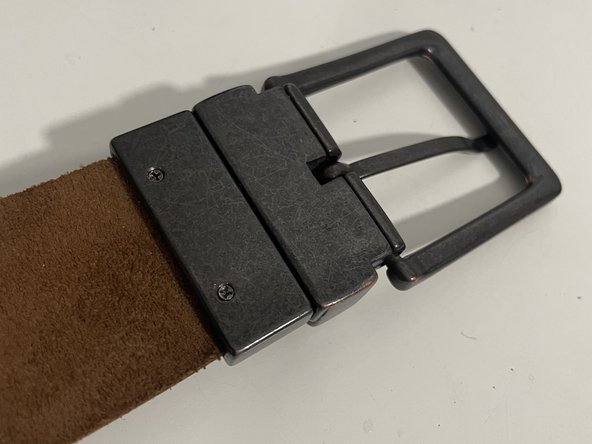
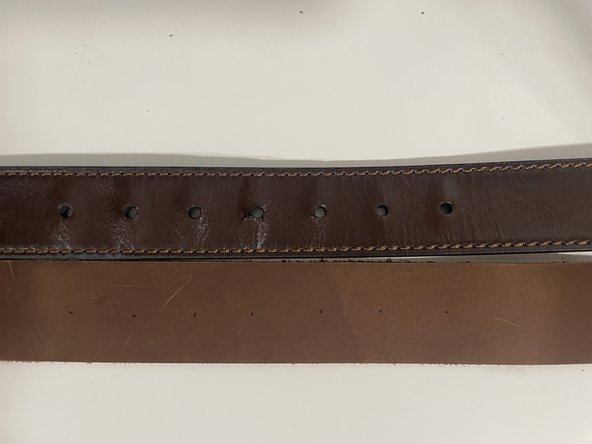
    • Begin by turning the belt buckle around to reveal the screws at the back of the belt.

  2. Leather Belt Strap Replacement: 手順 2、 3の画像 1 Leather Belt Strap Replacement: 手順 2、 3の画像 2 Leather Belt Strap Replacement: 手順 2、 3の画像 3
    • Take a small screwdriver and begin unscrewing the two screws on both sides of the belt buckle.

    • The screws are M2.5x5 Cross Slot Tip Screws for leather accessories.

  3. Leather Belt Strap Replacement: 手順 3、 3の画像 1 Leather Belt Strap Replacement: 手順 3、 3の画像 2 Leather Belt Strap Replacement: 手順 3、 3の画像 3
    • Remove the unscrewed belt buckle away from the old leather strap.

  4. Leather Belt Strap Replacement: 手順 4、 3の画像 1 Leather Belt Strap Replacement: 手順 4、 3の画像 2 Leather Belt Strap Replacement: 手順 4、 3の画像 3
    • Take new leather belt strap and align it with the old leather strap.

    • Take a pen and approximately mark the areas where the cuts will be made.

  5. Leather Belt Strap Replacement: 手順 5、 2の画像 1 Leather Belt Strap Replacement: 手順 5、 2の画像 2
    • Take the pen.

    • Draw two circles where the screws will be screwed in.

  6. Leather Belt Strap Replacement: 手順 6、 3の画像 1 Leather Belt Strap Replacement: 手順 6、 3の画像 2 Leather Belt Strap Replacement: 手順 6、 3の画像 3
    • Take the new leather belt strap with markings made.

    • Use a scissor to cut out the square mark on the new leather belt strap.

  7. Leather Belt Strap Replacement: 手順 7、 3の画像 1 Leather Belt Strap Replacement: 手順 7、 3の画像 2 Leather Belt Strap Replacement: 手順 7、 3の画像 3
    • Take a small screwdriver and puncture the two small circles on the new leather belt strap.

    • Make sure that the holes are punctured through.

    • If the screwdriver is not sharp enough to puncture the hole, you may use a small sharp object such as a hand held needle.

  8. Leather Belt Strap Replacement: 手順 8、 3の画像 1 Leather Belt Strap Replacement: 手順 8、 3の画像 2 Leather Belt Strap Replacement: 手順 8、 3の画像 3
    • Now, take the front side of the belt buckle and insert it into the front side of the new leather belt strap.

    • If the belt buckle does not fit in, make the markings bigger by cutting away excess leather.

  9. Leather Belt Strap Replacement: 手順 9、 3の画像 1 Leather Belt Strap Replacement: 手順 9、 3の画像 2 Leather Belt Strap Replacement: 手順 9、 3の画像 3
    • Turn the belt buckle to the back.

    • Take the small screwdriver and the screws.

    • Begin screwing back the screws onto the belt buckle.

    • Make sure the screws are tightly screwed in.

    • The screws are M2.5x5 Cross Slot Tip Screws for leather accessories.

  10. Leather Belt Strap Replacement: 手順 10、 3の画像 1 Leather Belt Strap Replacement: 手順 10、 3の画像 2 Leather Belt Strap Replacement: 手順 10、 3の画像 3
    • Now take the old and new leather belt strap

    • Align both leather belt straps side by side. (The old leather belt strap will be used as a reference)

    • Use a pen to draw circles that are an equal distance apart.

    • Start by drawing the same number of circles that are on the old belt strap.

  11. Leather Belt Strap Replacement: 手順 11、 3の画像 1 Leather Belt Strap Replacement: 手順 11、 3の画像 2 Leather Belt Strap Replacement: 手順 11、 3の画像 3
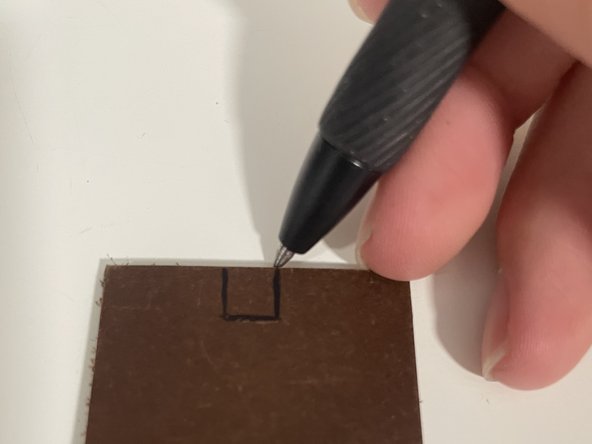
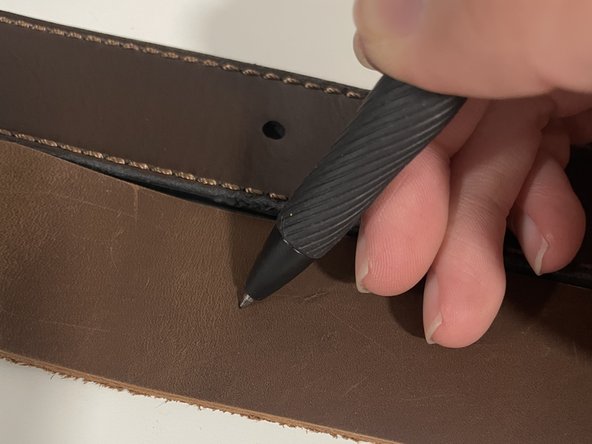
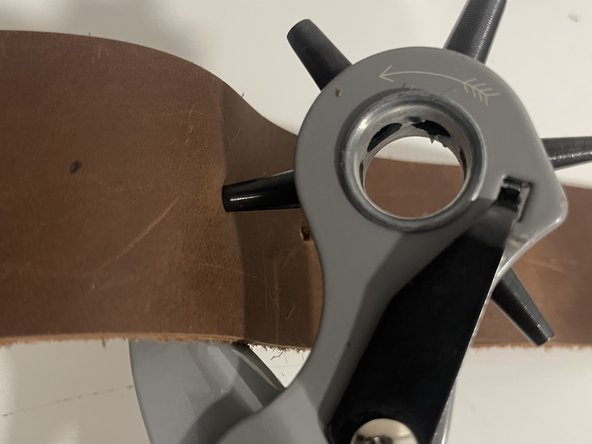
    • Take the revolving leather puncher.

    • Rotate the setting clockwise to the third or fourth-largest setting. (This will ensure that the buckle's prong will fit through the holes)

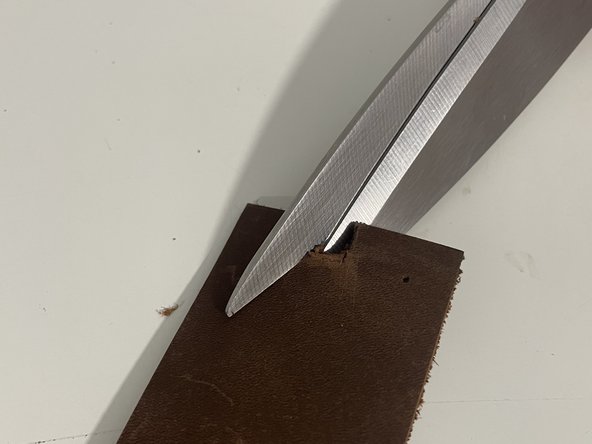
    • Now insert the leather puncher and align it with the circle.

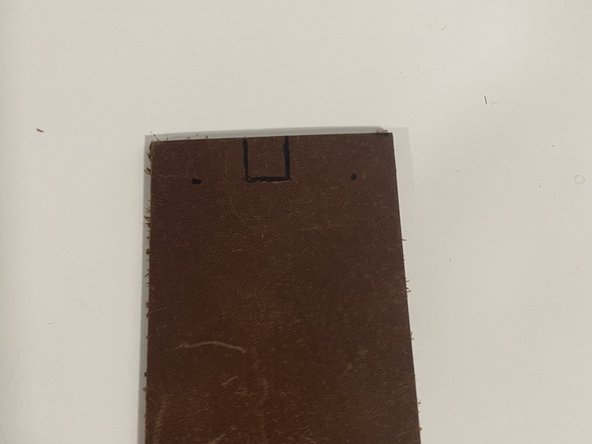
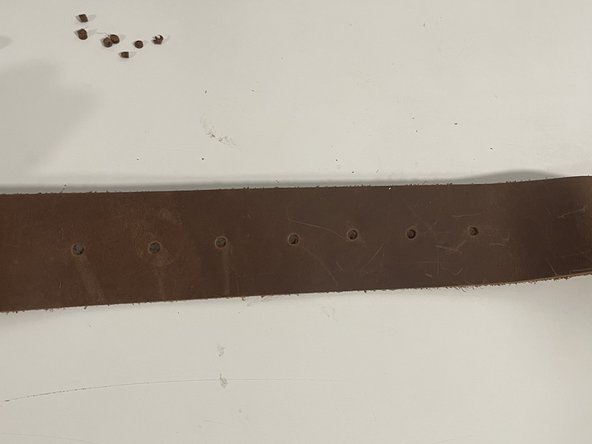
    • To punch a hole through the leather, squeeze the handle thoroughly until the leather punch clicks.

  12. Leather Belt Strap Replacement: 手順 12、 3の画像 1 Leather Belt Strap Replacement: 手順 12、 3の画像 2 Leather Belt Strap Replacement: 手順 12、 3の画像 3
    • THIS STEP IS OPTIONAL

    • Use the pen to draw detail marking to the end of the new leather belt strap.

    • Take the kitchen scissors and cut the leather belt according to the detail.

  13. Leather Belt Strap Replacement: 手順 13、 1の画像 1
    • FINISH PRODUCT

    • If the new belt is too loose, consider adding additional holes to the belt.

終わりに

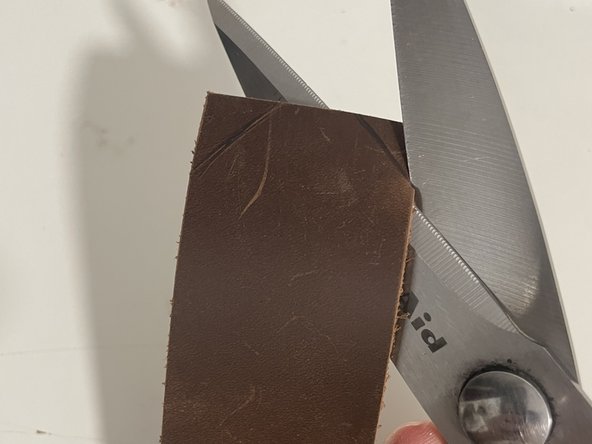
To reassemble your device, follow these instructions in reverse order.

作成者

1人の作成者と共同作成されました。

Dat Lam

メンバー登録日: 03/25/24

217 ポイント

1ガイドが承認済み

チーム

CSU Los Angeles, Team 8-5, Briggs Spring 2024 CSU Los Angeles, Team 8-5, Briggs Spring 2024人のメンバー

CSULA-BRIGGS-S24S8G5

2 メンバー

2のガイドは作成済み

0件のガイドコメント

コメントを追加

統計データ:

過去 24時間: 2

過去 7 日: 11

過去 30 日: 33

今までの合計 381