はじめに
If your LeapFrog LeapPad2 Explorer screen is cracked or damaged, follow this guide to replace it. Be sure to power off the device prior to beginning the guide.
This guide will require soldering equipment and skill.
必要な工具と部品
-
-
Before disassembling your LeapPad, ensure your device is shut off.
-
Push outward on the plastic side panels to remove and reveal battery.
-
The panels should detach fully from the main device.
-
-
-
Remove the following screws securing the back cover to the main device:
-
Two 10.0 mm Phillips screws
-
Four 4.0 mm Phillips screws
-
Three 3.0 mm Phillips screws
-
-
-
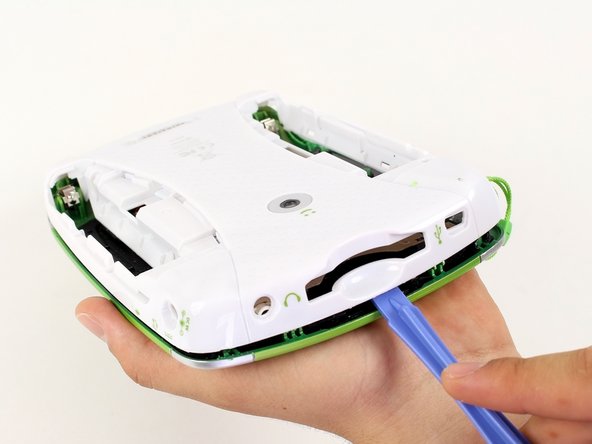
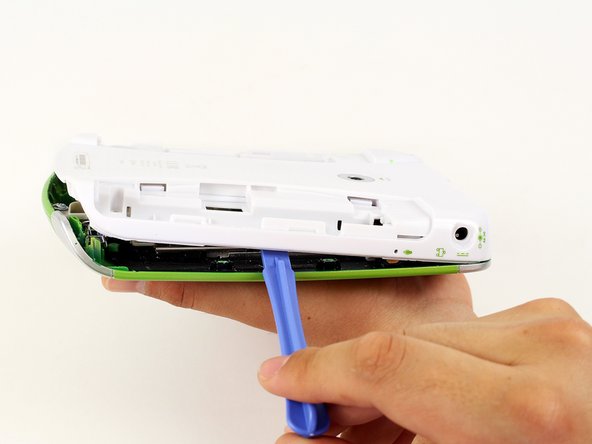
Remove the following screws securing the front cover to the main device:
-
Three 6.0 mm Phillips screws
-
Three 7.0 mm Phillips screws
-
Two 10.0 mm Phillips screws
-
Three 7.0 mm Phillips screws (bulkier screw head than other 7.0 mm Phillips screws)
-
-
-
-
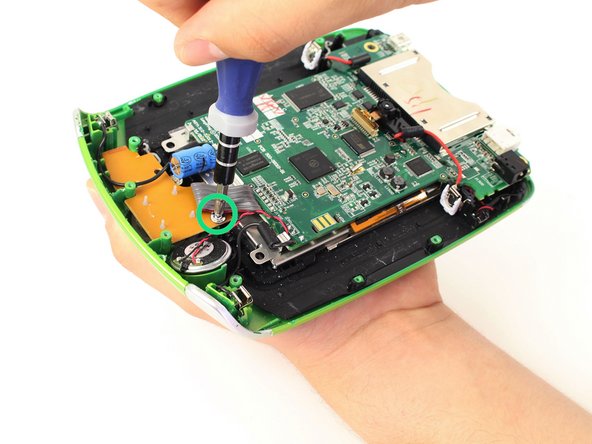
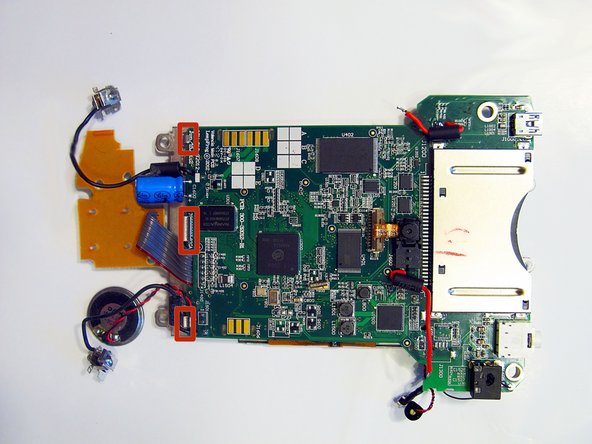
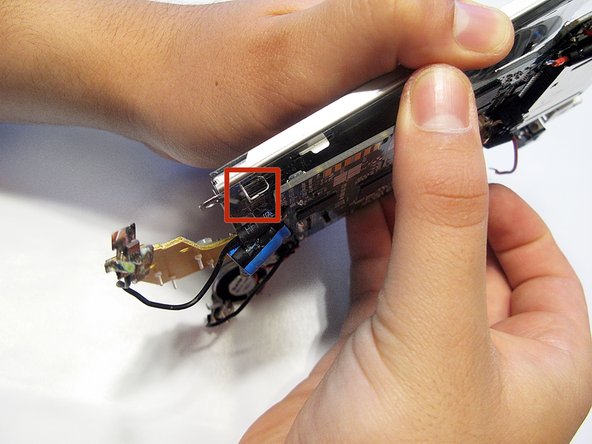
Lift the screen from the motherboard by pushing the board out from the three metal tabs.
-


To reassemble your device, follow these instructions in reverse order.
To reassemble your device, follow these instructions in reverse order.
11 の人々がこのガイドを完成させました。
チーム

Cal Poly, Team 8-10, Regan Spring 2014 Cal Poly, Team 8-10, Regan Spring 2014人のメンバー
CPSU-REGAN-S14S8G10
4 メンバー
16のガイドは作成済み
19 件のコメント
where do you get a new screen from????
We got one on eBay. It was actually a LeapPad (original, not a LeapPad 2 Explorer) that would not boot. I figured the screen would be ok, even if the logic board was bad, and it turned out to be true. Our LeapPad 2 Explorer now works great. Bit of a pain moving the screen assembly from the old model to the new one, but it fits fine and works perfectly.
Jeremiah -
Where do you get a new screen from ??? Please help!
No need to desolder positive battery terminals... (on step 8)
They pull straight up just like the negative terminals just a bit tighter..
Easiest way to do this is by using a small diameter screw driver... pass it under the upper metal bend of positive contact and pull straight up..
yes, correct. siradude, I try your metod and works fine, no need desolder and solder again :) great!!! thank you so much :)
Where can I get a screen for a leappad 2 from please
my son has damaged the power adapter socket on the board and also the power supply lead when he ran off with it still plugged in ! I believe he has broken the wires of the lead as it tested dead ,and also the centre pin of the socket is sloppy /loose the Leap Pad 2 has a 9 volt ,700 milliamp Power Supply Unit (Lead ) which I can get hold of no worries ,but the problem for me is where do I get a new socket from ? and does it solder onto the board ? how would be the best way to repair this please ? help would be appreciated . thanx :)
I tester the power supply lead first with my tester ,and found that there was a break in the wires near the jack plug , I also dismantled the unit to check the power socket on the device was not damaged and that was fine ... A. new 9 volt,700 ma centre positive P.S.U from the guys at work solved the problem ,and my son is over the moon with it :) Awesome tutorial guys , Thanks :)
I too bought a used LeapPad 1 unit and harvested the screen. If you do this, be aware that the steel frame that holds the screen differs between the first and second generation LeapPad. (i.e. LeapPad vs. LeapPad 2) The screen is held in the steel frame using very aggressive double sided tape. A heat gun or hair dryer will aid in loosening the adhesive on the tape. Be very careful when prying the frame away - it's all too easy to damage the ribbon cable (this is my second attempt). I used a butter knife to gently pry underneath - it's quite challenging. Also, the LeapPad 1 screen had a slightly wider ribbon cable. I had to use a Dremel cut off wheel to cut away some of the frame. Much to my relief, when I connected the new screen all seems to be well and it does work.
great tutorial!!! thank you so much. Im trying open the tablet but the problem "THE 2 HIDDEN SCREW ON BACK" LOL thank so mucho for the pictures.
muchas gracias funciono perfecto, no sabia que tenia tornillos escondidos atras, por eso nunca pude abrirla antes :( gracias a estas imagenes pude lograr arreglar el problema con los botones del volumen gracias!
(nota: no se porque apareces ese nombre en los comentarios, "pagosnuevos" yo no lo puse como nombre de usuario pero no se que pasa) jeje gracias.
I would say that if you have a new screen readily available, sure it would probably take 10-15 minutes. In our case, our daughter hit the screen hard and cracked it in half. Has been a bit over a year but today my wife found a used Leap Pad2 that worked but did not read the games. So I used this guide to swap the screens and now we have a happy (and spoiled...) child. The whole process took somewhere in the vicinity of 30-45 minutes once I had all my tools ready. On step number four, the portion where the games go in is probably the most difficult part of opening the case. Overall is was a pretty simple job for someone with some experience but definitely difficult for someone who is not used to dealing with electronics.
avi8torace - 返信
I tried cleaning... its very clean so that didnt help
I tried recalibrating (which is a pain and takes many tries when its NOT calibrated... had to touch the crosses with my finger it wouldnt read the stylus (any idea why?) and it still wont read the place being touched it picks something somewhere else on the page or nothing at all
Hi. My leappad works perfect but thebroken screen makes the leappad enter a protection mode. Is there a way to trick the leappad into thinking its not broken?
Pay close attention to the highlighted section in Step 13. Just need to gently pull up on the brown strip. If you pull on any of the other areas the connection will come off the circuit board. Possible the water damage I had made it worse but wanted to inform everyone else.
Were can I get a replacement screen for my leap pad