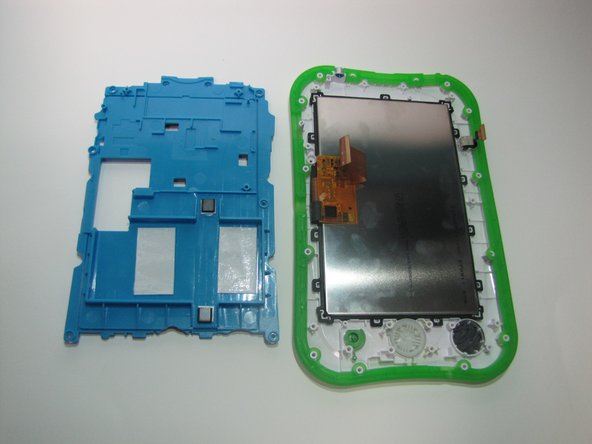
Flip over the Pad to its back side to begin the removal of the back panel.
Begin by removing the blue rim along the edge of the device. It runs along the green silicone lining.
This is very difficult to remove , so do be patient. To help remove the seal, both a metal spudger and plastic opening tool may be used.
Remove the pen from its place before starting to avoid tangling.
Once the blue rim is removed, the 12 screws will be visible.
Use the Phillips #1 screwdriver to unscrew all 12 screws.
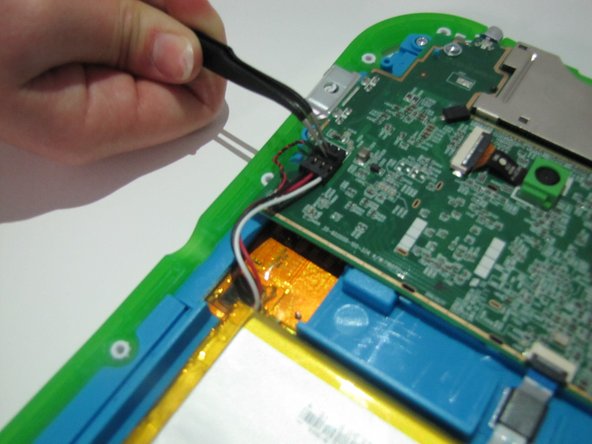
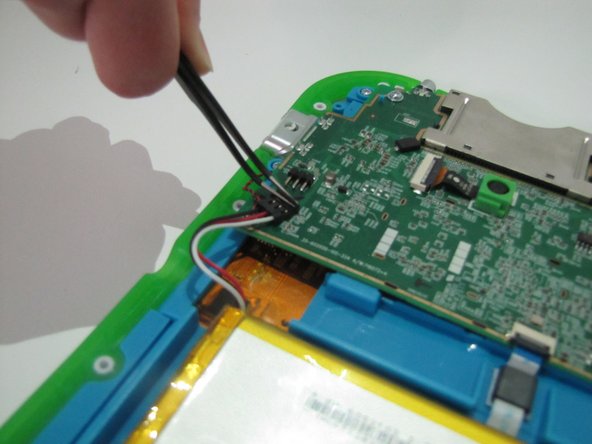
The segment connecting the battery to the motherboard will consist of red, white, and black wires.
There is a small notch on the segment. Use the curved tweezers to pull the notch in the direction of the battery. this will disconnect the battery from the motherboard.
The battery is the bright orange rectangle.
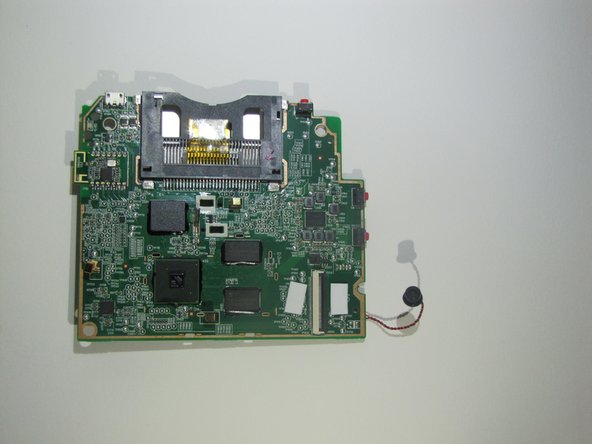
The motherboard is the large dark green surface.
Carefully remove the battery from its place and set aside.
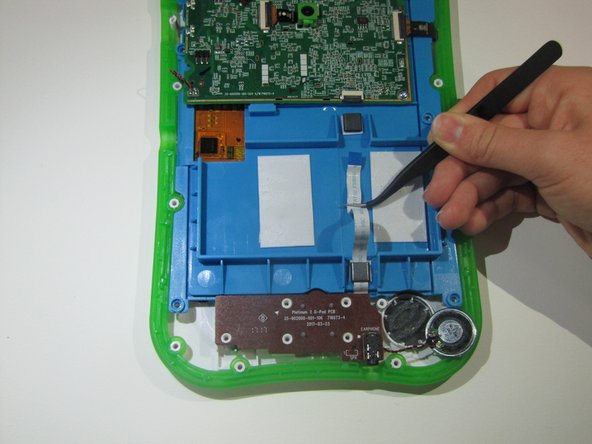
Removing the battery will fully expose a white and blue ribbon cable that runs beneath the battery.
The ribbon cable must be disconnected from the motherboard and removed from the panel.
The ZIF connector which connects the ribbon cable and the motherboard has a small flap on the top.
Use the curved tweezers to to flip the flap up.
Once it is disconnected, carefully pull the ribbon cable through the 2 black plastic arches holding it down.
Use a Phillips #1 screwdriver to unscrew the 7 screws on the speaker.
5 will be on the brown part and 2 on the circular blur part.
Once it is unscrewed completely, remove the speaker and set aside.
An orange and black ribbon cable connects the motherboard and the area to the side of the panel.
There is a switch on top of it.
Use the curved tweezers to flip the switch.
このガイドを埋め込む
サイズを選択し、以下のコードをコピーして、このガイドを小さなウィジェットとしてサイト/フォーラムに埋め込みます。
1つの手順
全ガイド
小サイズ - 600px
中サイズ - 800px
大サイズ - 1200px
プレビュー