メインコンテンツにスキップ

Le Pavé Parisien: Replacement of the Concrete Shell

必要な工具と部品

  1. Le Pavé Parisien: Replacement of the Concrete Shell, Remove the grid: 手順 1、 2の画像 1 Le Pavé Parisien: Replacement of the Concrete Shell, Remove the grid: 手順 1、 2の画像 2
    • Remove the speaker protective grille by first lifting one of the 4 corners.

  2. Le Pavé Parisien: Replacement of the Concrete Shell, Unscrew the speaker: 手順 2、 2の画像 1 Le Pavé Parisien: Replacement of the Concrete Shell, Unscrew the speaker: 手順 2、 2の画像 2
    • Remove the 4 screws of the speaker using a torque screwdriver for M4 screws.

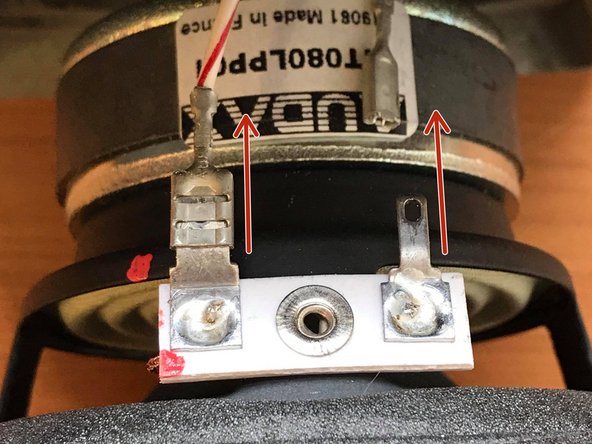
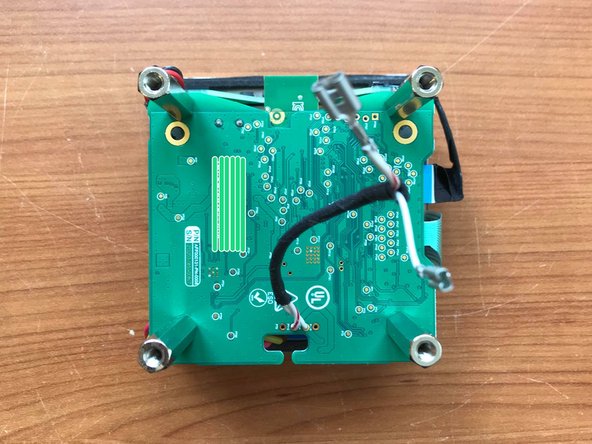
  3. Le Pavé Parisien: Replacement of the Concrete Shell, Disconnect the speaker: 手順 3、 2の画像 1 Le Pavé Parisien: Replacement of the Concrete Shell, Disconnect the speaker: 手順 3、 2の画像 2
    • Pull the speaker out of the concrete casing to make the connections accessible.

    • To disconnect the speaker, pull each of the 2 cables down by their connector, making small left-to-right movements.

  4. Le Pavé Parisien: Replacement of the Concrete Shell, Remove the concrete shell: 手順 4、 2の画像 1 Le Pavé Parisien: Replacement of the Concrete Shell, Remove the concrete shell: 手順 4、 2の画像 2
    • Remove the speaker from the concrete casing.

    • As the concrete casing and the electronic basket are separated, lift the concrete casing to separate it from the basket.

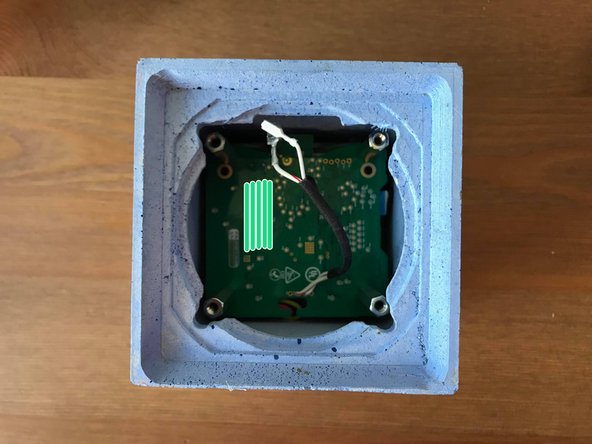
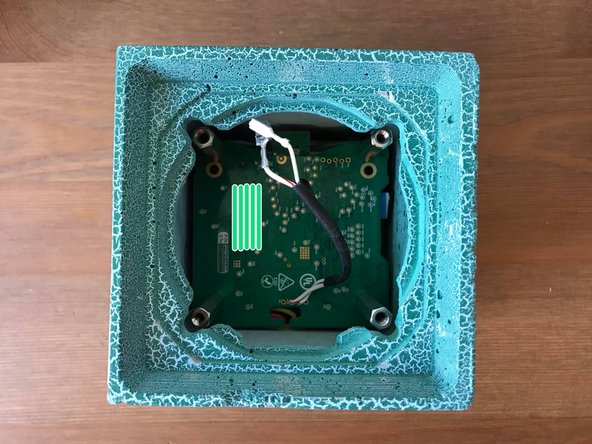
  5. Le Pavé Parisien: Replacement of the Concrete Shell, Place the new concrete shell: 手順 5、 3の画像 1 Le Pavé Parisien: Replacement of the Concrete Shell, Place the new concrete shell: 手順 5、 3の画像 2 Le Pavé Parisien: Replacement of the Concrete Shell, Place the new concrete shell: 手順 5、 3の画像 3
    • The underside of the concrete shell has a different texture from the others, so be careful to position it correctly.

  6. Le Pavé Parisien: Replacement of the Concrete Shell, Place the speaker in the concrete shell: 手順 6、 2の画像 1 Le Pavé Parisien: Replacement of the Concrete Shell, Place the speaker in the concrete shell: 手順 6、 2の画像 2
    • Connect the speaker as in step 3. Be careful to place the speaker connectors on the side of the concrete shell that includes a notch.

  7. Le Pavé Parisien: Replacement of the Concrete Shell, End: 手順 7、 1の画像 1
    • All you have to do is screw it back on and place the protective grid: your Pavé Parisien is assembled!

終わりに

To reassemble your device, follow the instructions in reverse order.

以下の翻訳者の皆さんにお礼を申し上げます:

fr en

100%

これらの翻訳者の方々は世界を修理する私たちのサポートをしてくれています。 あなたも貢献してみませんか?
翻訳を始める ›

作成者

2人の作成者と共同で作成されました。

Le Pavé Parisien

メンバー登録日: 04/03/19

529 ポイント

4のガイドは作成済み

0 件のコメント

コメントを追加

統計データ:

過去 24時間: 0

過去 7 日: 2

過去 30 日: 11

今までの合計 105