この修理ガイドは変更されています。最新の未承認バージョンに切り替えます。
はじめに
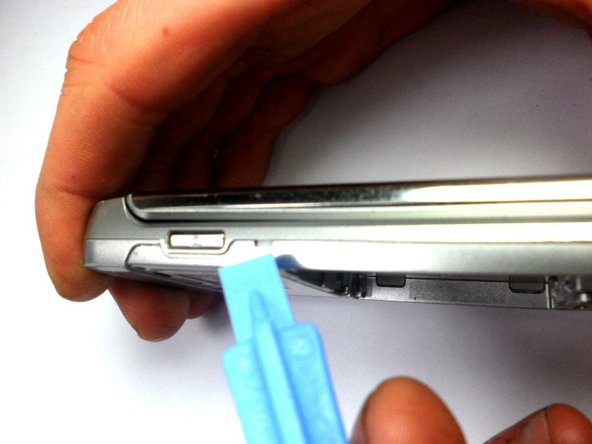
The guide outlines the steps necessary to replace the Keypad in the LG VX8700. The keypad is used to to help direct what you are trying to do such as make a phone call.
必要な工具と部品


To reassemble your device, follow these instructions in reverse order.
To reassemble your device, follow these instructions in reverse order.
チーム

Cal Poly, Team 8-16, Maness Winter 2012 Cal Poly, Team 8-16, Maness Winter 2012人のメンバー
CPSU-MANESS-W12S8G16
4 メンバー
14のガイドは作成済み
コメント 1 件
When I separated the two halves a small brass piece came out and your instructions do not show nor mention what this is or where it goes. Not even a caution about it coming out upon separation of the halves. It appears to belong on one of the screw posts and because it is brass I believe it is supposed to complete a circuit.