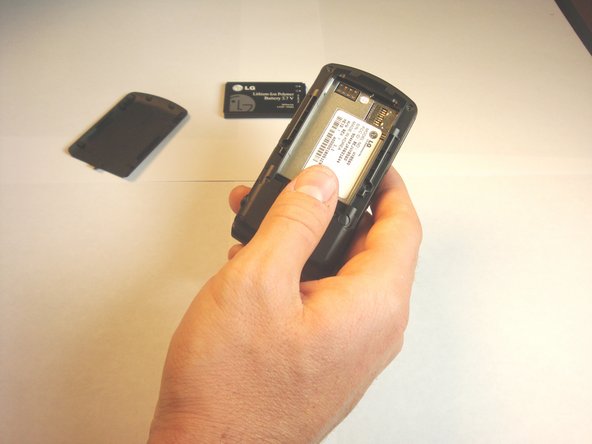
メインコンテンツにスキップ

LG VX8560 Side Key Replacement

必要な工具と部品

  1. LG VX8560 Side Key Replacement, Battery: 手順 1、 1の画像 1
    • Flip the phone over so its backside is facing up

  2. LG VX8560 Side Key Replacement: 手順 2、 1の画像 1
    • Push the battery cover from the indentation and slide the battery cover away from phone to remove battery cover

  3. LG VX8560 Side Key Replacement: 手順 3、 2の画像 1 LG VX8560 Side Key Replacement: 手順 3、 2の画像 2
    • Remove the battery from the phone

  4. LG VX8560 Side Key Replacement, Side Keys: 手順 4、 2の画像 1 LG VX8560 Side Key Replacement, Side Keys: 手順 4、 2の画像 2
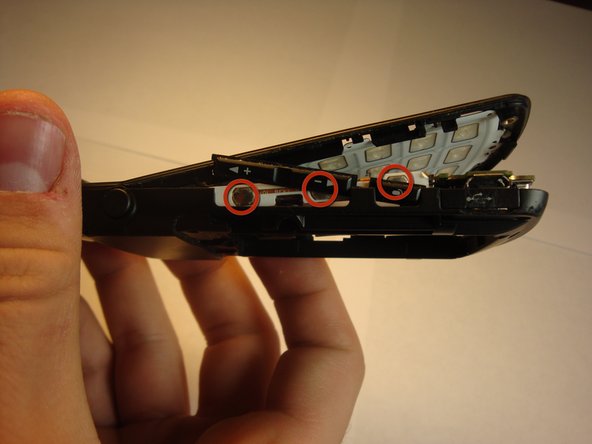
    • Using a Phillips #00 screwdriver, remove all four screws that are visible along the edge of the phone

  5. LG VX8560 Side Key Replacement: 手順 5、 3の画像 1 LG VX8560 Side Key Replacement: 手順 5、 3の画像 2 LG VX8560 Side Key Replacement: 手順 5、 3の画像 3
    • Find the seam between the phone’s keypad cover and back cover, and slide a plastic pry tool along the edge to gently pry the two pieces apart without completely separating them.

    • The motherboard should be visible. Do not separate the two covers. They should be held together by a screw at the axis of the phone.

  6. LG VX8560 Side Key Replacement: 手順 6、 2の画像 1 LG VX8560 Side Key Replacement: 手順 6、 2の画像 2
    • Place the side keys so that they are aligned with the silver circles located on the side of the motherboard.

終わりに

To reassemble your device, follow these instructions in reverse order.

ある他の人がこのガイドを完成しました。

作成者

9人の作成者と共同で作成されました。

Kevin

メンバー登録日: 04/18/13

7 ポイント

2のガイドは作成済み

チーム

Cal Poly, Team 13-62, Johann Spring 2013 Cal Poly, Team 13-62, Johann Spring 2013人のメンバー

CPSU-JOHANN-S13S13G62

4 メンバー

12のガイドは作成済み

0 件のコメント

コメントを追加

統計データ:

過去 24時間: 0

過去 7 日: 7

過去 30 日: 21

今までの合計 232