はじめに
Device & Model: LG VX8560
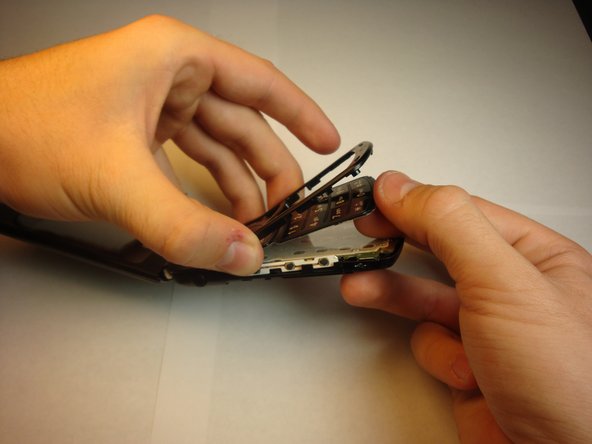
When the keys are sticky or not working, you can replace the keypad yourself. The keys get dirty or misaligned and sometimes the receivers are dead. In this guide, you will learn how to replace the keypad.
必要な工具と部品
-
-
Remove the battery by sliding the battery cover off the phone.
-
Unscrew all 4 screws along the edge of the phone using the Philips #00 Screwdriver.
-
-


The keypad is successfully replaced.
The keypad is successfully replaced.
ある他の人がこのガイドを完成しました。

チーム

Cal Poly, Team 13-62, Johann Spring 2013 Cal Poly, Team 13-62, Johann Spring 2013人のメンバー
CPSU-JOHANN-S13S13G62
4 メンバー
12のガイドは作成済み