はじめに
This guide will show you how to replace the battery in the LG V30 (and V30+) smartphone. If your battery is draining too quickly or has stopped charging fully, replacing the battery should alleviate your issues.
This guide involves removing the back cover of your device, so you will need replacement adhesive to reattach the back cover to the phone. This guide also involves removing the battery of your device, which is attached to the inside of the phone using adhesive. You will need replacement adhesive to reattach the battery to the inside of the phone.
Before disassembling your device, be sure the battery is charged below 25%. If accidentally punctured or damaged, the battery can catch fire and/or explode; if discharged below 25%, the chances of fire/explosion are decreased.
Alternatively, use this LG V30 Battery Replacement video to replace the battery in your LG V30 smartphone.
必要な工具と部品
ビデオの概要
LG V30 Battery Repair Guide
-
-
Drain the battery's charge below 25%.
-
Power off the phone by pressing and holding the Power/Lock key on the backside of the phone for three seconds. Tap the Power Off option and Power Off to confirm.
-
-
-
Insert and gently push the SIM card ejector tool (or an unfolded paperclip) into the small hole on the left side of the phone.
-
Press gently to eject the SIM tray.
-
Remove the SIM card tray from the device.
-
-
-
Use a heat gun to lightly heat the edges of the back to soften the adhesive that connects the back cover to the rest of the frame.
-
-
-
Use a suction cup to lift up the back cover up.
-
Insert the edge of a plastic card into the space created between the cover and frame.
-
-
-
-
Carefully remove the back cover, making sure that the adhesive is sliced through on all sides.
-
-
-
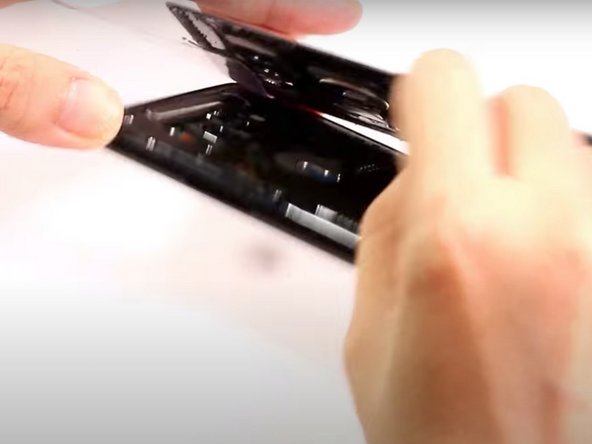
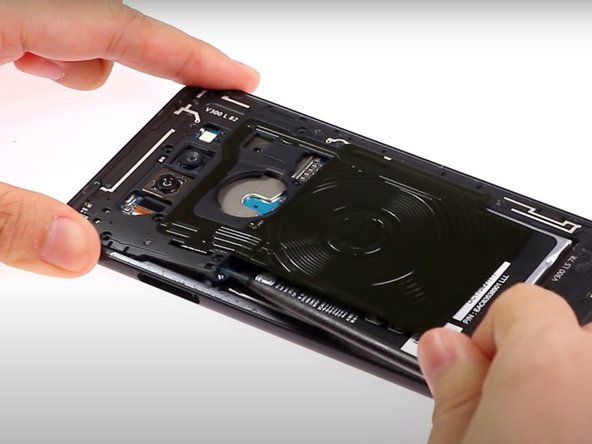
Carefully pull the midframe from the rest of the phone's body.
-
The midframe is connected to the main body with a small slot on the right side of the midframe. Carefully free the frame from this slot by gently wiggling and pulling outwards at the same time.
-
-
-
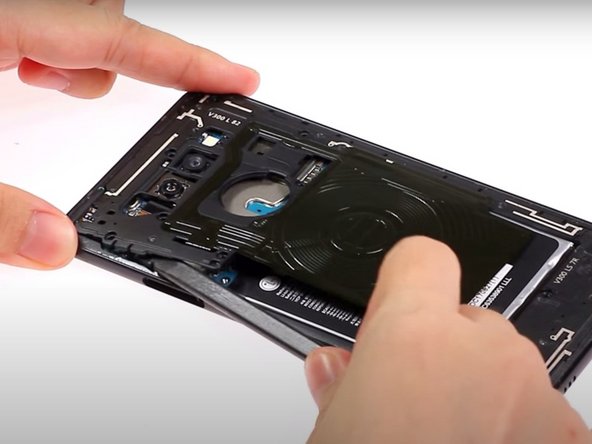
Pry up the speaker panel with a plastic spudger and remove it from the phone.
-
-
-
Use a heat gun to apply heat to the front face of the phone. This will soften the adhesive used to secure the phone's battery.
-
Alternatively, you can place a heated iOpener across the top of the battery for approximately three minutes to soften the adhesive holding the battery to the device.
-
-
-
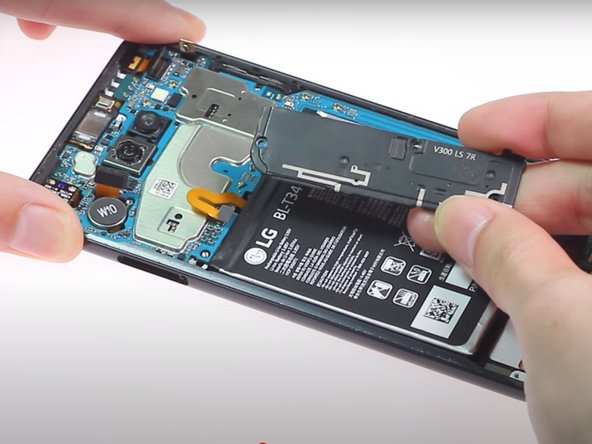
Insert a plastic card at the bottom edge of the battery
-
Gently work the plastic card around the left side of the battery, separating the battery from its adhesive.
OF NOTE: there is a display flex which is easily torn if you position even a plastic tool under the battery incorrectly. It is located to the bottom-right of the device.
-
-
-
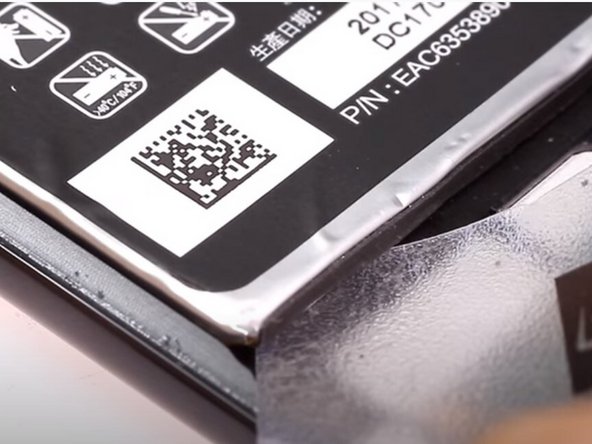
Use the plastic card to pry the battery upwards from its slot.
-
Use your fingers to lift the battery away from the phone.
-


To reassemble your device, follow these instructions in reverse order. After installing a new battery, run down its charge completely. Then, charge the battery fully. This will calibrate the new battery. Then, use the phone normally.
To reassemble your device, follow these instructions in reverse order. After installing a new battery, run down its charge completely. Then, charge the battery fully. This will calibrate the new battery. Then, use the phone normally.
11 の人々がこのガイドを完成させました。

12 件のコメント
Suction cups on both sides, heatgun on the back pannel, then lift. Much easier. And you don't have to worry about breaking the back panel.
Why can’t the idiots at LG, or indeed any other company, make a phone with an MQA capable DAC, and a replaceable battery?
tonywinter - 返信
it is not about idiocy. When you do not conform to a set battery shape you can configure the insides of a phone for more performance and features. That being said the LG V30 does have a standard battery shape. So in this case it is a desire to create built in obsolescence. After all it is believed in the western world cell phone sales are flat.
So, I’ve done a few iphone battery replacements…I understand patience/heating…following directions.
Well, of course, the back glass broke (2X) during removal. I’m using a card, as instructed. so I finally work the back off, and the power button/fingerprint gizmo separated from the back/stayed attached to the little pad where it fits on the frame. I’m terrified to move it, as I don’t know exactly where it’s got to line up on the back glass….but I can’t get the phone apart w/out removing it.
THEN I notice that somehow that I had cut the ribbon cable that goes to the coil for wireless charging/google pay/file share. WTH? DON’T go in too deep THERE with the card…I trimmed the place where it tore, to make sure the thin foil wasn’t shorted together, and put a piece of thin plastic as an insulator under it.
So, I get it back together as well as I can, but 2/3 of the adhesive was so messed up, (balled up) I had to pick it off, otherwise the back won’t seat against the frame. The finger print reader doesn’t work now.
Ran out of room….
So, #1, I couldn’t find a ‘new’ adhesive for the back…(by itself)…I would recommend it, if you can find it…maybe even a new back glass
I’m hoping that the fingerprint reader disc coming off of the power button is why it’s no longer working? Any others experience this? I checked the contacts…I think I put it back/centered correctly.
I’m considering dropping the $30 for a new back assembly…..
I’m REALLY going to miss my fingerprint reader, for logging in to bank accounts etc….
Any suggestions?
Thanks in advance,
Chris
McGyver9 -
Ask yourself; Why do empires like LG, Samsung, Apple/so on make it so difficult to remove batteries?
Grrr, because they must want to motivate women, moms, people on the autism spectrum and environmentalists to learn how to teach themselves microsoldering, electronic and appliance repair, and get involved in activism to create laws to prevent them from making all of us go into a self inflicted death spiral of empty materialism. I have had enough! Also, because they must really not care about how difficult it is to mine rare earth metals and like the challenge of who can destroy the planet 1st. That is why I think they make them hard to remove, even if they don't know it yet.