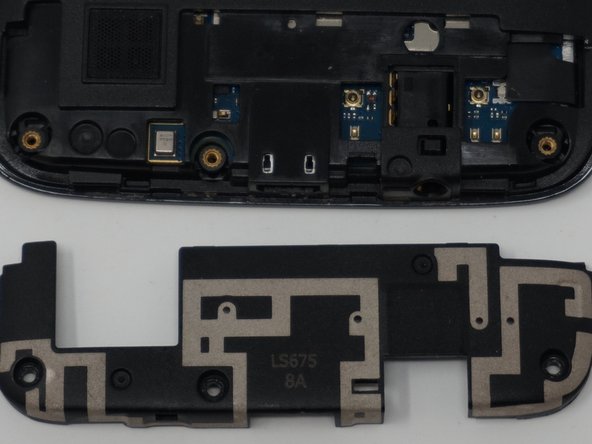
メインコンテンツにスキップ

LG Tribute 5 Speaker Replacement

必要な工具と部品

  1. LG Tribute 5 Speaker Replacement, Battery: 手順 1、 2の画像 1 LG Tribute 5 Speaker Replacement, Battery: 手順 1、 2の画像 2
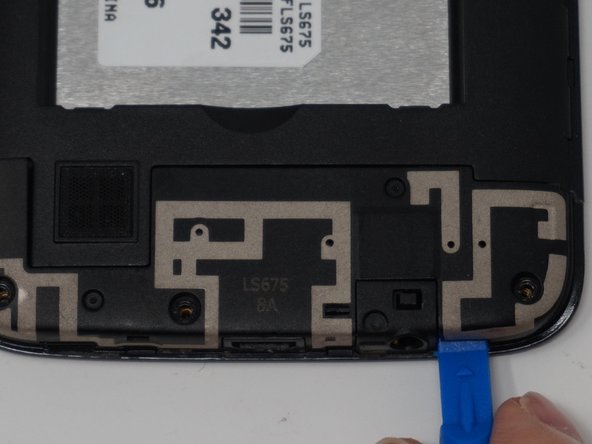
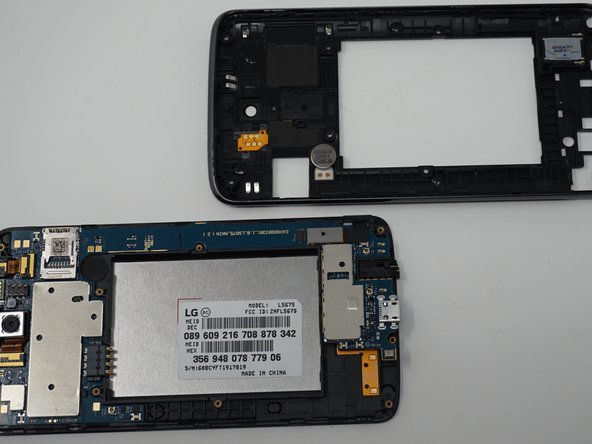
    • Using an iFixit opening tool, gently pull outward on the cutout on the bottom left corner of the phone to remove the back cover.

  2. LG Tribute 5 Speaker Replacement: 手順 2、 3の画像 1 LG Tribute 5 Speaker Replacement: 手順 2、 3の画像 2 LG Tribute 5 Speaker Replacement: 手順 2、 3の画像 3
    • Gently lift the battery out from the compartment.

    • Use an iFixit opening tool to slide out the SD card and nano sim card from the device as shown.

  3. LG Tribute 5 Speaker Replacement, Front Speaker: 手順 3、 3の画像 1 LG Tribute 5 Speaker Replacement, Front Speaker: 手順 3、 3の画像 2 LG Tribute 5 Speaker Replacement, Front Speaker: 手順 3、 3の画像 3
    • Remove the nine 2mm JIS #00 screws from the mid-frame.

  4. LG Tribute 5 Speaker Replacement: 手順 4、 3の画像 1 LG Tribute 5 Speaker Replacement: 手順 4、 3の画像 2 LG Tribute 5 Speaker Replacement: 手順 4、 3の画像 3
    • Using an iFixit opening tool, remove the antenna extender located at the bottom.

  5. LG Tribute 5 Speaker Replacement: 手順 5、 2の画像 1 LG Tribute 5 Speaker Replacement: 手順 5、 2の画像 2
    • Gently remove the mid-frame using an iFixit opening tool.

    • Avoid applying too much force when separating the mid frame. Too much force can bend or damage the device.

  6. LG Tribute 5 Speaker Replacement: 手順 6、 1の画像 1
    • Using an iFixit opening tool, gently pull up the front speaker from its compartment located on the top of the motherboard.

終わりに

To reassemble your device, follow these instructions in reverse order.

2 の人々がこのガイドを完成させました。

作成者

3人の作成者と共同で作成されました。

Renee Dawn Nelson

メンバー登録日: 04/22/19

454 ポイント

3のガイドは作成済み

チーム

UW Tacoma, Team S1-G6, Cardinal Spring 2019 UW Tacoma, Team S1-G6, Cardinal Spring 2019人のメンバー

UWT-CARDINAL-S19S1G6

3 メンバー

10のガイドは作成済み

0 件のコメント

コメントを追加

統計データ:

過去 24時間: 0

過去 7 日: 0

過去 30 日: 1

今までの合計 147