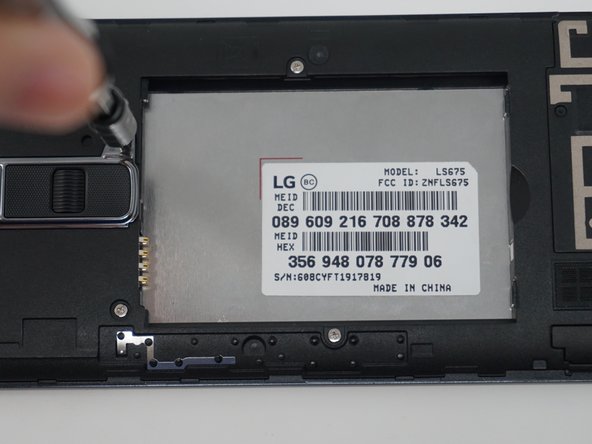
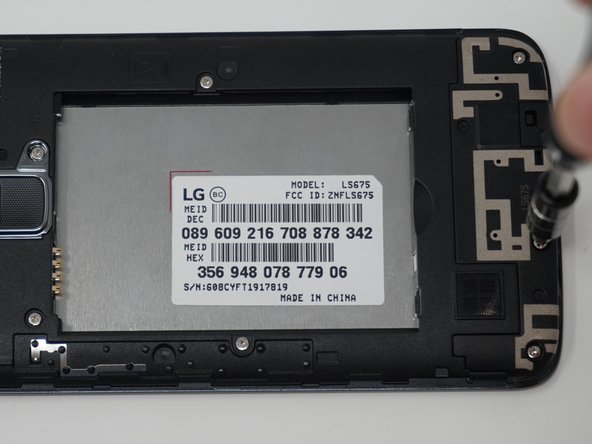
メインコンテンツにスキップ

LG Tribute 5 Motherboard Replacement

必要な工具と部品

  1. LG Tribute 5 Motherboard Replacement, Battery: 手順 1、 2の画像 1 LG Tribute 5 Motherboard Replacement, Battery: 手順 1、 2の画像 2
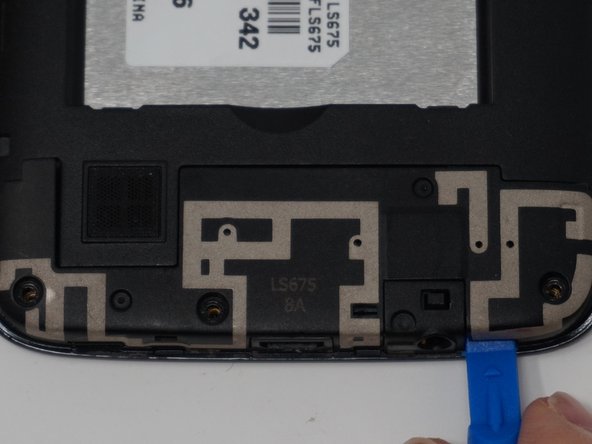
    • Using an iFixit opening tool, gently pull outward on the cutout on the bottom left corner of the phone to remove the back cover.

  2. LG Tribute 5 Motherboard Replacement: 手順 2、 3の画像 1 LG Tribute 5 Motherboard Replacement: 手順 2、 3の画像 2 LG Tribute 5 Motherboard Replacement: 手順 2、 3の画像 3
    • Gently lift the battery out from the compartment.

    • Use an iFixit opening tool to slide out the SD card and nano sim card from the device as shown.

  3. LG Tribute 5 Motherboard Replacement, Motherboard: 手順 3、 3の画像 1 LG Tribute 5 Motherboard Replacement, Motherboard: 手順 3、 3の画像 2 LG Tribute 5 Motherboard Replacement, Motherboard: 手順 3、 3の画像 3
    • Remove the nine 2mm JIS #00 screws from the mid-frame.

  4. LG Tribute 5 Motherboard Replacement: 手順 4、 3の画像 1 LG Tribute 5 Motherboard Replacement: 手順 4、 3の画像 2 LG Tribute 5 Motherboard Replacement: 手順 4、 3の画像 3
    • Using an iFixit opening tool, remove the antenna extender located at the bottom.

  5. LG Tribute 5 Motherboard Replacement: 手順 5、 2の画像 1 LG Tribute 5 Motherboard Replacement: 手順 5、 2の画像 2
    • Gently remove the mid-frame using an iFixit opening tool as shown.

    • Avoid applying too much force when separating the mid frame. Too much force can bend or damage the device.

  6. LG Tribute 5 Motherboard Replacement: 手順 6、 2の画像 1 LG Tribute 5 Motherboard Replacement: 手順 6、 2の画像 2
    • Using an iFixit opening tool, gently disconnect the rear camera from the top center of the motherboard.

    • Remove the front facing camera from the top right corner of the motherboard.

  7. LG Tribute 5 Motherboard Replacement: 手順 7、 1の画像 1
    • Gently pull the speaker out from its compartment with the iFixit opening tool.

  8. LG Tribute 5 Motherboard Replacement: 手順 8、 1の画像 1
    • Disconnect the flex cable from the motherboard with the iFixit opening tool.

  9. LG Tribute 5 Motherboard Replacement: 手順 9、 1の画像 1
    • Gently pull up and remove the motherboard using the iFixit opening tool.

終わりに

To reassemble your device, follow these instructions in reverse order.

4 の人々がこのガイドを完成させました。

作成者

3人の作成者と共同で作成されました。

Renee Dawn Nelson

メンバー登録日: 04/22/19

454 ポイント

3のガイドは作成済み

チーム

UW Tacoma, Team S1-G6, Cardinal Spring 2019 UW Tacoma, Team S1-G6, Cardinal Spring 2019人のメンバー

UWT-CARDINAL-S19S1G6

3 メンバー

10のガイドは作成済み

0 件のコメント

コメントを追加

統計データ:

過去 24時間: 0

過去 7 日: 0

過去 30 日: 1

今までの合計 382