はじめに
Overtime, dust and other dirt particles may accumulate in your phone, especially the charging port. If the charging port in your device accumulates too much dust or dirt, your phone may fail to charge.
This guide shows how to replace the charge port of the LG Phoenix 2, model LG-K371. A charge port replacement may be necessary if the phone is not able to charge, if it stops charging when the charge cable is moved, or if the charge port is otherwise damaged.
必要な工具と部品
-
-
Place a fingernail in the notch at the bottom edge of the phone.
-
Pull on the back cover with one hand while keeping the rest of the phone steady, and run your fingernail along the edge.
-
-
-
Remove all nine of the 3.0mm screws on the back of the phone using a Phillips #0 screwdriver, including the one attaching the camera lens.
-
-
-
-
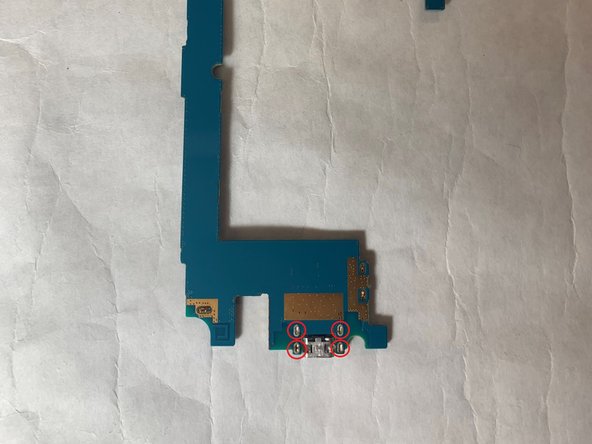
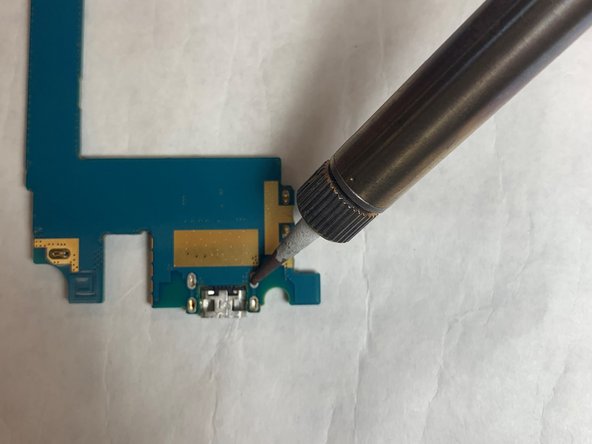
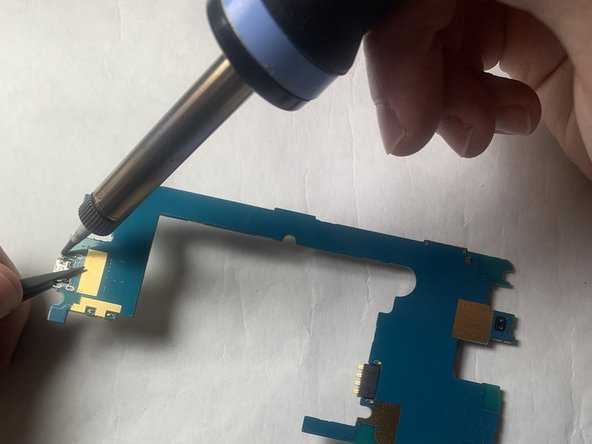
Desolder the USB port from the motherboard.
-
For more instructions on soldering an desoldering connections, please read the How to Solder and Desolder Connections guide.
-


To reassemble your device, follow these instructions in reverse order.
To reassemble your device, follow these instructions in reverse order.
3 の人々がこのガイドを完成させました。
チーム

IUPUI, Team S1-G1, Harley Fall 2019 IUPUI, Team S1-G1, Harley Fall 2019人のメンバー
IUPUI-HARLEY-F19S1G1
3 メンバー
4のガイドは作成済み