このバージョンは誤った内容を含んでいる可能性があります。最新の承認済みスナップショットに切り替えてください。
必要な工具と部品
-
この手順は未翻訳です。 翻訳を手伝う。
-
This is what you need:
-
New P720/P725 LCD
-
Small philips/crosstip screwdriver
-
Tiny slotted screwdriver (to tear things apart)
-
Guitar pick (also to open things and tear them apart)
-
Lets start: remove the 3 screws on the bottom plate and the 8 screws on the upper part, all marked in red. (I hope I did not forget one..).
-
-
この手順は未翻訳です。 翻訳を手伝う。
-
Remove the SIM and SD card board. You removed the pin next to the SD card tray already and you can see the glue on the board on this picture. Also remove the (whole!) pin between the cameras, circled in red.
-
Remove the pin shown at the bottom of the picture.
-
Remove the board carefully.
-
-
-
この手順は未翻訳です。 翻訳を手伝う。
-
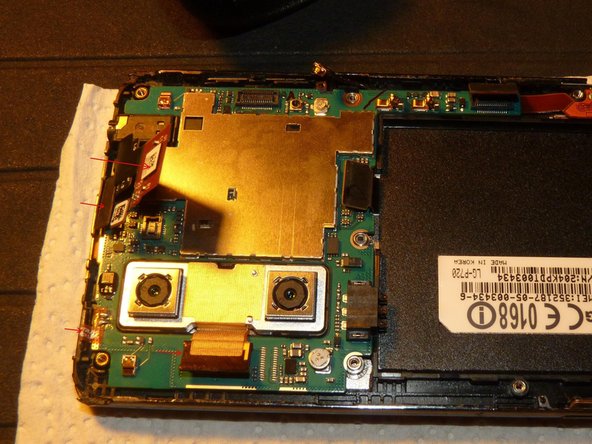
Let's remove the motherboard now.
-
Although already pointed out earlier on, the red marked pins are the ones you need to unpin before carefully removing the board.
-
There are four pins marked on the top of the board and three in the lower part. Once you removed them, remove the board.
-
-
この手順は未翻訳です。 翻訳を手伝う。
-
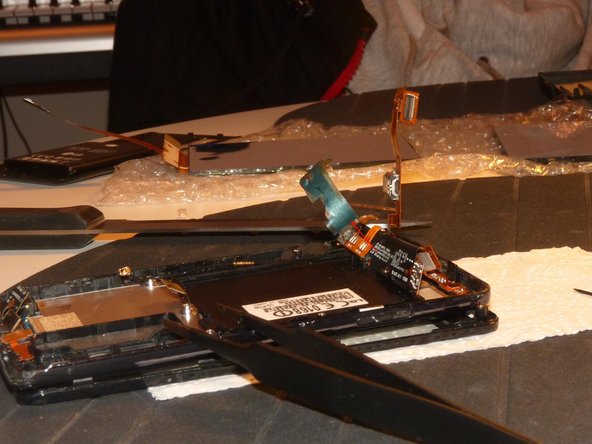
Now it is a little tricky to tell apart the flex cable that comes from the LCD and needs to be removed and the necessary flex cables that need to be left in place.
-
I tried to mark the gold foil under the two board parts. Where you removed the first bit of gold foil should now be two connectors visible.
-
-
この手順は未翻訳です。 翻訳を手伝う。
-
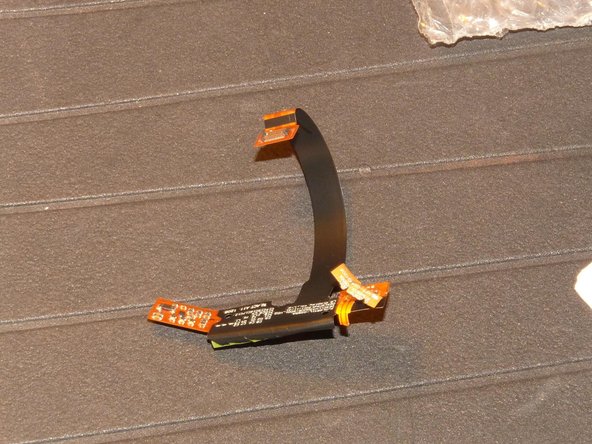
Because of the flex cable of the LCD it is not yet possible to remove it.
-
Take a sharp small knife or a razor blade to cut those flex cables close to the LCD. Start where the upper red arrow starts and work your way down to the second arrow. Now you can remove the LCD.
-
On the other side you can now identify the old flex cables that you just cut loose. You will have to remove those as well. Take a look at the next steps.
-
-
この手順は未翻訳です。 翻訳を手伝う。
-
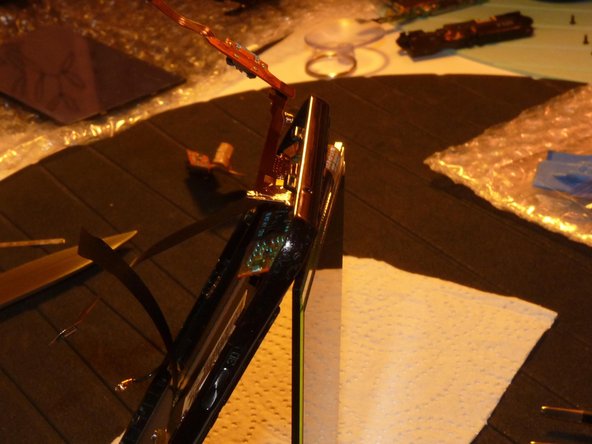
Remember the gold foil I pointed out in step 10? Go to the right and see where I marked the arrow. Start to pull off the gold foil under the cable and don't tear it apart.
-
Go slow!
-
Remove the foil. You will see there is also a light blue foil as shown in the second picture. It's attached to the gold foil. Leave it attached!
-
Once you detached the gold/blue foil, remove the flex cable that lies beneath the black foil that covers the battery compartment. In the first picture I marked red lines show where the flex cable lies.
-
You have to tear it and it won't glue again.
-
Once you removed the flex cable it looks a little bit like a scorpion there :)
-
-
この手順は未翻訳です。 翻訳を手伝う。
-
You worked the flex cable through it's designated opening? Then take the kept gold/blue foil and attach it to the new LCD flex cable like it was attached on the old one.
-
The picture shows how it should like now.
-
You have to fix the cable that goes through the battery compartment. Use duct tape, or, if not available do it like I did: use normal tape.
-
Now you are done. I hope you took notes of how you disassembled the phone. You need to reassemble it now!
-


ある他の人がこのガイドを完成しました。