メインコンテンツにスキップ

LG Lucid 4G LCD Replacement

必要な工具と部品

  1. LG Lucid 4G LCD Replacement, Battery: 手順 1、 3の画像 1 LG Lucid 4G LCD Replacement, Battery: 手順 1、 3の画像 2 LG Lucid 4G LCD Replacement, Battery: 手順 1、 3の画像 3
    • Turn off the phone by pressing the power button, then press "Power Off", then press "OK" when notified that your phone will shut down.

  2. LG Lucid 4G LCD Replacement: 手順 2、 2の画像 1 LG Lucid 4G LCD Replacement: 手順 2、 2の画像 2
    • Flip the phone so that its back plate is facing upward.

    • Use your fingernail or prying tool to lift the back plate of the phone open by using the notch at the bottom.

  3. LG Lucid 4G LCD Replacement: 手順 3、 2の画像 1 LG Lucid 4G LCD Replacement: 手順 3、 2の画像 2
    • Using the notch located near the bottom center, remove the battery with a prying tool or your fingernail.

  4. LG Lucid 4G LCD Replacement, LCD Assembly: 手順 4、 2の画像 1 LG Lucid 4G LCD Replacement, LCD Assembly: 手順 4、 2の画像 2
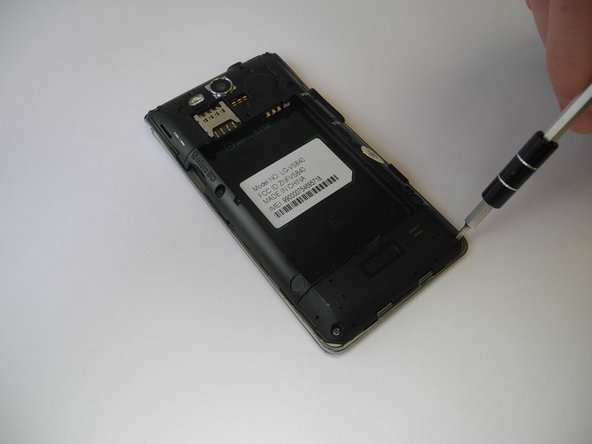
    • Begin by removing the seven Phillip's head screws on the back of the phone.

  5. LG Lucid 4G LCD Replacement: 手順 5、 2の画像 1 LG Lucid 4G LCD Replacement: 手順 5、 2の画像 2
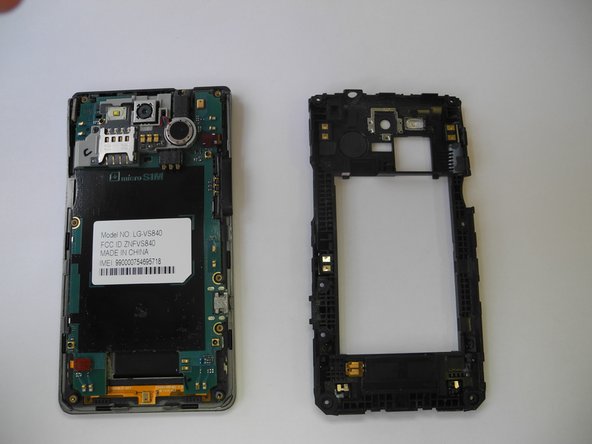
    • Use the small notches along the sides of the phone to help you pry the back plate off and help stop the pry tool from slipping.

    • Use the plastic pry tool and begin working your way around the sides of the phone.

    • Some force may be required during this step.

  6. LG Lucid 4G LCD Replacement: 手順 6、 1の画像 1
    • Remove the single Phillip's head screw holding the sim card assembly in place.

  7. LG Lucid 4G LCD Replacement: 手順 7、 2の画像 1 LG Lucid 4G LCD Replacement: 手順 7、 2の画像 2
    • Gently lift the corner of the sim card assembly as shown.

    • The SIM card assembly is still attached to the motherboard via a ribbon cable.

    • Release the press-fit ribbon cable connector by lifting it with a spudger or prying tool.

  8. LG Lucid 4G LCD Replacement: 手順 8、 2の画像 1 LG Lucid 4G LCD Replacement: 手順 8、 2の画像 2
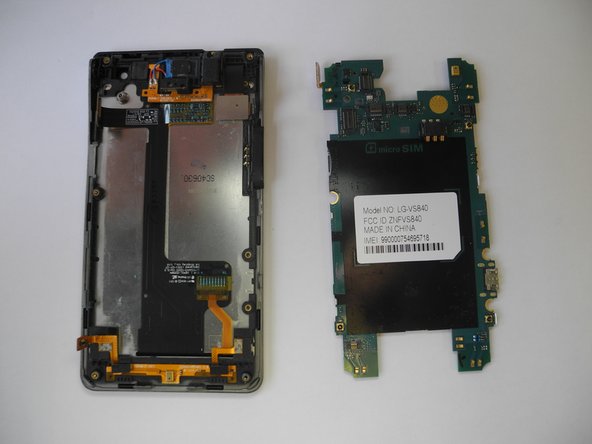
    • Release the five flex connectors on the motherboard.

    • The camera may fall off during this step. That is okay! Set it aside for reassembly.

    • Once all five flex connectors are released, simply lift the motherboard to separate it from the rest of the phone.

  9. LG Lucid 4G LCD Replacement: 手順 9、 1の画像 1
    • If the camera did not fall off during step five, you must remove it now by gently lifting it. It is attached by a small amount of adhesive and should detach easily.

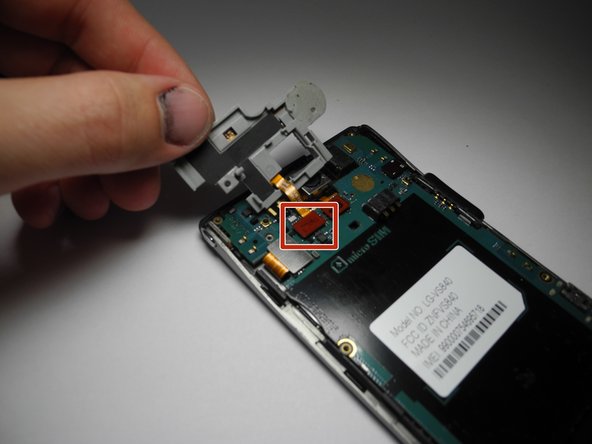
    • Gently lift the headphone jack assembly to reveal the touch screen digitizer flex cable.

    • Release the touch screen digitizer flex cable connector.

  10. LG Lucid 4G LCD Replacement: 手順 10、 2の画像 1 LG Lucid 4G LCD Replacement: 手順 10、 2の画像 2
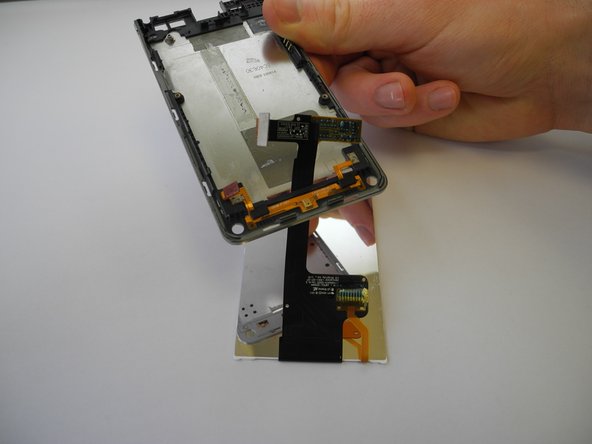
    • Use a plastic pry tool to begin removing the touch screen assembly.

    • Slide the pry tool along the gap between the touch screen digitizer and the LCD mount to release the connectors.

    • Once the touch screen assembly has been separated, carefully slide the ribbon through the slot in its housing.

    • Caution: Be gentle when separating the two sections along the top of the phone. The ribbon detached in step 6 is attached to the touch screen digitizer and must be carefully fed through the LCD housing to avoid tearing it.

  11. LG Lucid 4G LCD Replacement: 手順 11、 2の画像 1 LG Lucid 4G LCD Replacement: 手順 11、 2の画像 2
    • The final step is to remove the LCD screen from its housing. Begin by gently peeling the ribbon from the back of the housing.

    • Once the ribbon is fully detached, carefully feed it through the bottom of the display housing.

    • Once this is done the LCD screen assembly will have been separated from the phone.

終わりに

To reassemble your device, follow these instructions in reverse order.

ある他の人がこのガイドを完成しました。

作成者

1人の作成者と共同作成されました。

Adam Boeck

メンバー登録日: 02/07/17

133 ポイント

1ガイドが承認済み

チーム

Ohio State, Team 1-1, Wilder Spring 2017 Ohio State, Team 1-1, Wilder Spring 2017人のメンバー

OSU-WILDER-S17S1G1

4 メンバー

8のガイドは作成済み

0 件のコメント

コメントを追加

統計データ:

過去 24時間: 0

過去 7 日: 1

過去 30 日: 2

今までの合計 320