はじめに
If your keypad stops functioning or the keys are sticking, you may need to go inside the phone to replace the rubber keypad. This guide will show you just how to do that.
必要な工具と部品
-
-
Begin by taking the back battery cover off.
-
Put your index finger on the white notch and apply pressure.
-
While applying pressure, move your hand backwards to slide the battery cover off of the body of the phone.
-
-
-
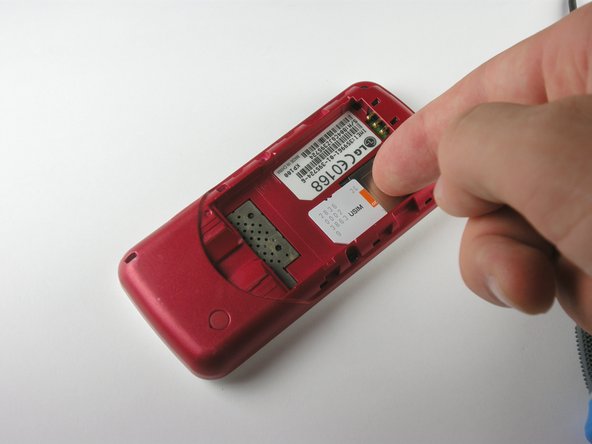
Remove the SIM card from its housing.
-
Put your finger in the provided notch below the SIM card and begin to push the SIM card towards the top of the device.
-
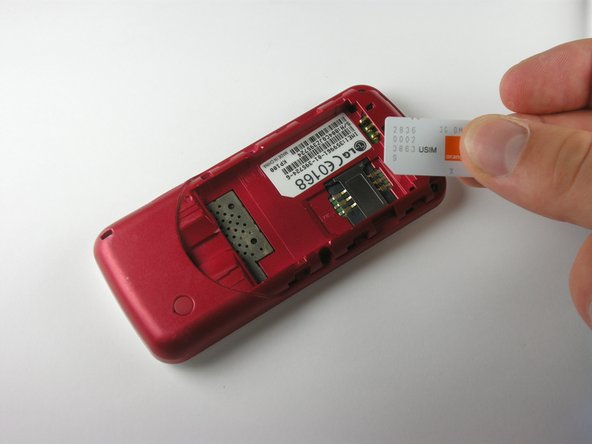
After it is out of the metal housing, it is free to be removed.
-
-
-
-
Remove the four screws along the edge of the phone body, as shown in the picture to the left.
-
-
-
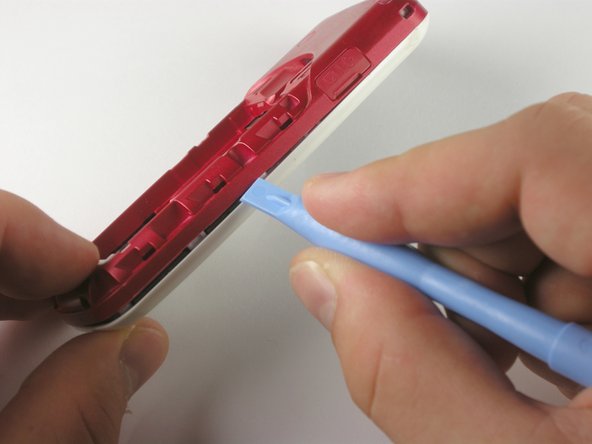
Using the plastic opening tool, pry open the body of the phone, starting at the bottom of the phone (this tends to be the easiest place to start).
-
Continue by sliding the opening tool around the perimeter of the phone. You should hear multiple clicking sounds as you complete this, indicating the clips are becoming unlatched.
-
-
-
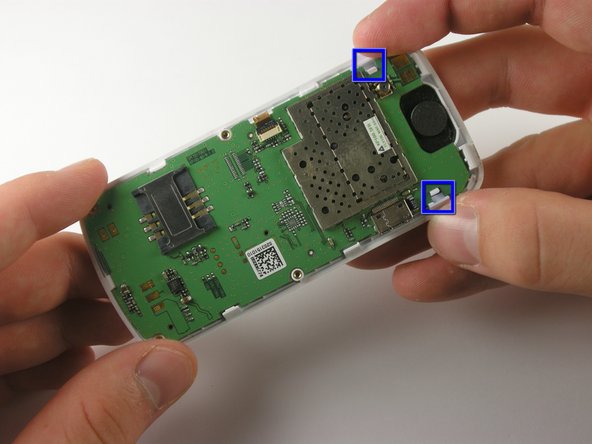
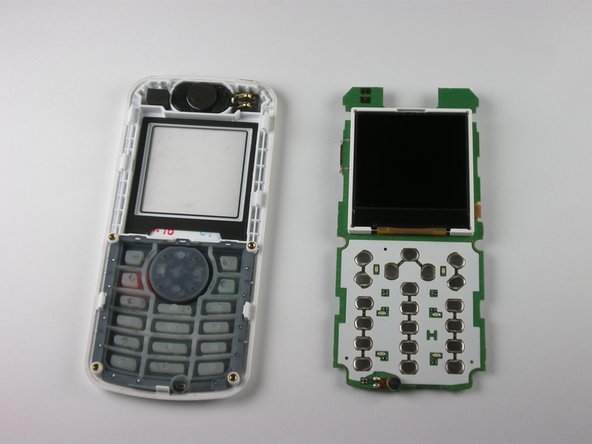
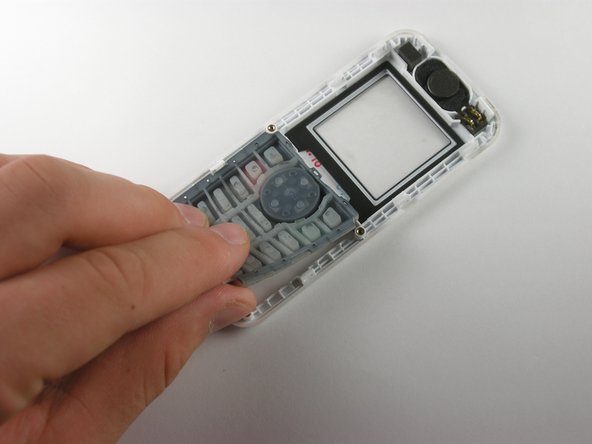
As you can see, the rubber keypad is attached to the front casing. Gently remove it from the case by pinching any part of it and lifting. Don't worry, it isn't attached too firmly and is easily removable.
-


To reassemble your device, follow these instructions in reverse order.
To reassemble your device, follow these instructions in reverse order.
チーム

Cal Poly, Team 6-20, Amido Spring 2012 Cal Poly, Team 6-20, Amido Spring 2012人のメンバー
CPSU-AMIDO-S12S6G20
4 メンバー
10のガイドは作成済み