はじめに
This guide will show you how to replace a damaged digitizer and LCD on your LG G3.
This part is only the fused display and digitizer and does not contain the support frame. If your replacement part includes the frame, follow this shorter, less complicated screen replacement guide.
必要な工具と部品
-
-
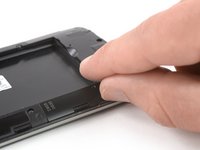
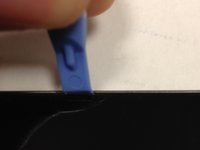
Insert a thumbnail, or a prying tool like a spudger, into the notch at the bottom left of the back cover.
-
Pry the back cover up to separate its plastic clips.
 FixBotに聞いてみる
-
-
-
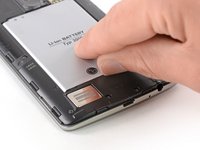
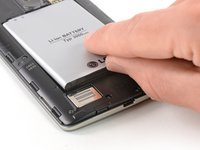
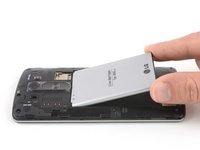
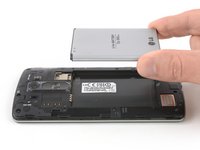
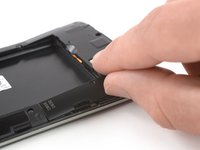
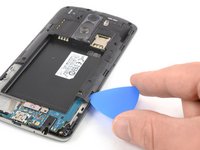
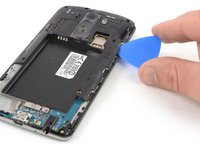
Use a fingernail or a prying tool at the marked notch to lever the battery out of its recess.
-
-
-
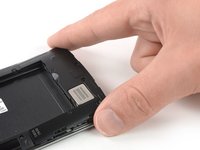
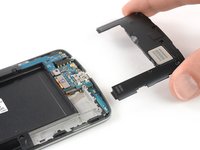
Insert a thumbnail, or a prying tool like a spudger, into the notch at the bottom left of the back cover you used earlier to remove the back cover.
-
Pry up the plastic panel, including the loudspeaker, until you can get a good grip.
-
-
-
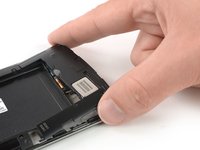
Carefully remove the plastic panel including the loudspeaker by gently pulling it away from the phone assembly.
-
-
-
-
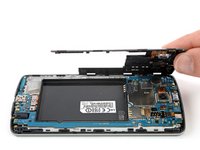
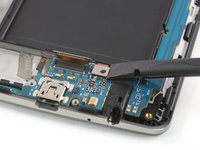
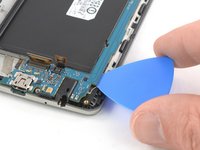
Insert an opening pick between the bottom right corner of the motherboard cover and the motherboard.
-
Pry up the motherboard cover to open the plastic clips which hold the cover in its place.
-
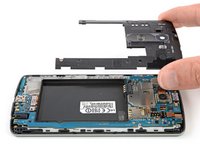
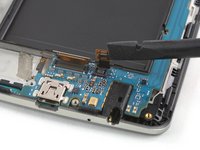
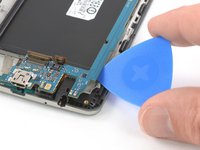
Work your way along the right edge.
-
-
-
Carefully lift the right edge of the motherboard cover.
-
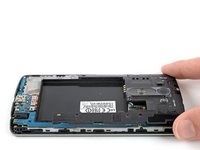
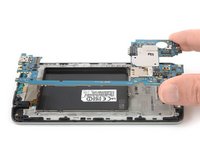
Remove the motherboard assembly.
-
-
-
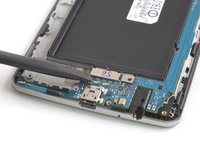
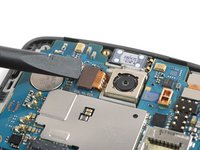
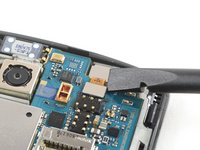
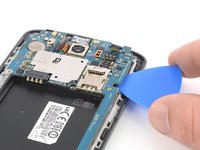
Slide an opening pick under the bottom right corner of the motherboard and slowly pry it out of its recess by rotating the opening pick sideways.
-
-
-
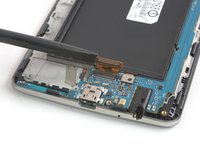
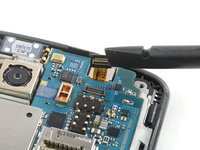
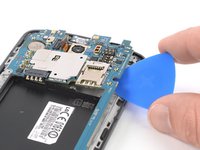
Slide the opening pick under the right edge of the motherboard where the SIM card slot is located and pry it up by rotating the opening pick sideways.
-
-
-
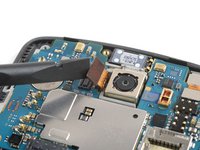
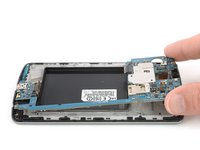
Grab the top section of the motherboard and carefully lift it out of the phone.
-
-
-
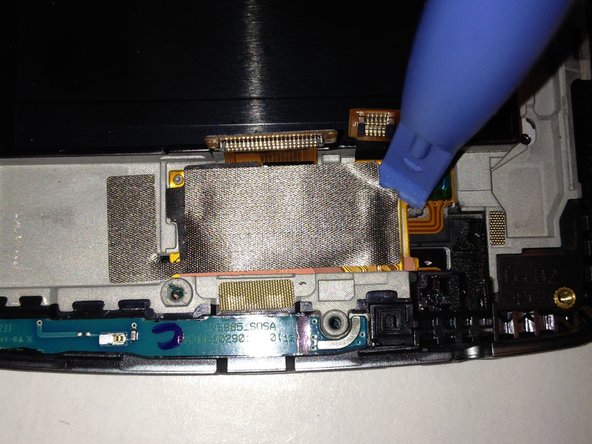
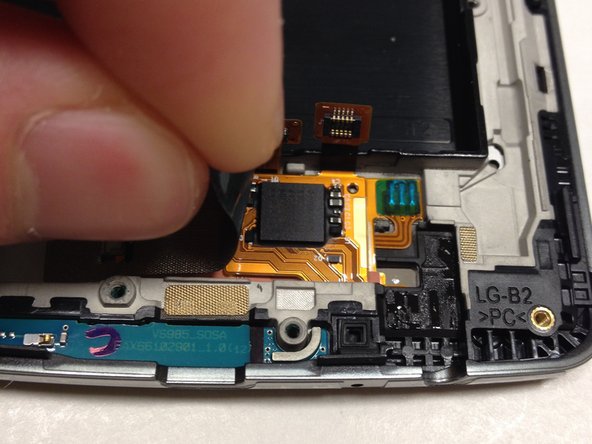
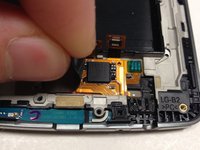
Remove the metal tape to reveal the ribbon cables connected to the screen
-
The metal tape is stuck on there pretty well. Get the plastic opening tool under the right-hand side and corners and slowly work your way to getting it off
-
Be careful when removing the metal tape. We can reuse it after we replace the screen
-
-
-
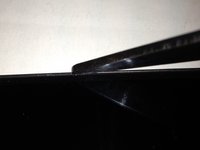
Take something thin, such as a knife, and wedge it between the screen and the body of the phone
-
One you have created some space, wedge your plastic opening tool into the space and remove the knife
-
Move your plastic opening tool up and down the side of the phone while lightly pulling up. Repeat this for all sides until the screen comes out
-


To reassemble your device, follow these instructions in reverse order.
5 の人々がこのガイドを完成させました。


1件のガイドコメント
I have a working LG G3 screen (44 pin connector) that I'm trying to jumper wire to a LG Zone 4/Aristo 2/Phoenix 4 (Same phone 210) with no screen (40 pin connector). I have the connector pin outs for both but I want to know is this possible to do?? Scenario: I'm on a deserted island and can't buy a replacement screen for my Zone 4. I know it's going to be a long and tedious task but are the voltages even compatible enough to attempt this?
Please contact me at s.e.davis8304@gmail.com or amebrizee@gmail.com if you know anyone who can help me with this information. Thank you.