メインコンテンツにスキップ

LG Fortune 2 Screen Replacement

必要な工具と部品

  1. LG Fortune 2 Screen Replacement, Screen: 手順 1、 3の画像 1 LG Fortune 2 Screen Replacement, Screen: 手順 1、 3の画像 2 LG Fortune 2 Screen Replacement, Screen: 手順 1、 3の画像 3
    • Use the slit on the bottom left side of the phone to open the back cover using your hand.

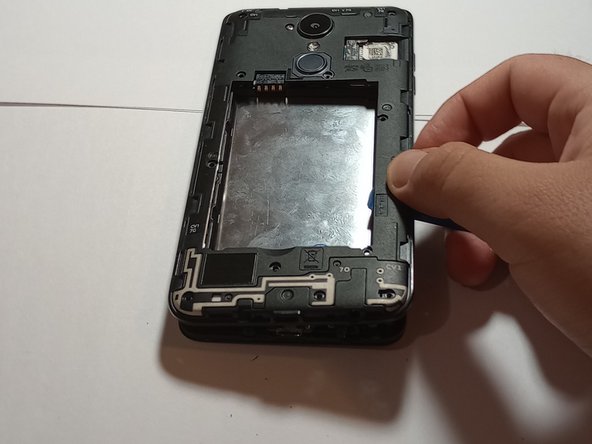
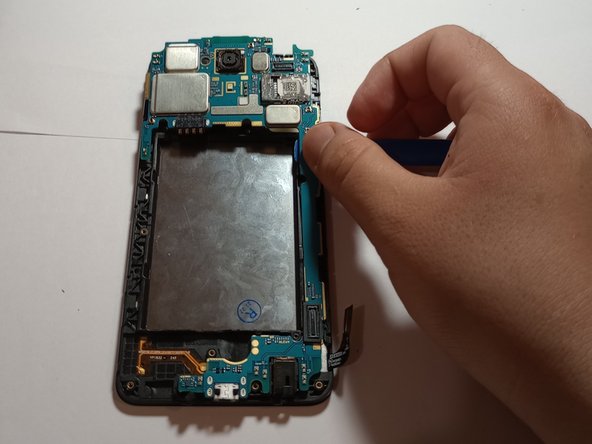
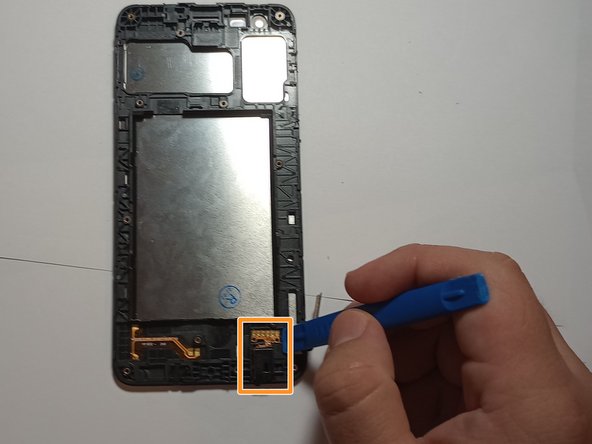
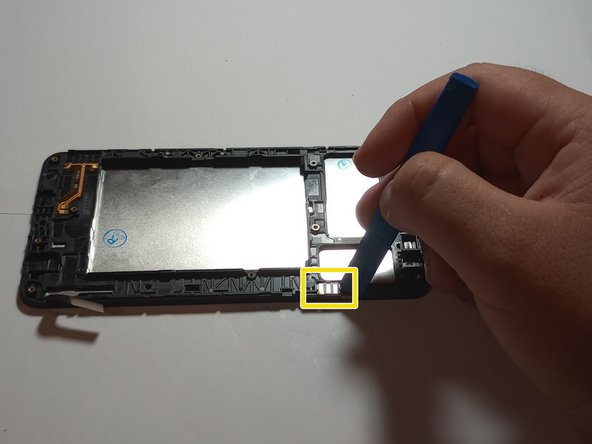
    • Use the groove at the bottom of the phone to remove the battery.

    • Remove the battery for safety purposes before moving on to step 2.

  2. LG Fortune 2 Screen Replacement: 手順 2、 3の画像 1 LG Fortune 2 Screen Replacement: 手順 2、 3の画像 2 LG Fortune 2 Screen Replacement: 手順 2、 3の画像 3
    • Remove the twelve 4 mm screws on the back paneling using a Phillips #000 screwdriver.

  3. LG Fortune 2 Screen Replacement: 手順 3、 3の画像 1 LG Fortune 2 Screen Replacement: 手順 3、 3の画像 2 LG Fortune 2 Screen Replacement: 手順 3、 3の画像 3
    • Use the plastic opening tool to wedge between the glass screen and midframe.

    • Wedging the glass screen from the midframe will require some force, so be careful not to damage/snap the opening tool, as you will need it for later steps.

    • Make sure all screws are removed prior to this step, as not doing so will make it impossible to wedge the screen from the midframe.

  4. LG Fortune 2 Screen Replacement: 手順 4、 2の画像 1 LG Fortune 2 Screen Replacement: 手順 4、 2の画像 2
    • Use the plastic opening tool to release the flex cable.

    • Pry off the front camera located above the SIM card slot using the plastic opening tool.

  5. LG Fortune 2 Screen Replacement: 手順 5、 3の画像 1 LG Fortune 2 Screen Replacement: 手順 5、 3の画像 2 LG Fortune 2 Screen Replacement: 手順 5、 3の画像 3
    • Use the plastic opening tool to pry off the motherboard from the rest of the device.

    • Preferably, start from the bottom of the phone as there is more space to wedge the plastic opening tool into.

    • Handle the motherboard with care, as it is the backbone of the device

  6. LG Fortune 2 Screen Replacement: 手順 6、 3の画像 1 LG Fortune 2 Screen Replacement: 手順 6、 3の画像 2 LG Fortune 2 Screen Replacement: 手順 6、 3の画像 3
    • Use the plastic opening tool to remove the ear speaker on the underside of the device.

    • Remove the headphone jack using the plastic opening tool.

    • The headphone jack is protected by a small rubber piece that will need to be removed by scraping it with the prying tool.

    • The headphone jack is covered by a fairly strong adhesive, so extra force may be required. Do not damage the piece.

    • Remove the volume rocker/button on the side of the phone using the plastic opening tool.

  7. LG Fortune 2 Screen Replacement: 手順 7、 2の画像 1 LG Fortune 2 Screen Replacement: 手順 7、 2の画像 2
    • Disconnect the loudspeaker antenna on the bottom of the phone using the plastic opening tool.

    • Scrape off the small rubber piece from the antenna.

    • Photo 2 shows the new LCD screen replacement with frame.

    • If you order the glass and LCD in one piece without the frame, you will need to remove the previous glass and LCD with some heat around the edges and use the plastic opening tool to wedge between them and the frame.

    • To mitigate screen damage, use a glass screen protector and a cell phone case.

終わりに

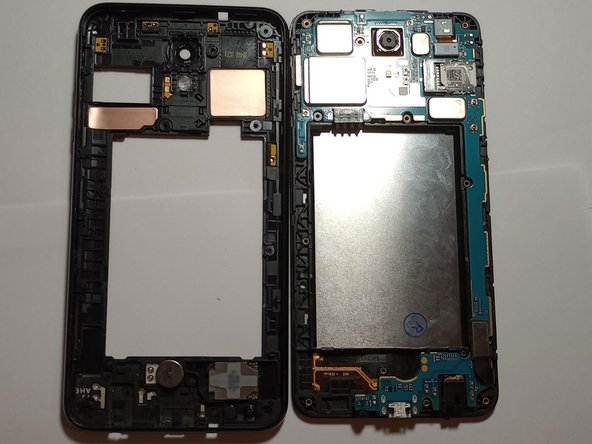
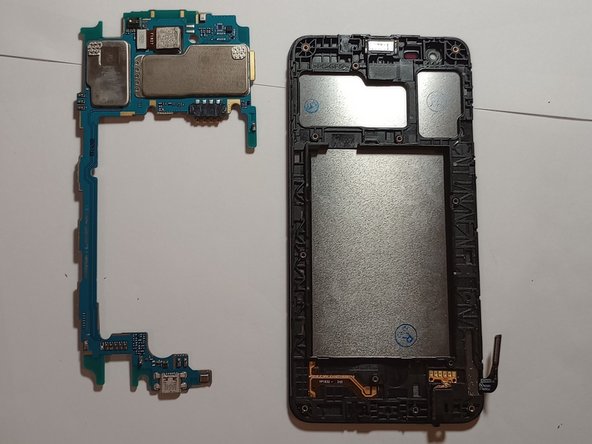
To reassemble your device, follow these instructions in reverse order.

作成者

1人の作成者と共同作成されました。

Bryam Ochoa

メンバー登録日: 01/23/23

145 ポイント

1ガイドが承認済み

チーム

CSU Los Angeles, Team D-87, Briggs Spring 2023 CSU Los Angeles, Team D-87, Briggs Spring 2023人のメンバー

CSULA-BRIGGS-S23SDG87

1 メンバー

1のガイドは作成済み

0 件のコメント

コメントを追加

統計データ:

過去 24時間: 0

過去 7 日: 2

過去 30 日: 9

今までの合計 148